
How to Backup Windows 11 to Synology NAS | Full Guide
This article details exactly how to backup Windows 11 to Synology NAS. You can explore practical built-in tools and software options to effectively backup Windows PC to Synology NAS.
By Irene Updated May 20, 2026
🌟 Quick Look: Windows 11 to Synology NAS Backup Guide
This guide explores how to safeguard your Windows 11 system by backing up to a Synology NAS. Moving beyond simple external drives, using a NAS offers centralized storage, larger capacity, and automated protection against system crashes or hardware failures.
✔️ Primary Backup Methods
-
CBackup (Recommended): A user-friendly tool for beginners. It supports full system images, including settings and apps. It features incremental backups to save space and allows for easy restoration via bootable media if your PC won't start.
-
Windows Backup and Restore: A built-in utility for those who prefer not to use third-party software. While it requires more manual configuration and network credential setup, it provides a reliable way to store files and system data on your network.
✔️ Why Use a NAS for Windows 11?
-
Enhanced Data Safety
-
Automation
-
Multi-Device Support
-
Faster Recovery
-
Reliability
✔️ Tips:
Always create bootable recovery media. If Windows 11 fails to boot, you can use this media to access your Synology NAS and restore your system image to a working state quickly.
How to backup Windows 11 to Synology NAS?
There are different ways to back up Windows 11 to a Synology NAS depending on how much automation, storage management, and recovery support you need. Some methods focus on creating full system image backups, while others are more suitable for backing up important files and folders only.
The following sections introduce two common backup solutions that can help protect Windows 11 data, improve recovery efficiency, and keep backups stored safely on your network attached storage device.
Way 1. Perform Windows 11 backup to Synology NAS with CBackup
Backing up Windows 11 to Synology NAS is an effective way to protect important data and avoid system loss caused by crashes, hardware problems, or accidental deletion. The keyword backup Windows 11 to Synology NAS reflects a common need for users who want to store system backups on a secure network storage device instead of relying only on local drives. Compared with storing files only on a local drive, a NAS device provides larger storage space and more reliable protection for long term backup.
CBackup offers a simple solution for users who want to create a full Windows backup without complicated operations. It can back up the entire system, including Windows settings, installed programs, and personal files. Even if the computer cannot boot normally, the backup image can help restore the system quickly and reduce downtime after unexpected problems. By combining Windows 11 backup with a Synology NAS, users can achieve both local system recovery and offsite style storage within their home or office network, improving overall data security and reliability.
✔️ Key features of CBackup:
- Supports full system backup and NAS backup for the Windows system
- Automatically runs scheduled backups
- Uses incremental backup to save NAS storage space
- Helps restore the system after crashes or hardware failure
- Easy for beginners to set up and manage
CBackup also reduces the need for manual backup work by allowing users to create automatic backup plans. Once the schedule is set, the software can update backups regularly in the background. Its incremental backup feature copies only changed files instead of the entire system each time, which improves efficiency and shortens backup time. In addition, the recovery feature allows users to restore Windows 11 to a working state after serious system errors or drive replacement. This makes it a practical and reliable choice for backing up Windows 11 to a Synology NAS.
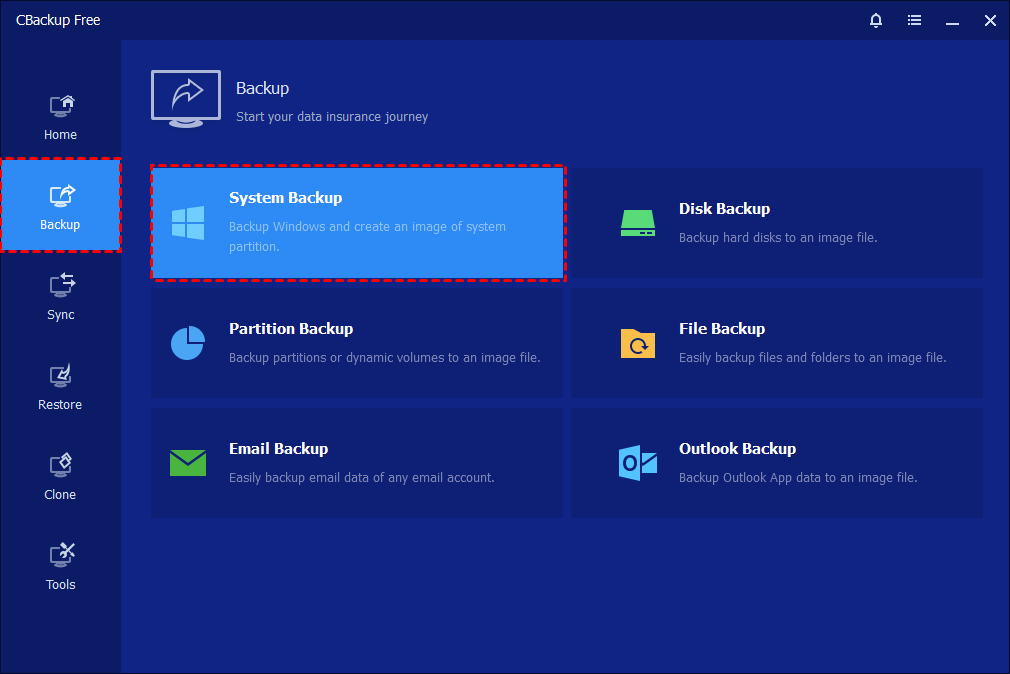
Step 1. Launch CBackup on your computer. From the main interface, click the “Backup” option in the left-hand panel, then choose “System Backup.” The program will automatically identify and display all system-related partitions required for a complete backup.
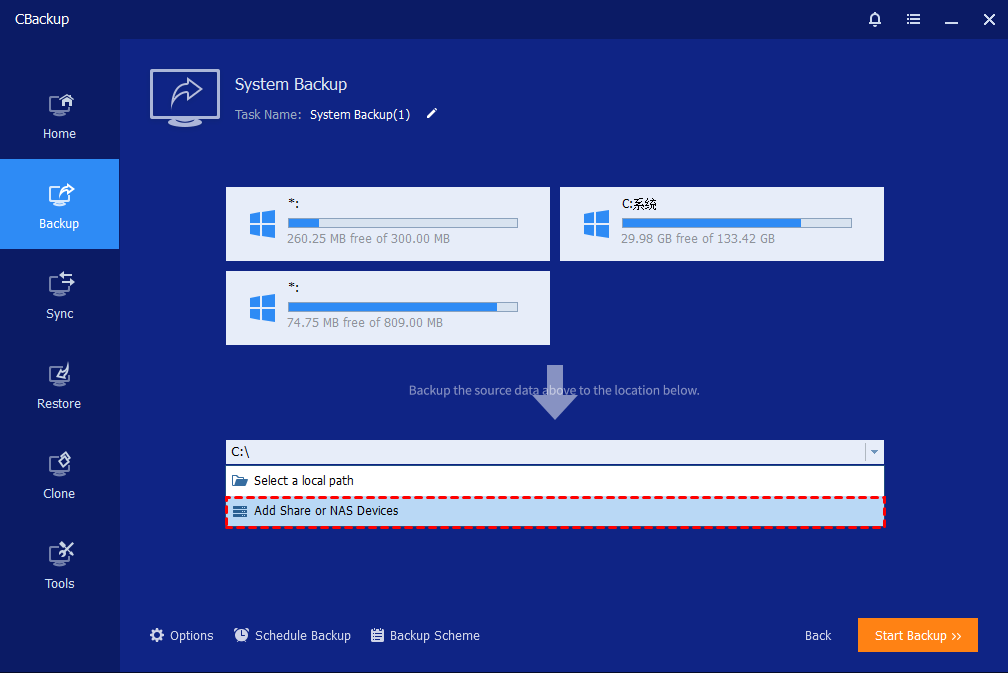
Step 2. Click on the destination selection box and choose your Synology NAS as the backup location. You may also rename the backup task in the “Task Name” field to make it easier to identify later.
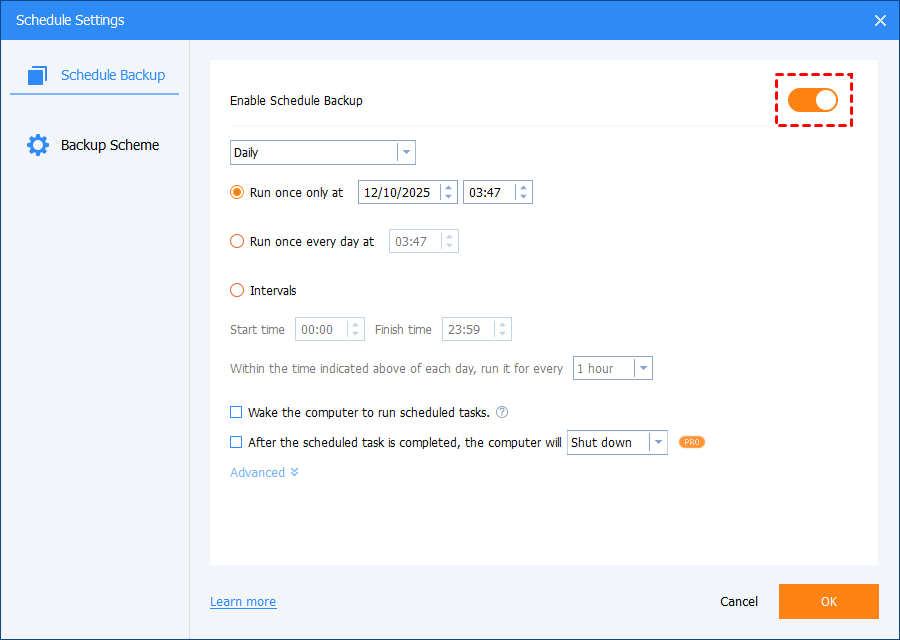
Step 3. Configure additional backup settings if needed. You can adjust compression levels, enable encryption for security, split large image files, and set up email notifications. You can also schedule automatic backups (daily, weekly, or monthly) and choose between incremental backup or differential backup methods to optimize storage usage.
Step 4. After confirming all settings, click “Start Backup” to begin the system image backup process. The software will start copying all necessary system data to the Synology NAS.
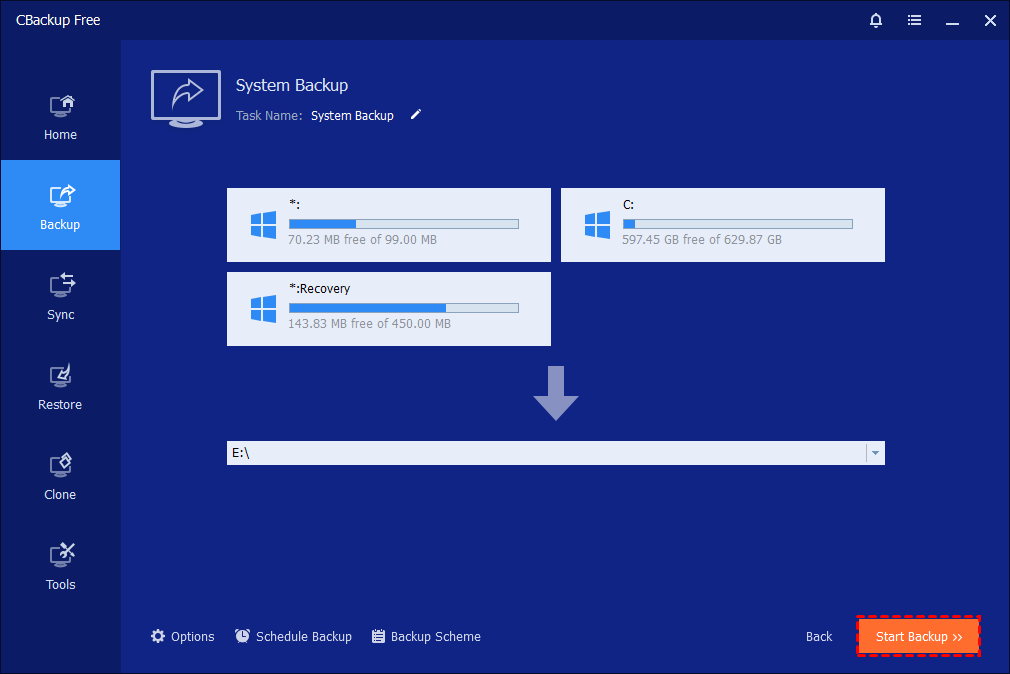
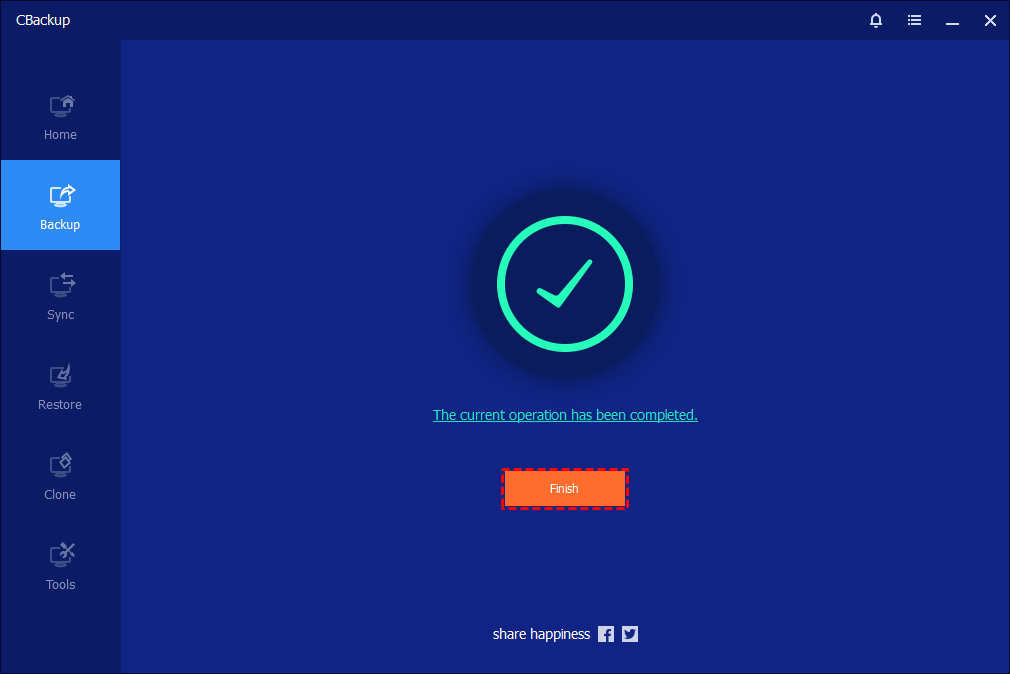
Step 5. Monitor the backup progress through the interface. You can view detailed progress information and optionally set the computer to shut down, restart, or enter sleep mode after completion. Once finished, click “Finish.”
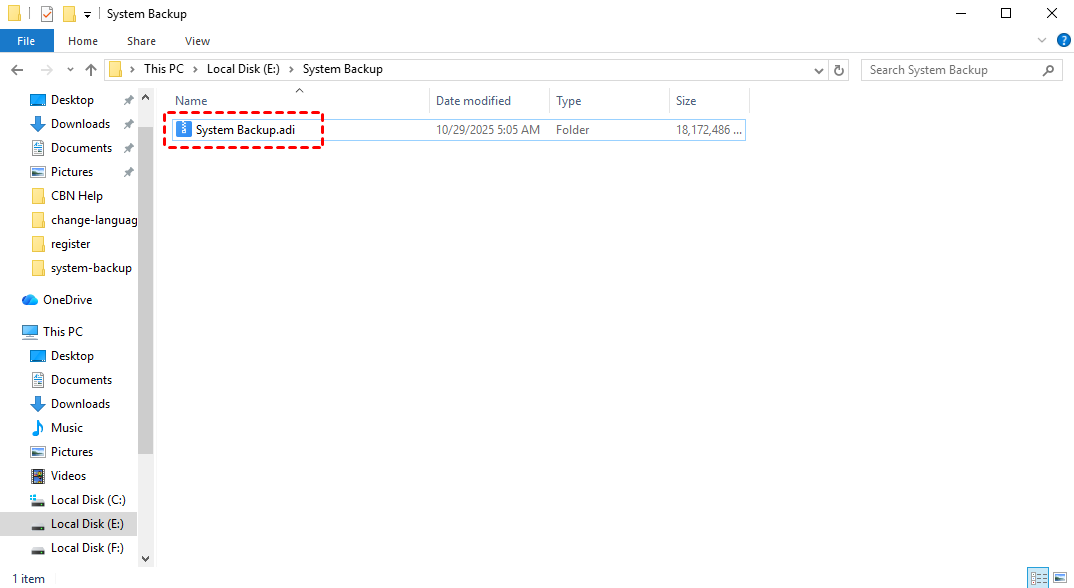
Step 6. Once the backup is complete, the task will be listed on the home screen, making it easy to manage or update later. The system image file, saved in .adi format, will be stored on your external hard drive, so you can quickly restore your Windows 11 system whenever necessary.
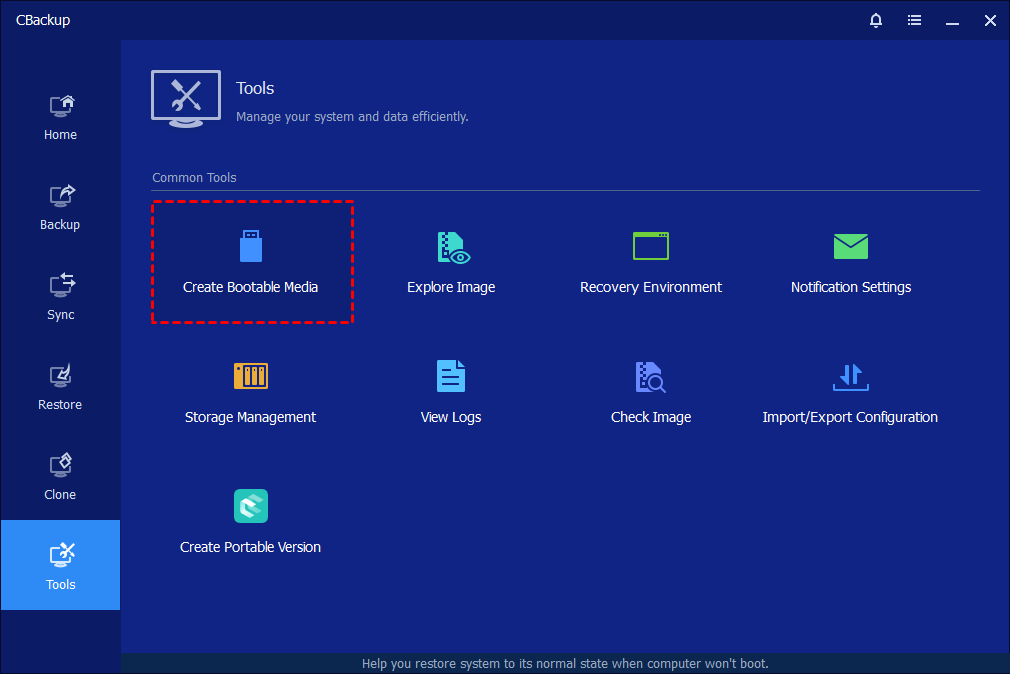
✔️ Tip: It is recommended to create a bootable media to before system crashes with CBackup.
Creating a system image backup of Windows 11 to Synology NAS with CBackup helps keep your computer fully protected from unexpected problems such as system crashes, hardware failure, or data loss. It saves your operating system, installed applications, settings, and personal files in one complete backup, so you do not need to reinstall everything from the beginning.
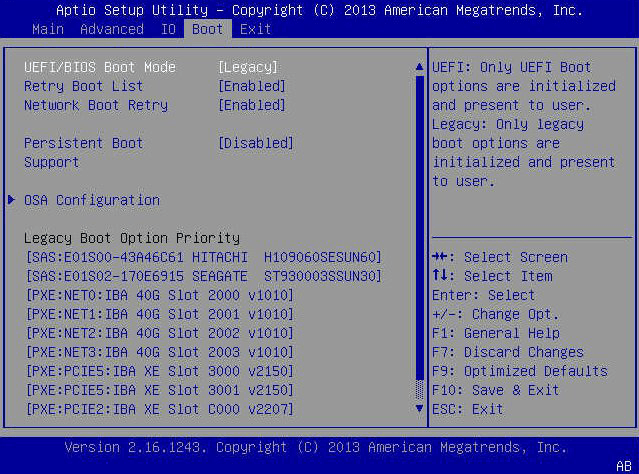
Once system crashes occur, enter the BIOS or UEFI settings and open the Boot menu. Find the Boot Sequence or boot priority option, then set your USB drive, CD, or DVD as the first boot device. Save the changes, usually by pressing F10, and restart the computer. The system will then boot from the selected recovery media, allowing the system image backup software to start and restore your Windows environment.
By setting regular backups and storing them safely on the NAS, you can keep your data secure and restore your system quickly whenever needed. If Windows fails to boot normally, CBackup also allows you to create bootable media for system recovery.
Way 2. Backup Windows 11 files with Backup and Restore
If you choose to back up Windows 11 to Synology NAS using the built in Backup and Restore feature, the setup process may require more manual configuration compared with dedicated backup software.
You need to connect the NAS correctly, enter network credentials, and ensure the shared folder has enough storage space for the backup image. In some cases, network interruptions or permission issues may also affect the backup process. This method can still help store important Windows files and system data on the NAS, but it usually involves more steps and management during setup and recovery.
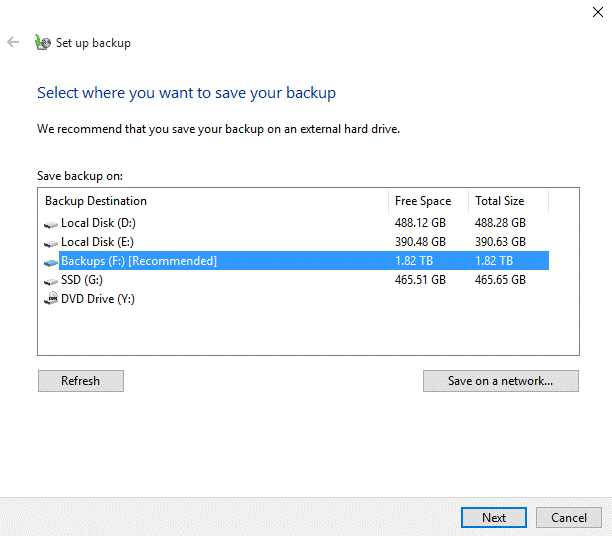
Step 1. Open the Control Panel, select Backup and Restore from the results list. Click the Set up backup option.

Step 2. Choose the backup destination. In Select a Network window, select NAS by adding a network location, enter the Synology server name or IP address, username, and password, then click Next.
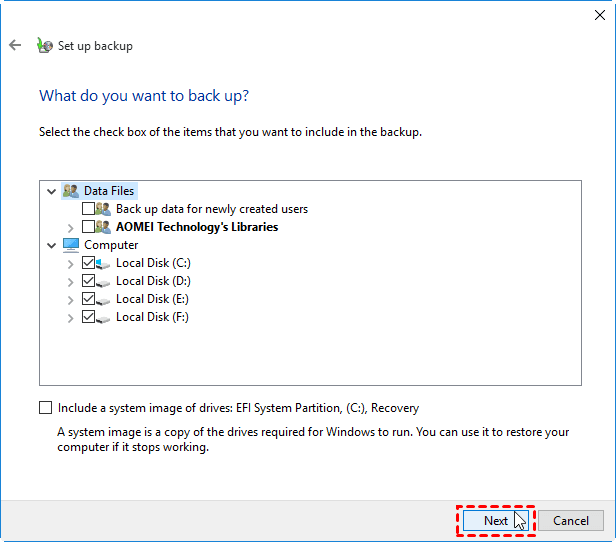
Step 3. Select Let me choose, then select the files to back up to NAS, then click Next to continue.
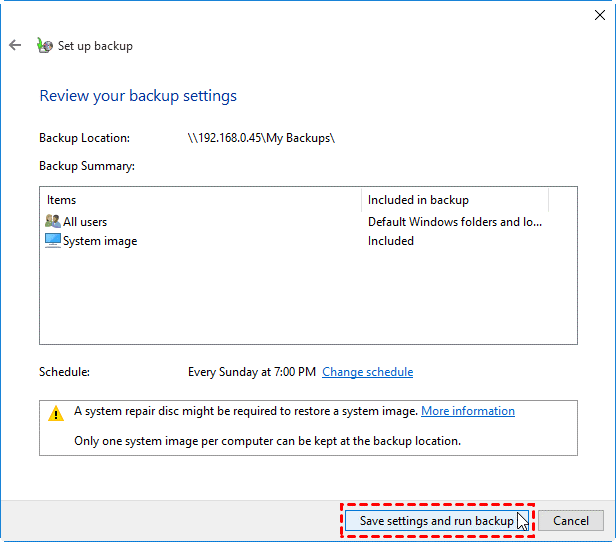
Step 4. Click Save settings and run backup to back up Windows 11 to the Synology NAS drive.
How to restore Windows system images
The system image recovery process is complicated. Please follow the guide below carefully to complete your Windows system recovery.
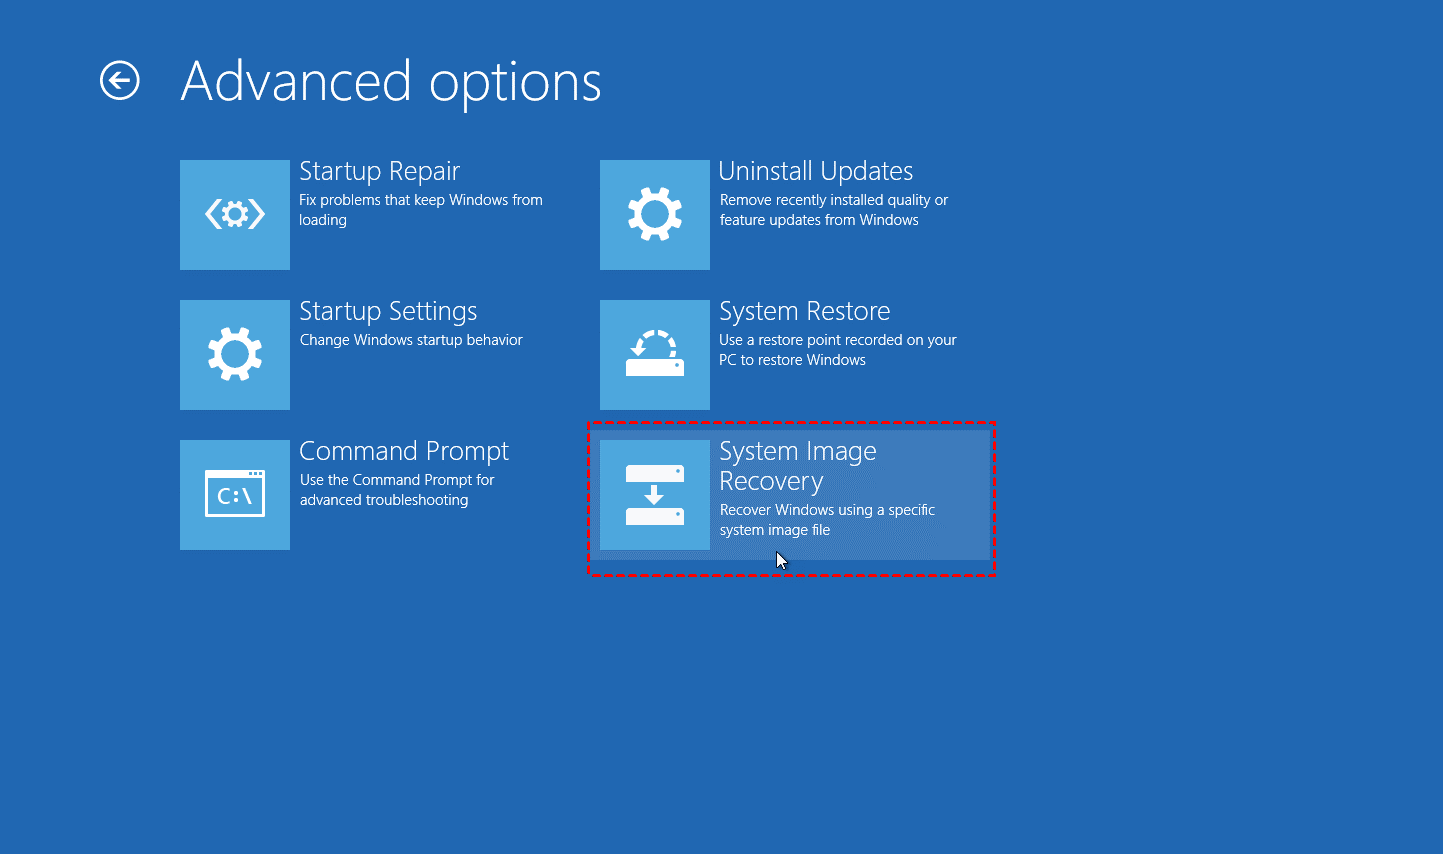
Step 1. Head toward Update & recovery under Windows 10 Settings, click Recovery > Advanced startup > Restart now in turn. Then, your computer will reboot to the Windows recovery environment.
Step 2. Click Troubleshoot > Advanced Options > System Image Recovery in order, and then choose System image recovery and select a system image backup to perform a system restore.
What Are the Advantages of Backing Up Windows 11 to NAS?
For many people, an external hard drive is the first choice for backups. It is simple and inexpensive. However, as files grow larger and more devices need protection, managing backups with portable drives can become inconvenient. This is why more Windows 11 users are turning to NAS storage.
A NAS, or Network Attached Storage device, works like a centralized backup hub on your home or office network. Instead of connecting a USB drive every time you want to create a backup, your computer can automatically save files and system images to the NAS in the background.
One of the biggest advantages is convenience. Once the backup schedule is configured, Windows 11 can back up automatically without requiring constant attention. This reduces the chances of forgetting important backups and helps keep data protection consistent over time.
NAS backup is also useful for households or workplaces with multiple computers. Rather than buying separate drives for each device, several PCs can share the same backup storage.
| Situation | How NAS Helps |
|---|---|
| Multiple computers at home | Store backups in one central location |
| Limited laptop ports | No need to plug in external drives |
| Large system image backups | Supports higher storage capacity |
| Unexpected PC failure | Makes recovery faster and easier |
Compared with ordinary external drives, many NAS systems also offer more advanced storage features. Some support RAID protection, which can help reduce the risk of data loss if a hard drive inside the NAS fails. Others include backup monitoring tools, storage expansion options, and remote management features.
Another important benefit is recovery speed. If Windows 11 becomes corrupted, infected by malware, or unable to boot, a NAS backup can help restore the system much faster. Instead of reinstalling Windows, drivers, software, and personal files separately, you can recover everything from a saved backup image.
In the long run, NAS storage is often a more practical solution for users who regularly back up large amounts of data or manage several devices. It combines automatic backup, centralized storage, easier management, and reliable long term protection in one system.
Conclusion
Backing up Windows 11 to a Synology NAS is a smart way to protect your system, applications, and personal files from unexpected data loss. The keyword backup Windows PC to Synology NAS is often used by users looking for a reliable method to store full PC backups on a network-attached storage device instead of relying only on local storage. Whether you choose CBackup for an easier and more automated experience or use the built-in Backup and Restore feature in Windows, both methods can help keep your important data safe.
Compared with traditional external drives, a NAS provides larger storage capacity, centralized management, and more convenient access for long-term backup protection. By creating regular backups and preparing recovery media in advance, you can restore your Windows 11 system quickly whenever system crashes, hardware failures, or other problems occur.
FAQs
1. Can Windows 11 automatically back up to a Synology NAS?
Yes. How to backup Windows to Synology NAS files or system images to a Synology NAS using built in tools like Backup and Restore or third party backup software. Most backup programs also support scheduled backups, allowing backups to run daily, weekly, or monthly without manual operation.
2. Is it better to back up Windows 11 to a NAS or an external hard drive?
A NAS is often more convenient for long term backup because it stays connected to the network and supports automatic backups from multiple devices. It also usually provides larger storage capacity and better data protection features compared with a standard external hard drive.
3. Does CBackup support Synology NAS backup on Windows 11?
Yes. CBackup supports backing up Windows 11 systems, disks, partitions, and files directly to Synology NAS devices. It also supports scheduled backup, incremental backup, and system recovery features to help protect important data.
4. Can I restore Windows 11 from a Synology NAS after a system crash?
Yes. If you create a system image backup and prepare bootable recovery media in advance, you can restore Windows 11 from the backup stored on the Synology NAS even when the computer cannot boot normally.
5. Why is my Windows 11 backup to Synology NAS failing?
Backup failures may happen because of network interruptions, incorrect NAS permissions, insufficient storage space, corrupted system files, or backup service errors. Some users also report issues related to scheduling conflicts or disk problems during the backup process.

Free Get CBackup Now
Secure & Free
