
Better Way to Backup Windows 11 Files on Schedule
In this article, you will know how to get Windows 11 auto backup. We provide not only local backup ways but also cloud backup software.
by CBACKUP Lasted Updated October 8, 2024
Why Do We Need Backup?
Nowadays, data plays a more significant role in daily life so data safe has become a big problem for us. There are too many situations that may be a challenge to data safe such as hard drives crashing, computer viruses, or data and files can be deleted or corrupted accidentally. Besides, when you need to upgrade to a new computer, you also need to back up your files.
Windows 11 is the latest Windows version for all of us, and it has many issues since the release, if you have upgrade to Windows 11, it’s necessary to create Windows 11 auto backup to protect your data.
Can We Back Up Windows 11 Automatically?
Though backup is important for users, it is a complex job. Setting up Windows 11 auto backup becomes a necessary task. There are several Windows 11 backup options to help you back up Windows 11 files automatically, including built-in features and third-party backup tools. Continue to read and choose anyone to set up your Windows 11 auto backup.
4 Ways to Achieve Windows 11 Auto Backup
It is necessary for you to backup automatically so that it can greatly improve working efficiency. Here we prepared 4 Windows 11 backup software to help you back up automatically in Windows 11:
Way 1. Back Up with File History
File History has been the main backup tool for the Windows systems for a long time, which is recommended by Microsoft for backing up files. File History is different from Backup and Restore for its important purpose is to help you back up your personal files rather than creating a whole system image.
Follow these steps to use Windows 11 backup File History to achieve Windows 11 auto backup:
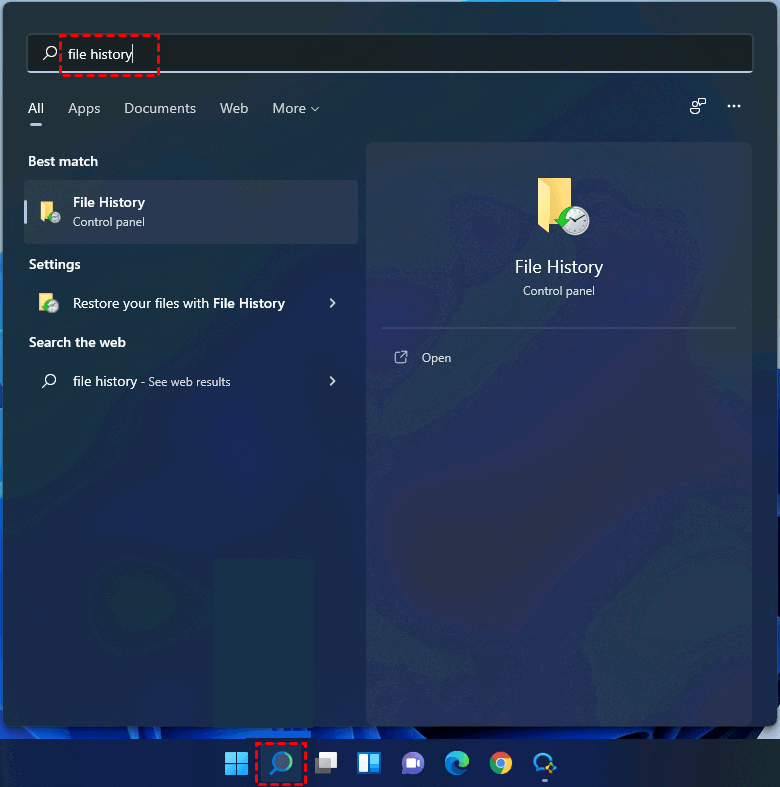
Step 1. Click on the search icon in the taskbar, and type file history in the search column.
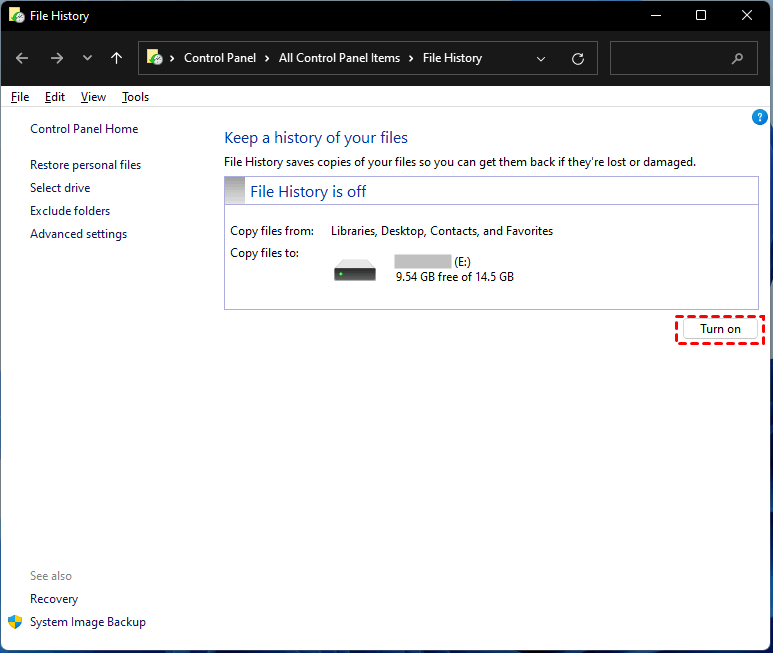
Step 2. Click on the Turn On button to enable File History.
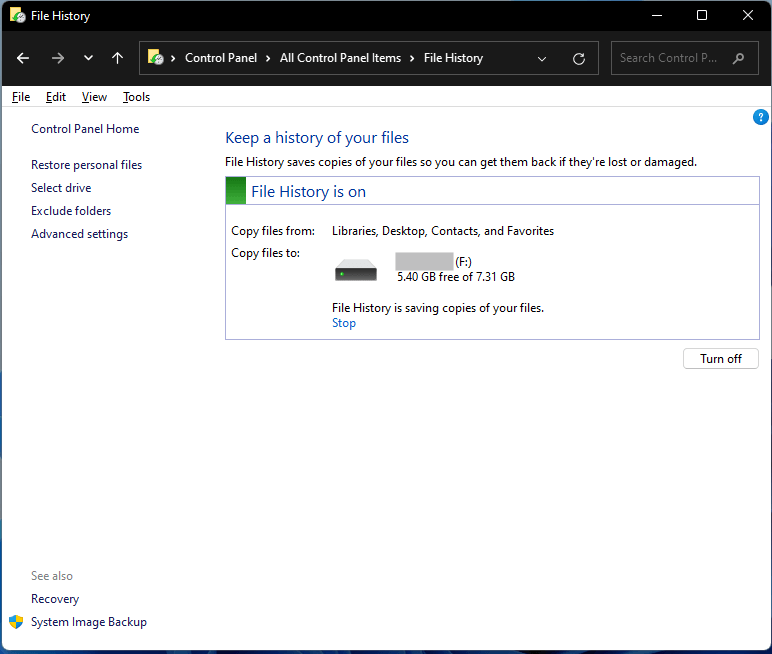
Step 3. When you see the following page, File History is on to perform Windows 11 backup files.
Way 2. Back Up Using Windows Backup and Restore
Backup and Restore is the main backup tool of Windows. It can set up file and folder backups and system images backups, which is the help of recovery after data corruption, hard disk drive crash, or malware infection. Windows 11 Backup and Restore also provides the same features as it does before the Windows version. You can follow the steps to set up Windows 11 auto backup:
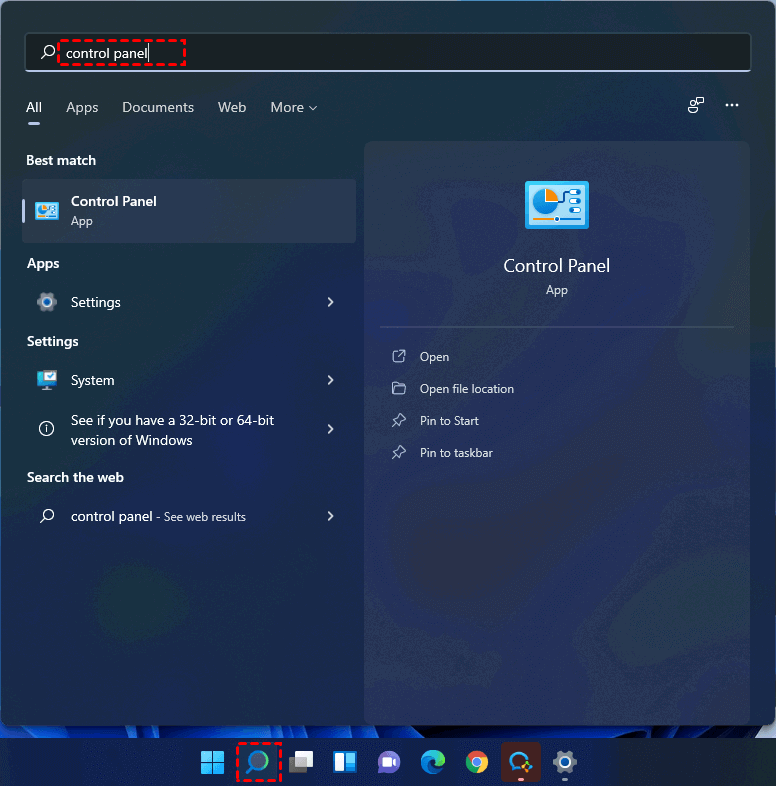
Step 1. Click on the search icon in the taskbar, and type control panel in the search column.
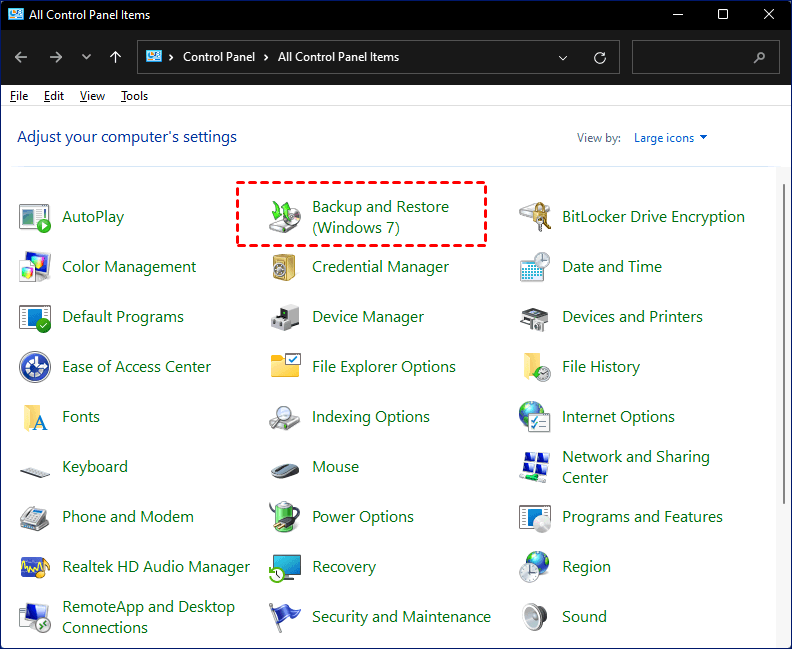
Step 2. Go to Control Panel, and select Backup and Restore(Windows 7).
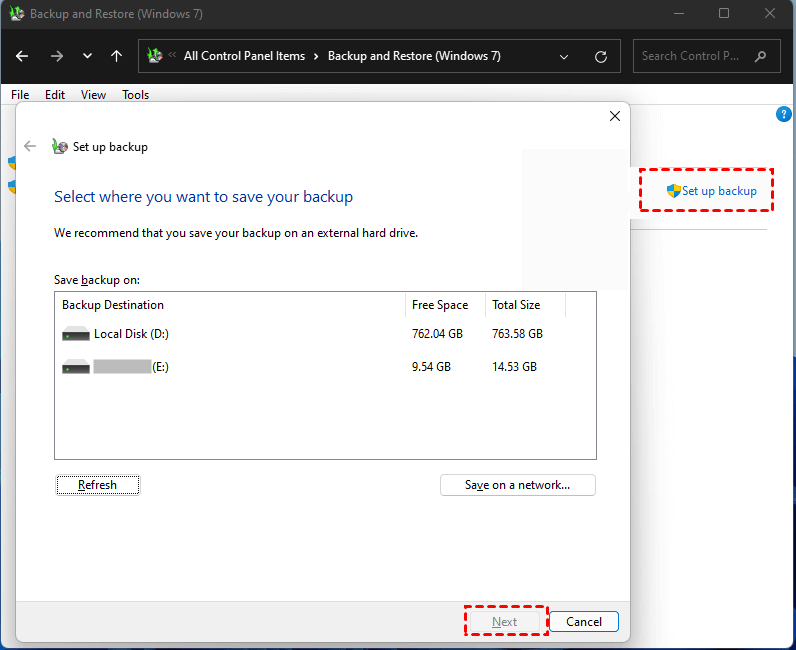
Step 3. Click the Set up backup button to set backup tasks: you can choose the backup destination that you want to save your backup. Then click Next to continue.
Step 4. Select what do you want to back up:
- Let Windows choose (recommended): Windows will back up data files in libraries, on the desktop, and in default Windows folders. They will be backed up on a regular schedule.
- Let me choose: You can select libraries and folders in the backup. The items you choose will be backed up on a regular schedule.

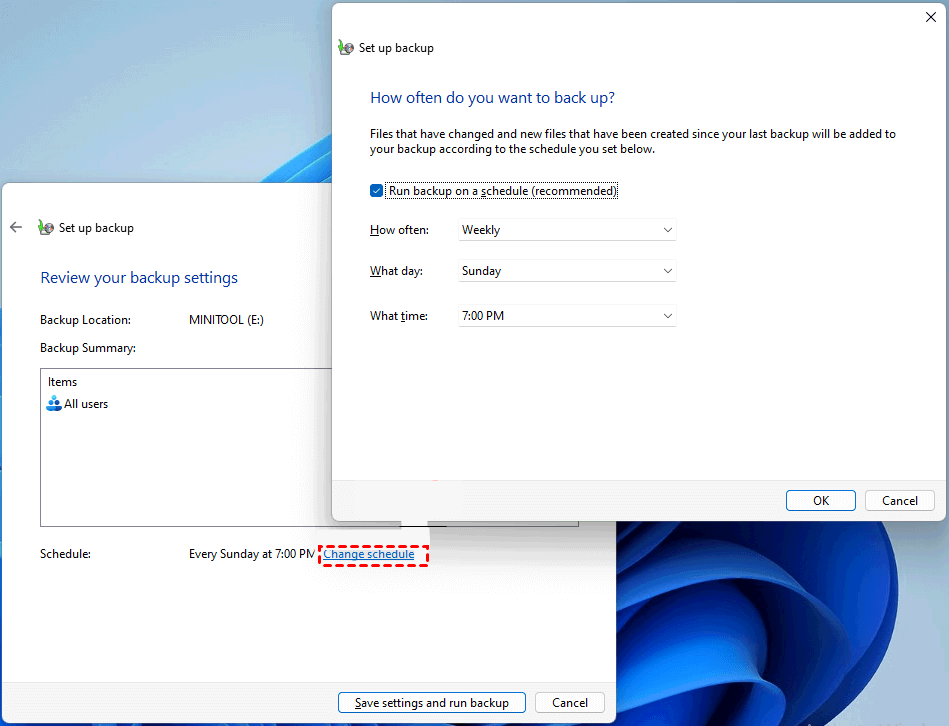
Step 5. You can set up a schedule to back up your files automatically at a frequency that you want. Click the Change schedule to make your settings, and backup Windows 11 automatically.
Way 3. Back Up to OneDrive
OneDrive supplies cloud backup services provided by Microsoft. It gives each account user 5GB of free storage space. You can set up OneDrive auto backup on both Windows PC and Mac. In Windows 11. Microsoft adds OneDrive synchronization to Setting, which makes your backup easier. Follow the steps below to set up Windows 11 auto backup with OneDrive:
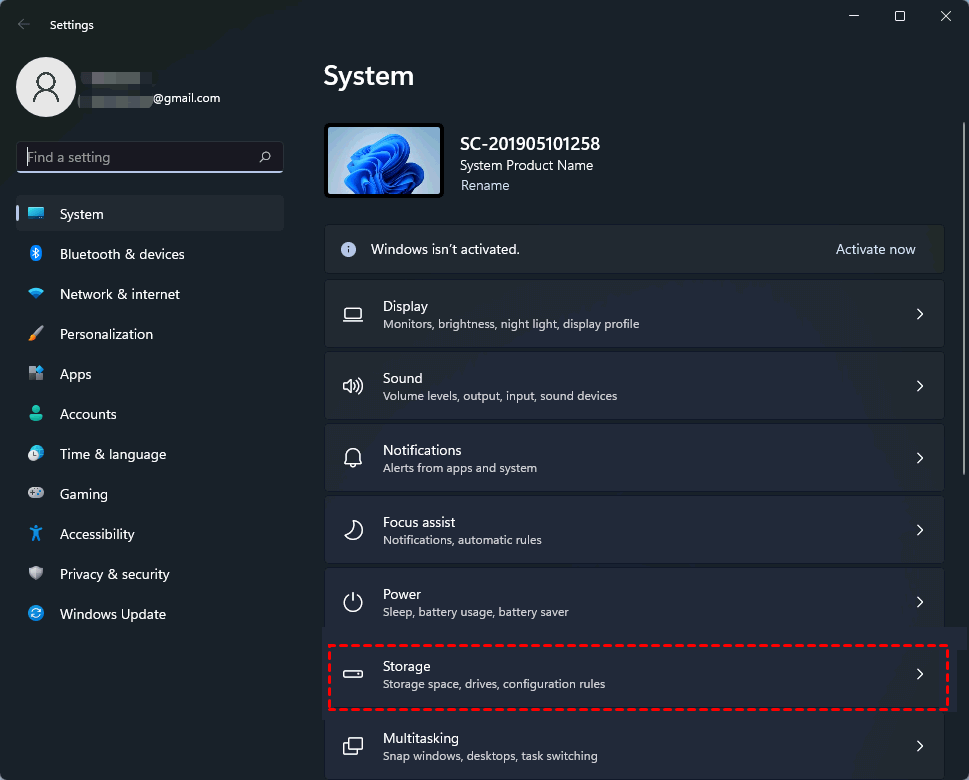
Step 1. Click the Windows Start icon and select the Settings icon. Find the Storage option in the default System tab, and click on it.
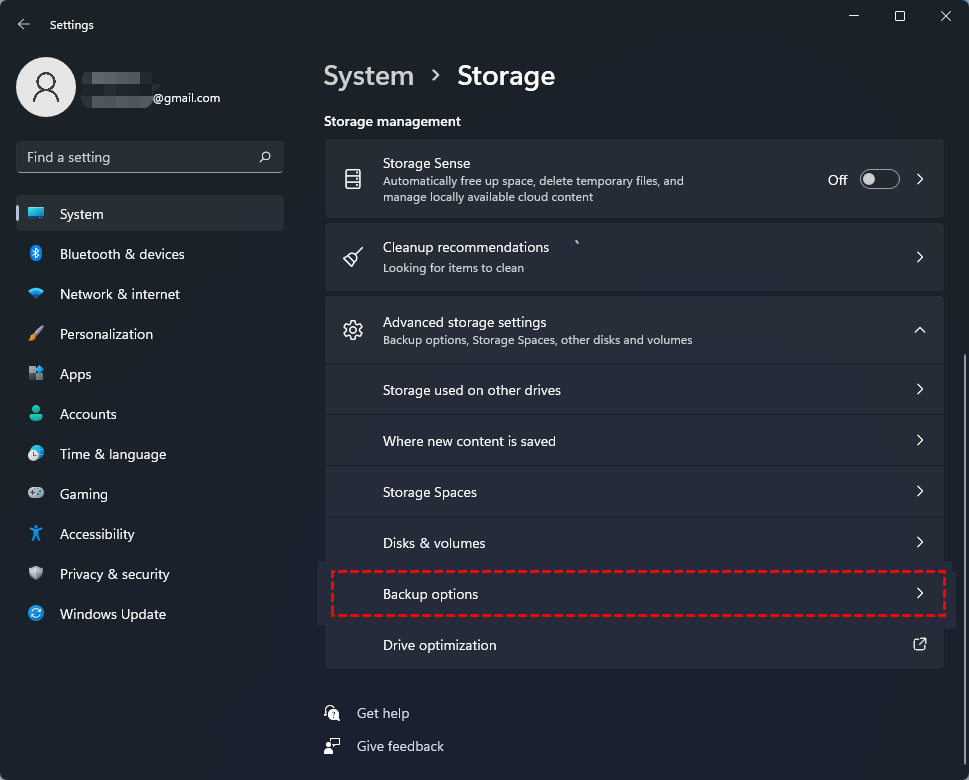
Step 2. Click on the Advanced storage settings and select Backup options.
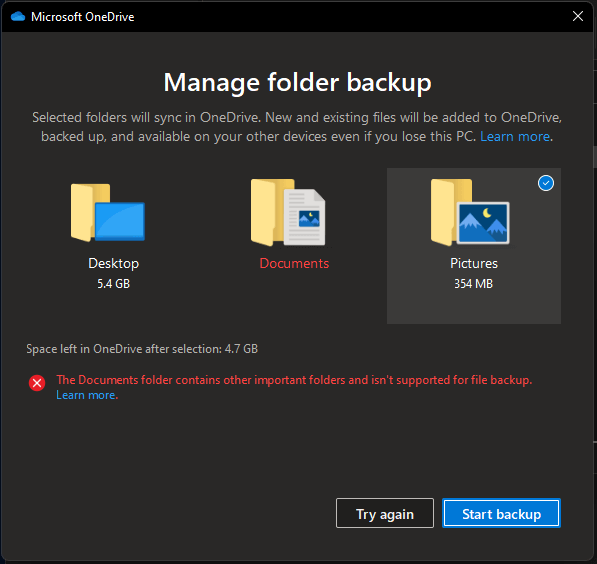
Step 3. Click the Manage sync settings within the OneDrive folder syncing option. The folders you select will be protected and available across your devices.

Step 4. You can manage and choose folder backup in Windows 11 OneDrive. The files you selected will be available on other devices even though you lose this PC.
Way 4. Back Up via CBackup
Besides the Windows built-in features and OneDrive desktop app, you can also use a free Windows 11 backup software for cloud backup – CBackup. CBackup not only offers a safe and stable data backup service but also provides some personalized features to make your backup tasks easy and fast.
- CBackup allows users to backup local files on Windows 11/10/8.1/8/7/Vista/XP to clouds for free including OneDrive, Google Drive, Dropbox, cloud, even the combined cloud.
- CBackup also has a free feature of Scheduled Backup. This function can help you to set up a backup task automatically. You can choose the backup frequency you want on a daily, weekly, or monthly basis, which can make your backup tasks easy and convenient.
- CBackup not only backup your files to cloud but also back up your system, partition, or entire hard disk, even multiple hard drive at one time, provides flexible Windows 11 backup options.
Below steps will show you how to backup and restore Windows 11 with CBackup, let's get started.
Backup Windows 11 Automatically
Now let’s see how to set up Windows 11 auto backup tasks via CBackup:
1. Download CBackup on your computer. Create a new account of CBackup and sign in to it in the CBackup desktop app.
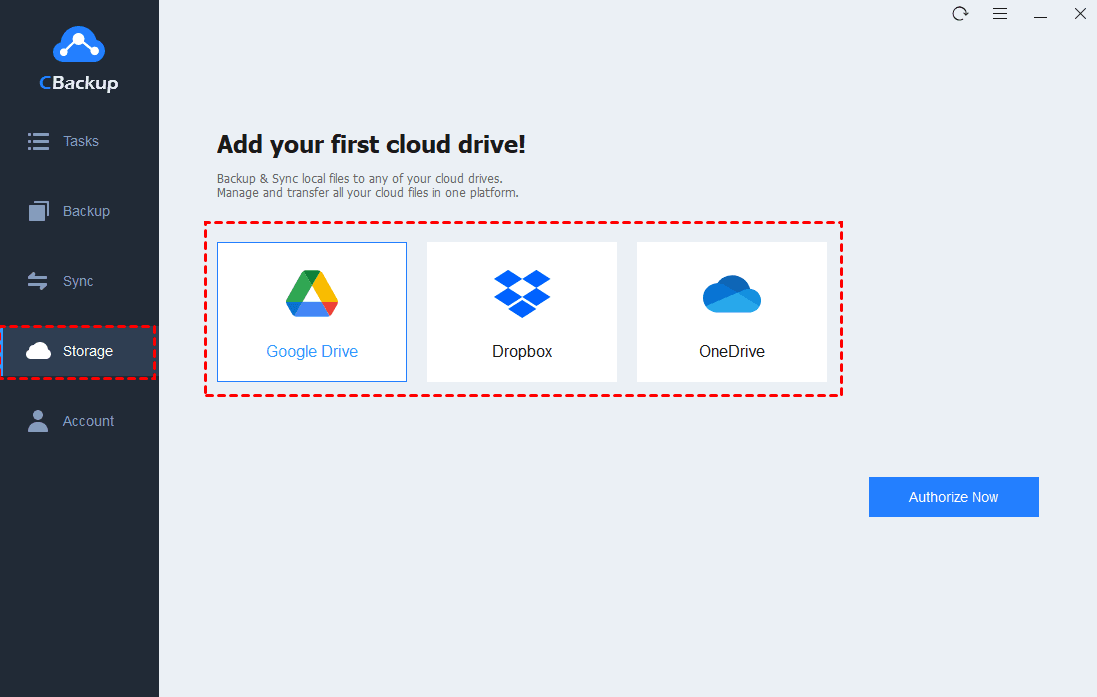
2. Select the Storage. Take OneDrive as an example, then select OneDrive and click Authorize Now. then follow the steps to grant access to CBackup.
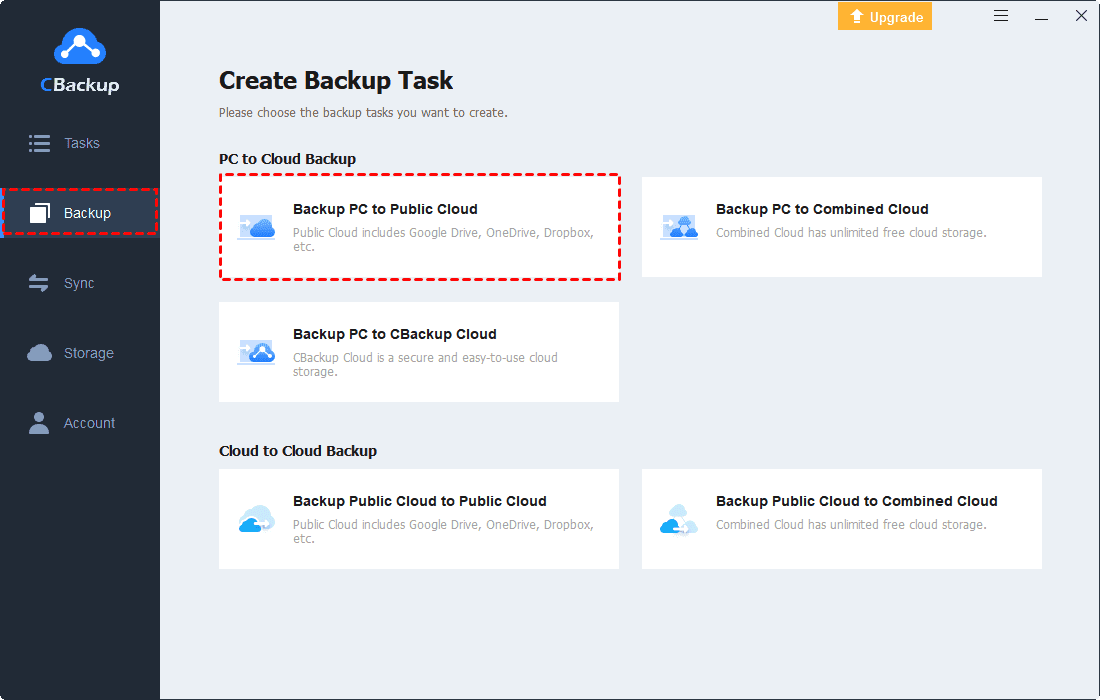
3. Choose Backup > Backup PC to Public Cloud to create a new backup task.
4. Choose the data from Windows 11 that you want to backup, then select the added OneDrive account as the backup destination.
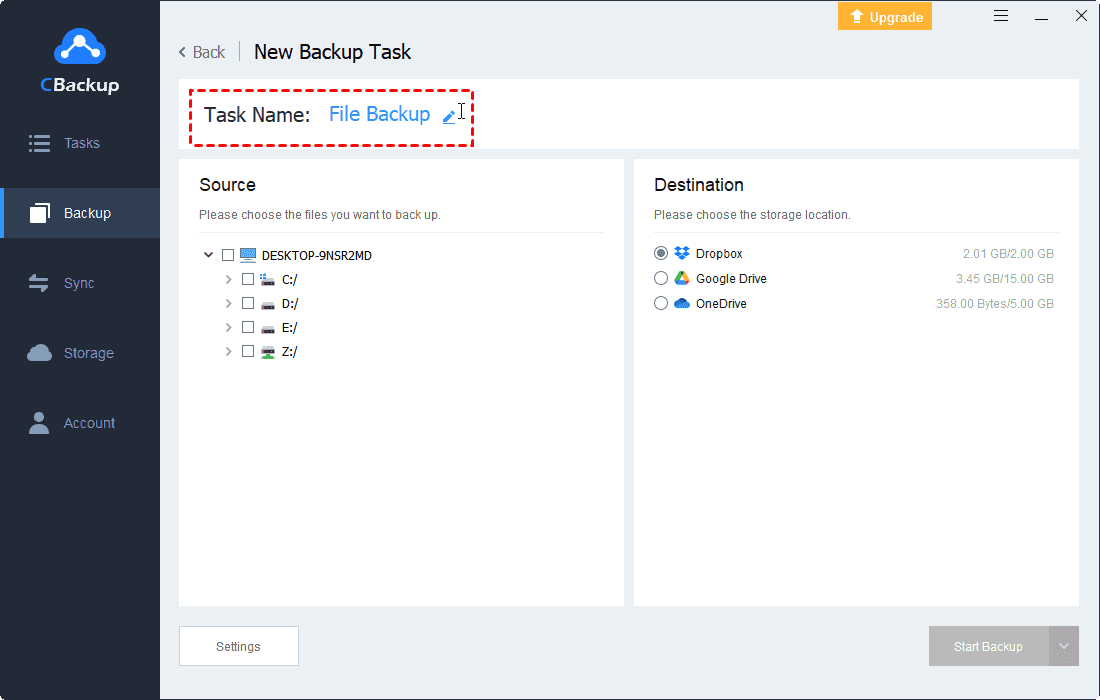
5. (Optional) Click the Settings on the bottom left, then tick Set a backup schedule for automated backup.

6. Press Start Backup to begin the Windows 11 backup easily,

Restore Windows 11 Easily
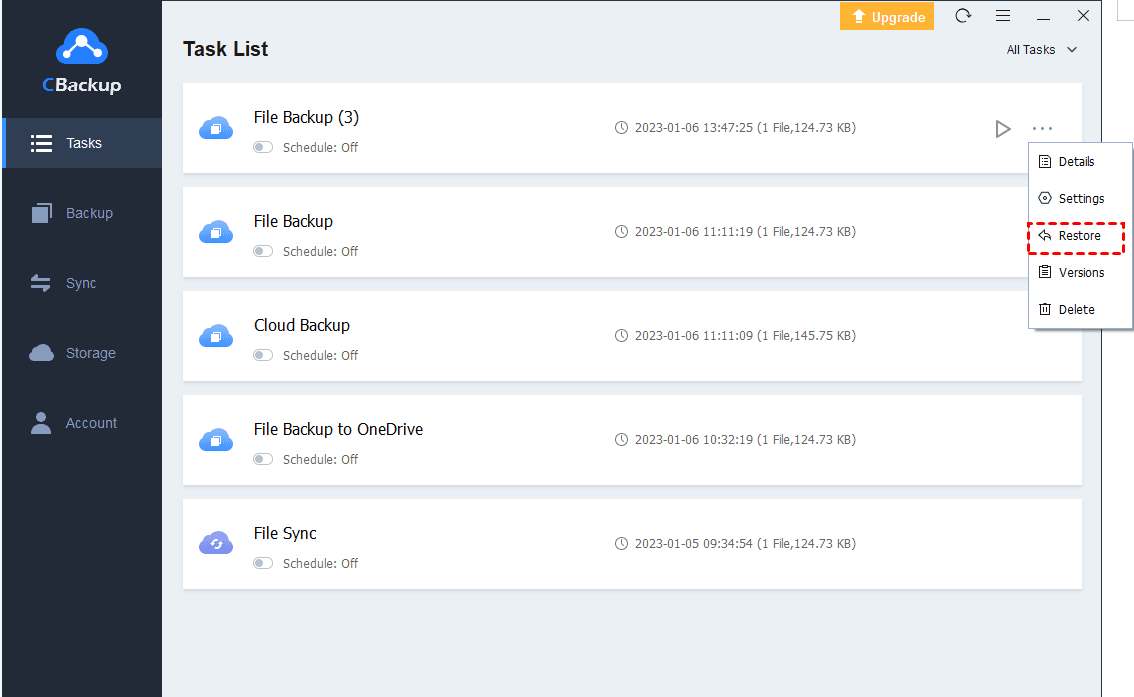
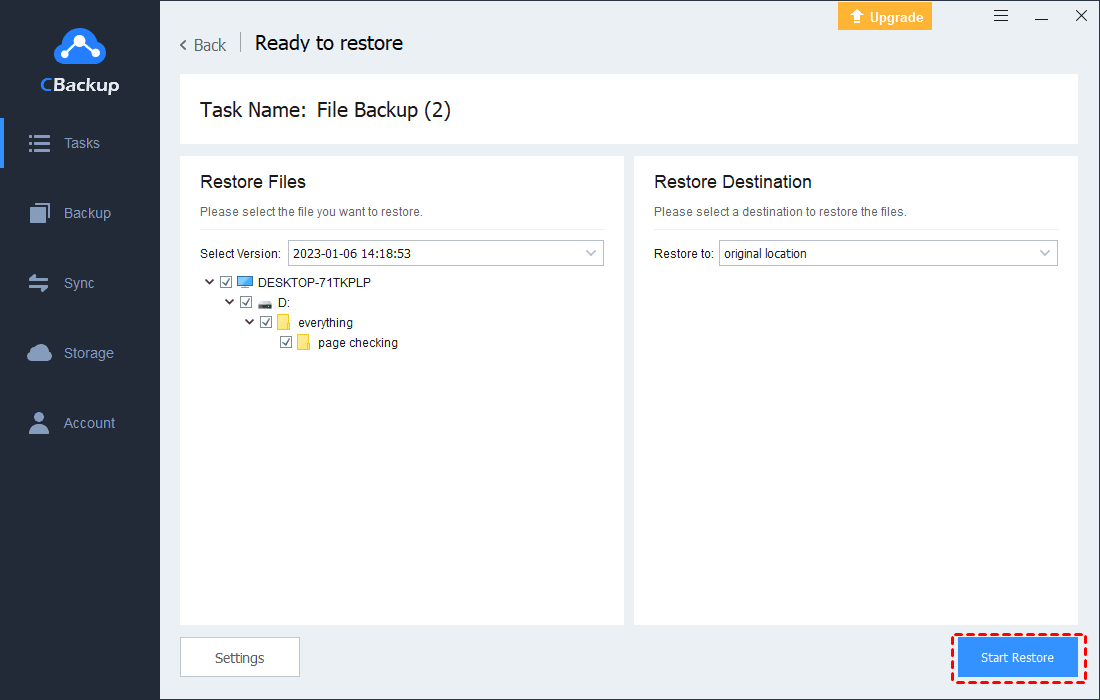
1. Find the Windows 11 auto backup task, click the three dots icon and select Restore.
2. Open the drop-down menu of the Select Version button to select the version of files you want to restore, and choose original location (you could also choose other location to recover files to a new location).
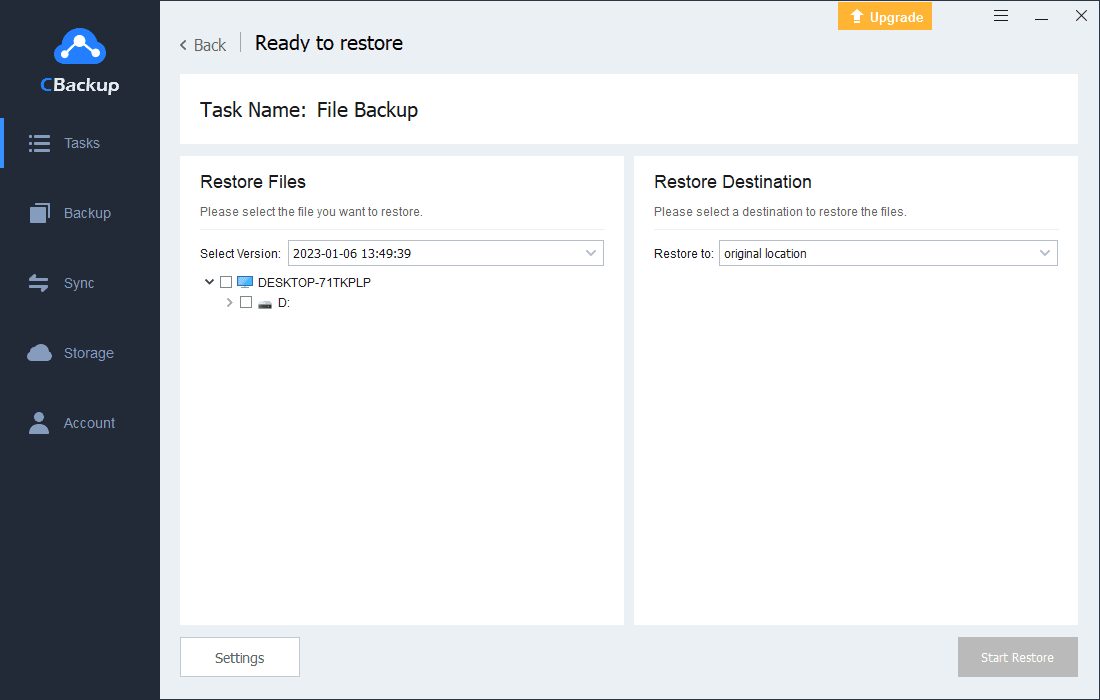
3. Click on the Start Restore button to restore Windows 11 backup image easily.
Besides, CBackup the following convenience for you while protecting files:
- Supplies free backup service from cloud to cloud backup. You can back up your files from one drive to another effectively, as well as sync files between cloud storage directly without downloading and uploading manually.
- Offers 5GB cloud backup space of cloud for free. If you need more space, you can upgrade to get extra cloud storage space.
Written in the End
That’s all about how to set up Windows 11 auto backup. You could backup Windows 11 to external drive, even the cloud. And choose the Windows built-in feature or backup any folder to OneDrive. We also recommend you the professional backup tool – CBackup. With it, you can enjoy more cloud storage for free and personalize features.

Secure & Free
