
3 Effective Ways to Transfer Files Between Laptop and Desktop
On this page, 3 different ways to transfer files between laptop and desktop will be introduced. You can continue reading and pick one according to your needs.
by CBACKUP Lasted Updated June 10, 2025
Can I connect my laptop to my desktop to transfer files?
“I often travel for work, but always edit my files on my desktop. To save time, would it be possible to edit my files on my laptop and then continue working on them on my desktop when I get home? When I get home, I would like to transfer the edits from my laptop to my desktop and then continue working on them on my desktop. Whatever is a useful answer, thank you.”
As mentioned in the user case, many users have more than one computer and need to transfer files between their laptop and desktop for work. So, it is important for you to know how to share files between a desktop and a laptop in a quick way.
How to transfer files between a laptop and a desktop
Thus, how to share files between a laptop and a desktop? Here we prepare 3 different methods for it. You can use a Windows tool, an easy cloud storage service, or a cloud sync service. Besides, you can choose to use NAS devices or external hard drives as a transit for file transfer.
Solution 1. Use Windows Easy Transfer
First, you can use an application in Windows called Windows Easy Transfer. Windows Easy Transfer allows you to transfer files, folders, photos, music, videos, and emails. Windows Easy Transfer allows you to transfer data files from Windows 7/8/RT to Windows 8.1. But this method is not suitable for Windows 10/11 users because it is replaced by PCmover, which needs to be paid for.
So let’s see how to use Windows Easy Transfer to do a laptop to PC file transfer from Windows 7 systems:
1. Connect your laptop and desktop to the same network.
2. On your laptop, click the Start icon and search for Windows Easy Transfer to click it.
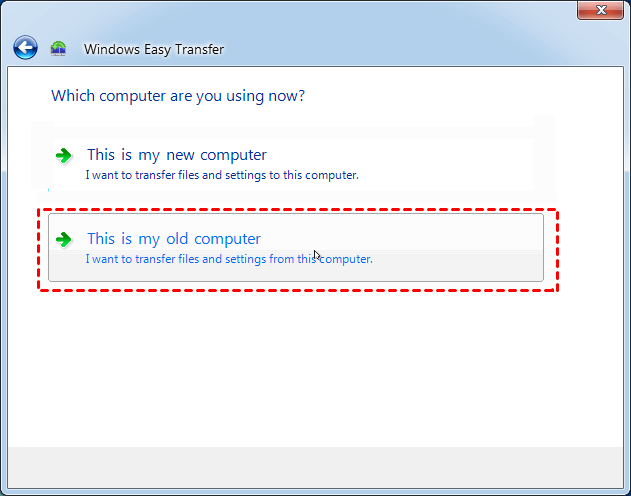
3. On the welcome window, click Next. And click A network > This is my old computer.
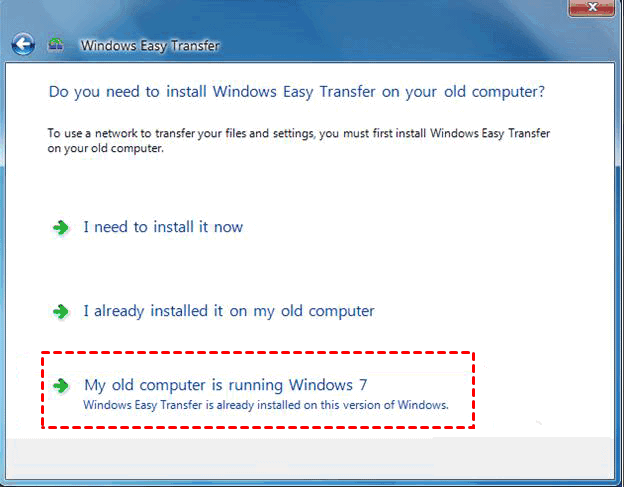
4. On your desktop PC, launch the Windows Easy Transfer likewise. Repeat the steps above, and click My old computer is running Windows 7 then. Type in the Windows Easy Transfer key and select Next.
5. Then your network will appear Connected. It will check for a few minutes. After that, you can choose the files you need to transfer.
Solution 2. Use a cloud storage service
If you are using Windows 10/11, then the above kind of method is not for you. However, you can consider using this method, and it will run smoothly no matter which version of your computer you are running, using a cloud storage service to share files between your PC and laptop. Cloud storage is widely used for file storage. It can also help you transfer files between a laptop and a desktop. Here we take OneDrive, one of the most famous cloud storage services, as an example to transfer files.
♦ Part 1. Transfer files via the cloud storage desktop app
Basically, you can use the OneDrive desktop application to make file transfer easier. Just follow these steps easily:
1. If you are using a computer based on Windows 10/11, the OneDrive desktop app is already installed. Otherwise, download and install the app on your phone first.
2. Launch the OneDrive app and sign in to your account. Complete the OneDrive step following the instructions.
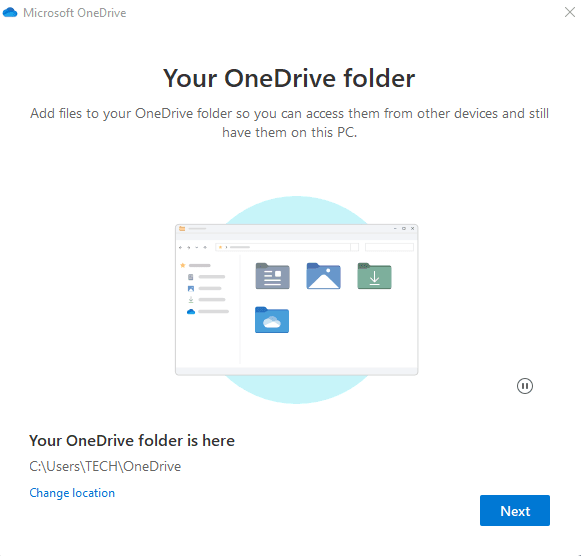
3. Then you will have a OneDrive folder on your computer. Drag and drop your files into it on one of your PCs.
4. After that, log in to your OneDrive account on the other PC, and OneDrive will sync these files to the folder on the latter device.
♦ Part 2. Transfer files with free cloud backup software
Though OneDrive is an easy-to-use cloud service, there are also some errors that may occur with it, like OneDrive not syncing all files. For this, you can consider using the free cloud backup software - CBackup to help you transfer files to cloud storage. CBackup allows you to add different cloud drive accounts to it, which means you can transfer files from your PC to the cloud directly. Let’s see how to transfer files from your computer to OneDrive via CBackup:
1. Download and install the CBackup desktop app on your laptop or desktop. Sign up for a new CBackup account, then launch the client and log in to it.
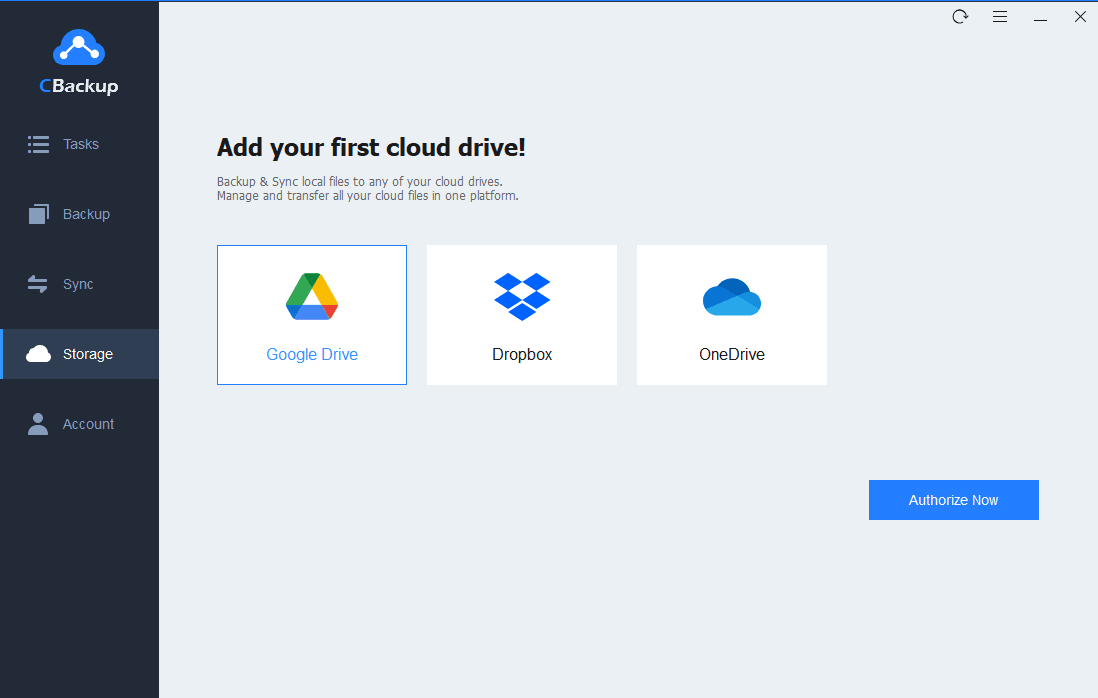
2. Select the Storage tab, and select OneDrive to Authorize Now.
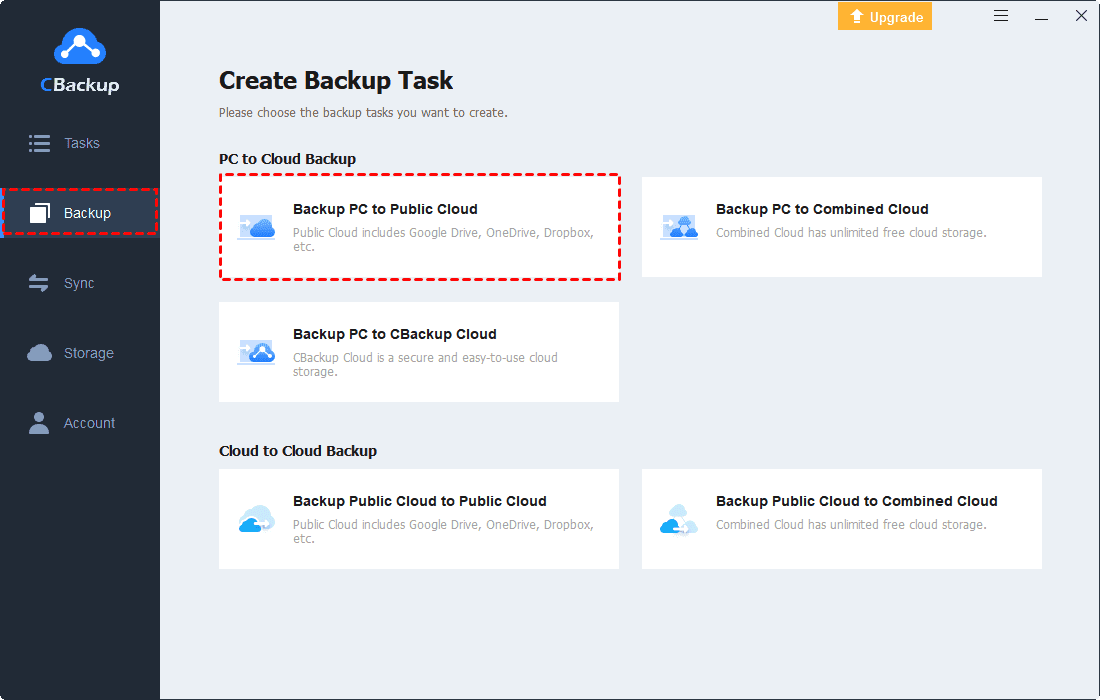
3. Next, click on Backup and click the Backup PC to Public Cloud button.
4. You can edit the Task Name and add local files on your laptop or desktop for backup. Then choose the added OneDrive account.
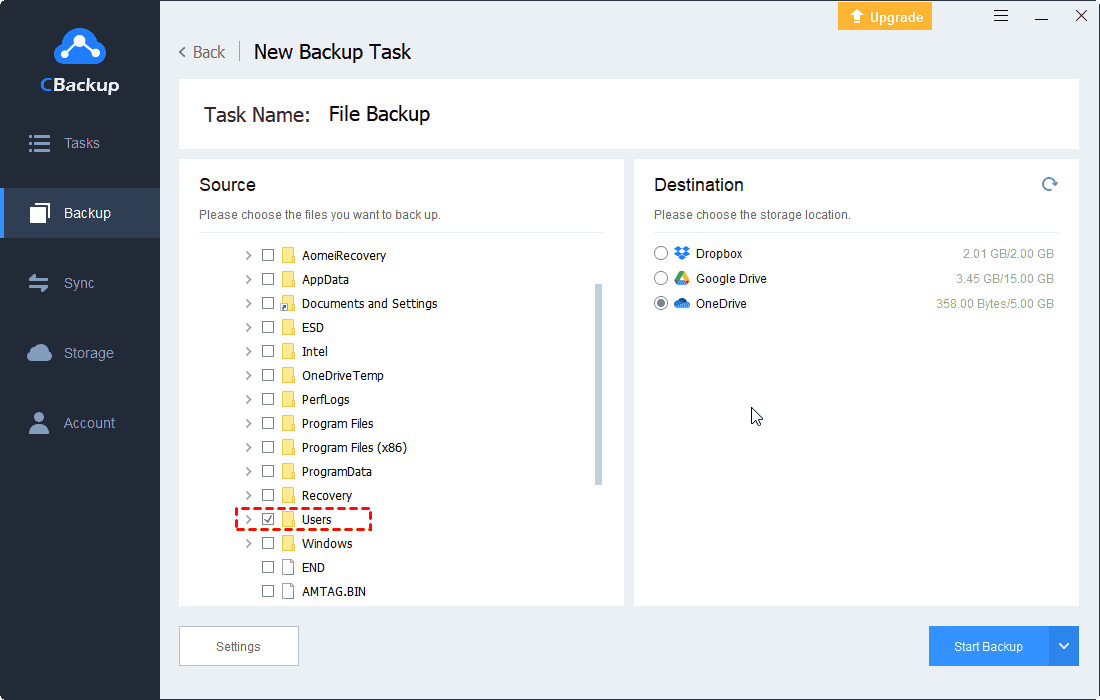
5. Finally, click the Start Backup button to transfer files from your computer to OneDrive.

⇒ Note: If you want to set up a OneDrive auto backup, you can go to Settings to configure Scheduler, which will make your backup tasks be performed regularly and automatically, saving much time and effort for you.

After the above, you can upload files to cloud storage services like OneDrive via CBackup on your laptop, then log into the cloud storage account on the desktop to view and edit, download the files, which means you can transfer files between laptop and desktop with ease.
Solution 3. Use a cloud sync service
If you want to transfer files between a laptop and a desktop that belong to different users, and they use different cloud drive accounts, we recommend you to use the cloud-to-cloud sync feature in CBackup. CBackup allows you to add cloud drive accounts, including Google Drive, OneDrive, Dropbox, and FTP/SFTP. Then you can transfer files between any two of them for free, like transferring files between Dropbox accounts. Here are the detailed steps to use it to transfer files between different cloud drive accounts:
1. Go to the CBackup website and log in to your account.
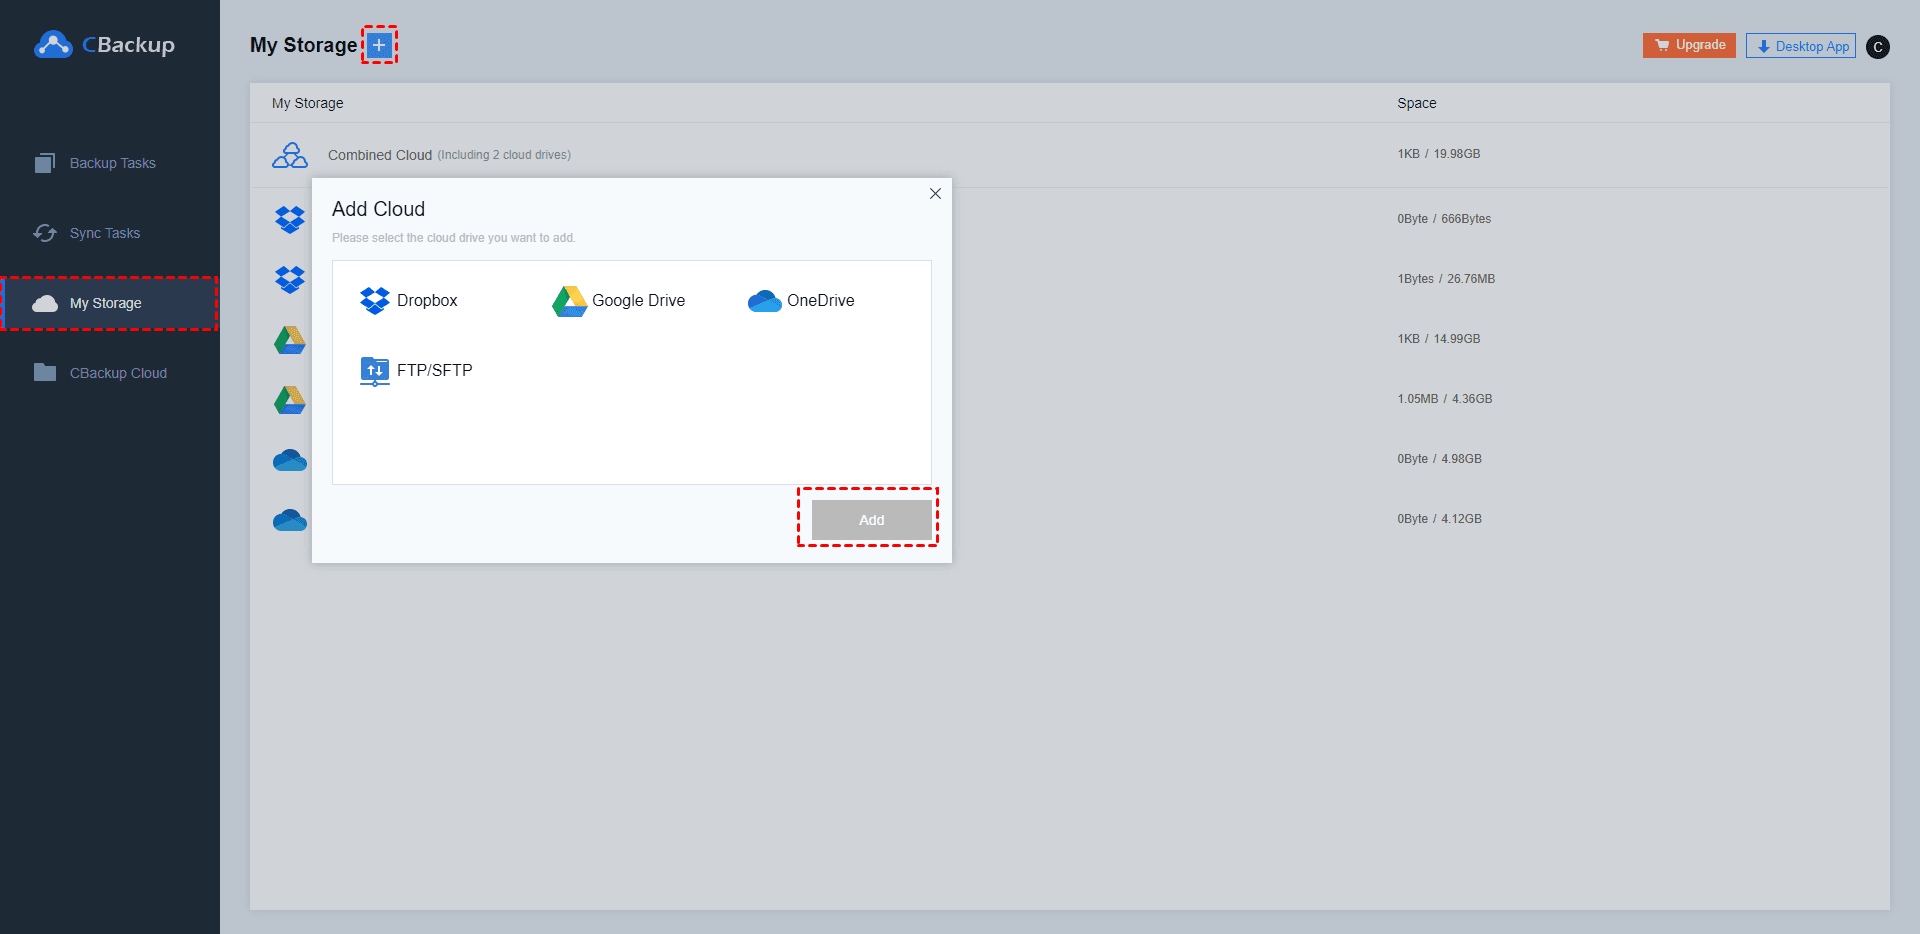
2. Choose the My Storage tab, click on the + button to add the Cloud you need.
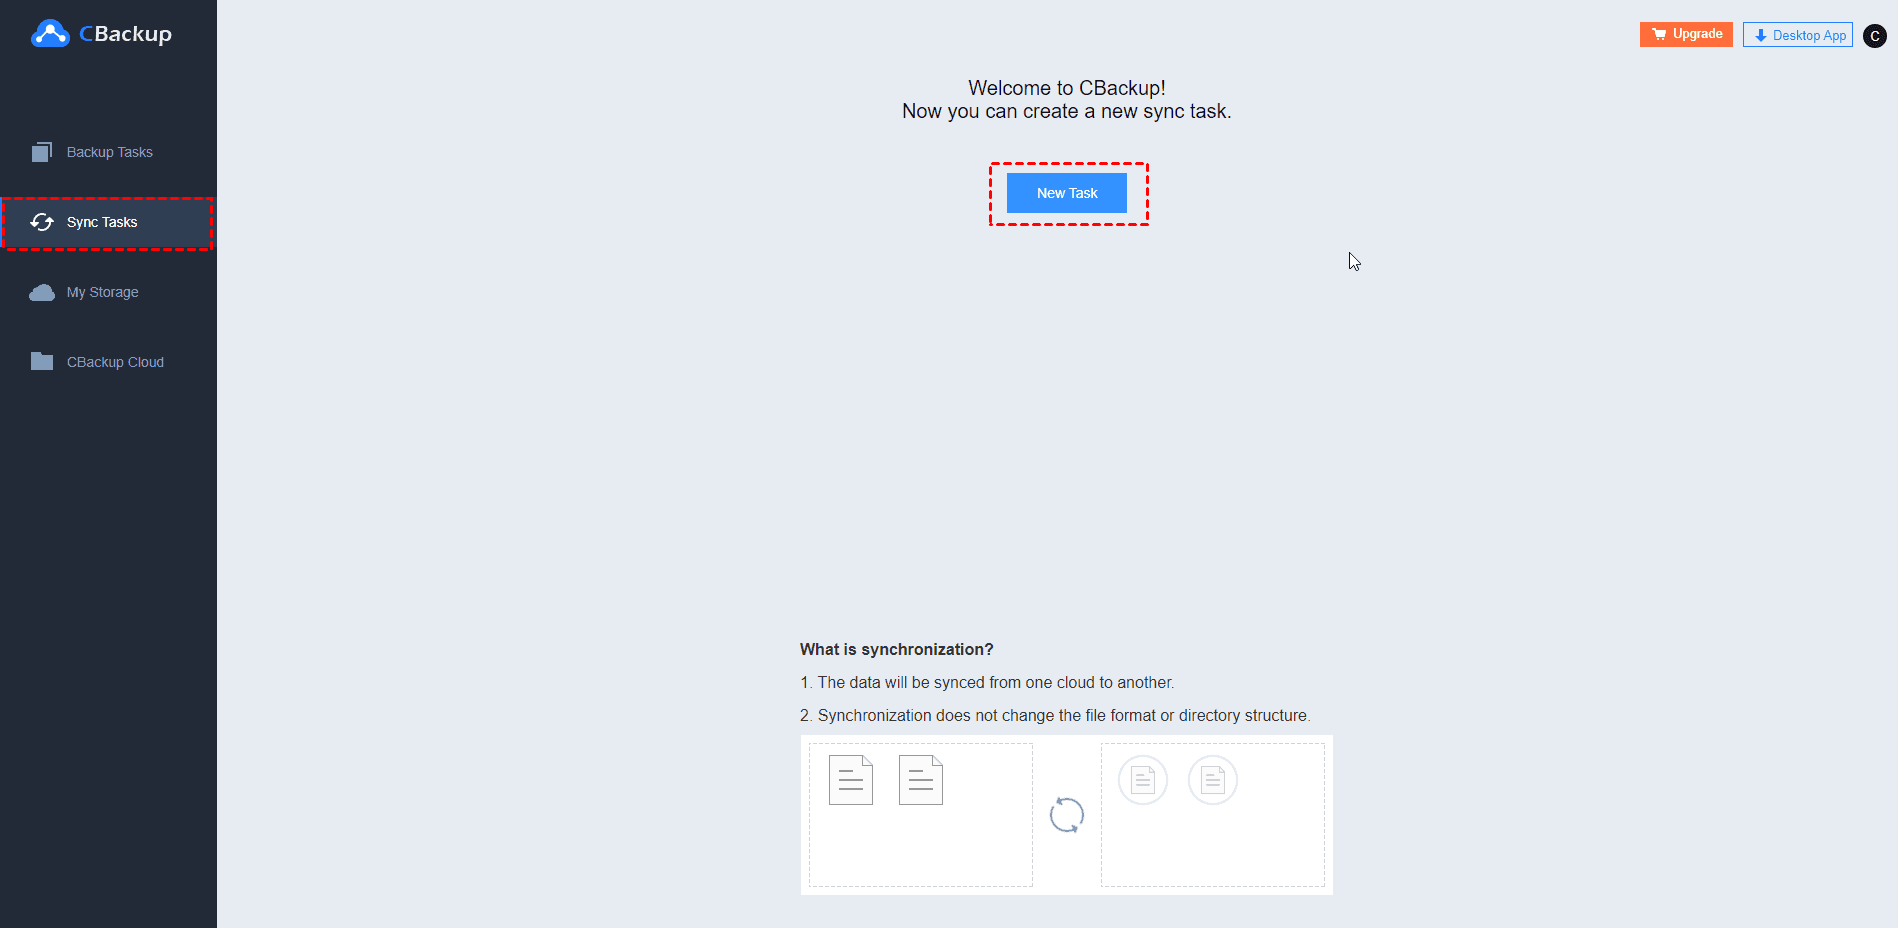
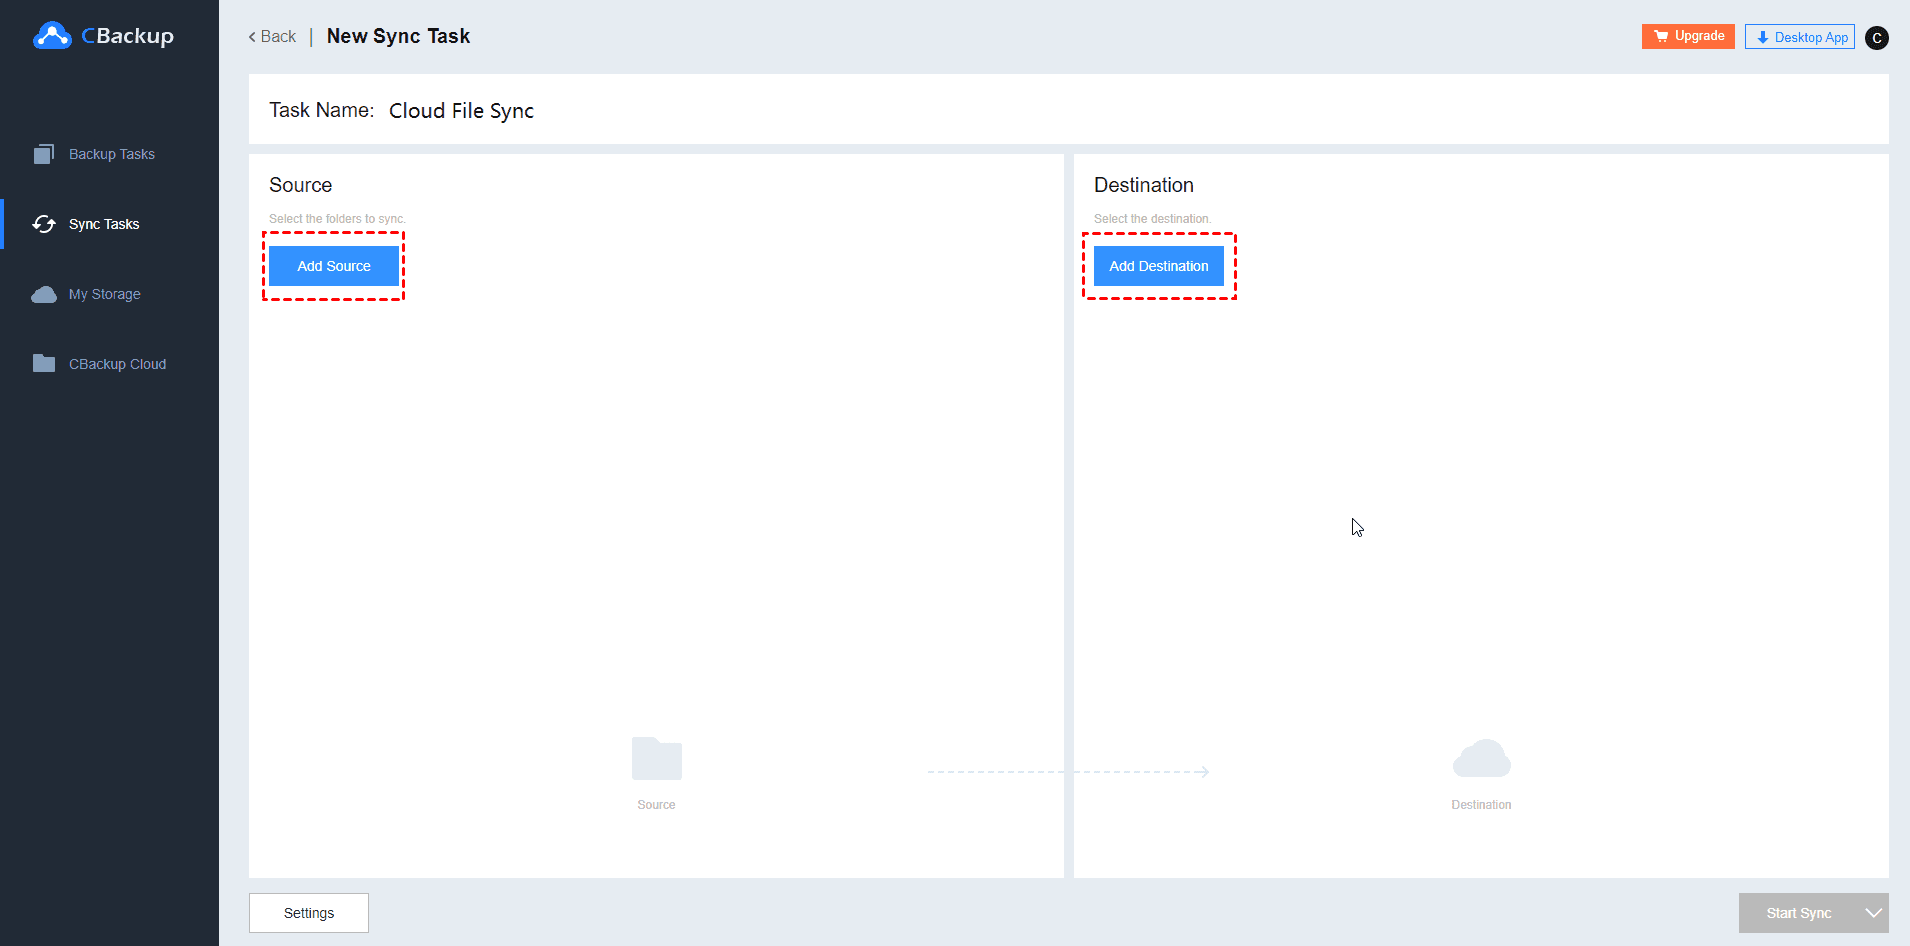
3. Next, click the Sync Tasks section, press the New Task button to create a new task to transfer files between the laptop and desktop.
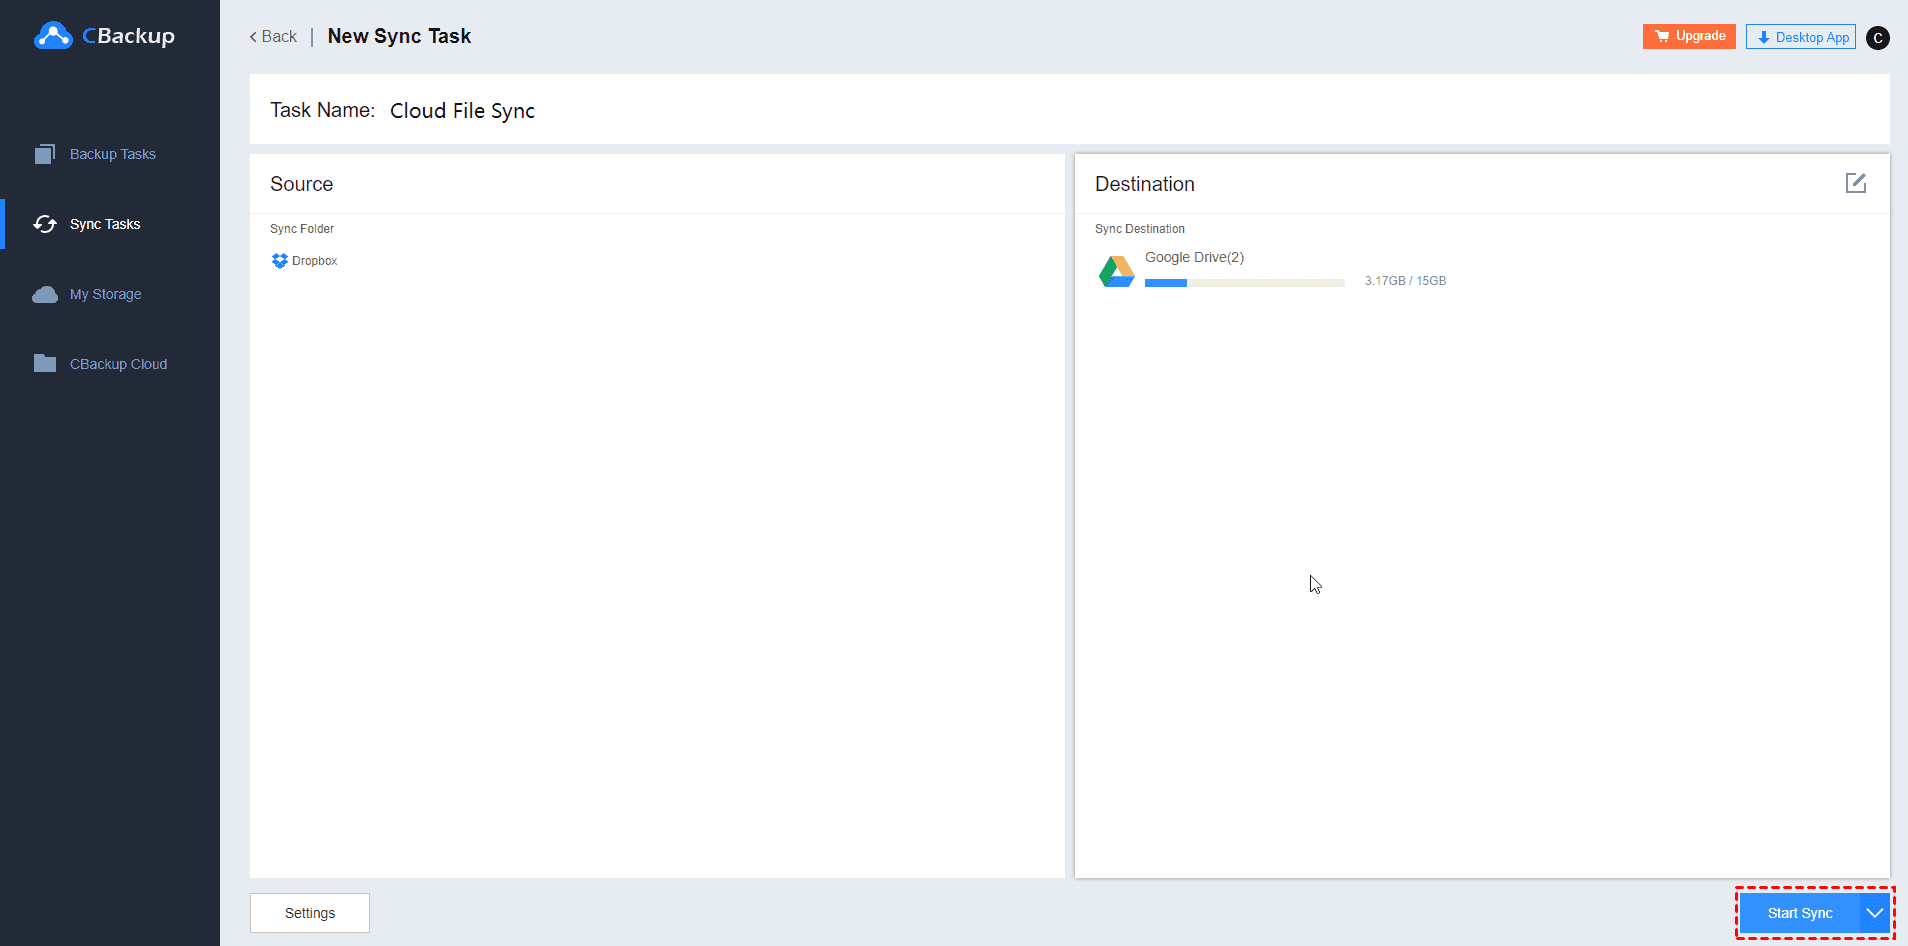
4. Press the Add Source button to choose the original cloud drive, and press the Add Destination button to choose the target cloud drive.
5. At last, select the Start Sync button to transfer files between two cloud drive accounts.
With the help of CBackup, you can sign into different cloud drive accounts on your laptop and desktop to transfer files easily. Besides, you can get the following useful features in CBackup:
♦ Combine cloud storage: If you need more cloud storage for files, you can merge as many cloud storage accounts as you have into one combined cloud for an unlimited cloud storage space.
♦ Restore files: As one of the great backup and restore solutions, once you use CBackup to back up your files, the files can be restored to any version if they get lost by accident.
Written in the end
Maybe you have found the best way to transfer files between a laptop and a desktop. You can use a Windows tool, a cloud storage service, or a professional cloud backup service called CBackup. With the help of CBackup, your file transfer tasks will be easy and safe. All your files can be restored if your files get lost by accident.

Secure & Free
