
How to Easily Create a Large Backup to DVD?
Our article provides simple solutions on creating a large backup to DVD. You will find useful tips for splitting data and choosing reliable software to successfully preserve important information.
By Irene Updated April 21, 2026
🌟 Key Takeaways:
🔶 Core Challenges with DVD Backups
-
Capacity Constraints: Standard DVDs are limited to 4.7GB, which is often insufficient for modern high-resolution photos, videos, and project folders.
-
Manual Limitations: Native Windows tools often struggle to "span" or split a single large file across multiple discs automatically.
🔶 Primary Solutions
-
Dedicated Backup Software: Tools like CBackup are recommended because they automatically compress data and split large images into smaller chunks that fit across multiple DVDs.
-
Windows Native Tools: The "Backup and Restore (Windows 7)" utility can create system images, but it is less flexible for individual files that exceed a single disc's capacity.
-
Manual Organization: Users can manually sort data into folders smaller than 4.7GB or use file compression and encryption (like ZIP files) before burning.
🔶 Benefits of Optical Media
-
Ransomware Immunity: Using "Write-Once-Read-Many" (WORM) discs like DVD-R creates an air-gapped backup that cannot be altered or encrypted by malware.
-
Longevity and Durability: Optical discs are immune to magnetic interference and, when stored correctly, offer stable long-term archival for decades.
-
Privacy and Control: Physical discs ensure data remains entirely offline, removing the risk of cloud breaches or subscription dependencies.
🔶 Best Practices for Success
-
The 3-2-1 Rule: DVDs should be one part of a broader strategy involving three copies of data on two different media types, with one copy stored offsite.
-
Verification: Burn discs at slower speeds (4x to 8x) to ensure data integrity and always verify the disc after the burning process is complete.
-
Organization: Label discs clearly and maintain a logical folder structure (e.g., by date or event) to make future restoration easier.
User Case: Need to create a large backup to DVD
I have an extensive collection of home videos, high-resolution photos, and heavy project folders that are taking up too much space on my computer's local drive. I want to create a physical copy for safekeeping, but I quickly realized that many of my single files or folders far exceed the 4.7GB capacity of a standard disc. I am looking for a reliable method to handle a largebackup to DVD. Specifically, I need to figure out how to backup large files to DVD efficiently, and is it possible to backup large files to multiple dvds if the data is too massive? What is the best software to backup to DVD?
- Question from learn.microsoft.com
If this situation sounds familiar, you are definitely not alone. Many users face the same challenge when trying to archive large amounts of data using physical media. While DVDs are still a useful option for offline storage and long-term backup, their limited capacity can make the process feel frustrating at first. The good news is that there are proven ways to work around these limitations. Whether it is splitting large files, compressing data, or using specialized DVD backup software, you can still create a safe and organized backup even with oversized files. In the following sections, we will walk through the most effective methods step by step, helping you securely store your data without unnecessary hassle.
2 ways to backup large files to DVD on Windows 10 and 11
When it comes to securing massive amounts of data onto optical media, you generally have two paths: using specialized third-party software or relying on native Windows features. Below, we break down both methods to help you decide.
Method 1. Use the best software to backup to DVD
If you are looking for a comprehensive, automated, and hassle-free experience, using dedicated software is highly recommended. CBackup stands out as the absolute best choice. It easily solves the problem of oversized files by automatically compressing and splitting your image files, allowing you to backup large files to multiple DVDs without manual intervention.
CBackup offers better backup methods for large files, like easy and secure CBackup. Here are the powerful features that make it the top recommendation:
✔️ Easily perform hard drive backup as well as Windows operating system, disk, file, and email backup.
✔️ Schedule automatic backups and save space by only backing up changed data for ongoing protection.
✔️ Restore from your backups and retrieve data at anytime.
✔️ Restore your system to new device or from bootable media when your OS won't start.
✔️ Sync files to local drive, external hard drive, USB, or NAS.
✔️ Clone systems or disks to another drive without reinstallation.
✔️ Create portable version of CBackup to directly run it on another machine.
✔️ Fully support Windows 11/10/8.1/8/7 and servers.
With CBackup, figuring out how to backup large files to DVD becomes a seamless process. The software handles the heavy lifting, ensuring your data is safely written across as many discs as necessary.
Here are detailed steps. Before starting, ensure your computer is functioning properly, prepare the DVD/CD with sufficient storage space, and install CBackup on your Windows system.
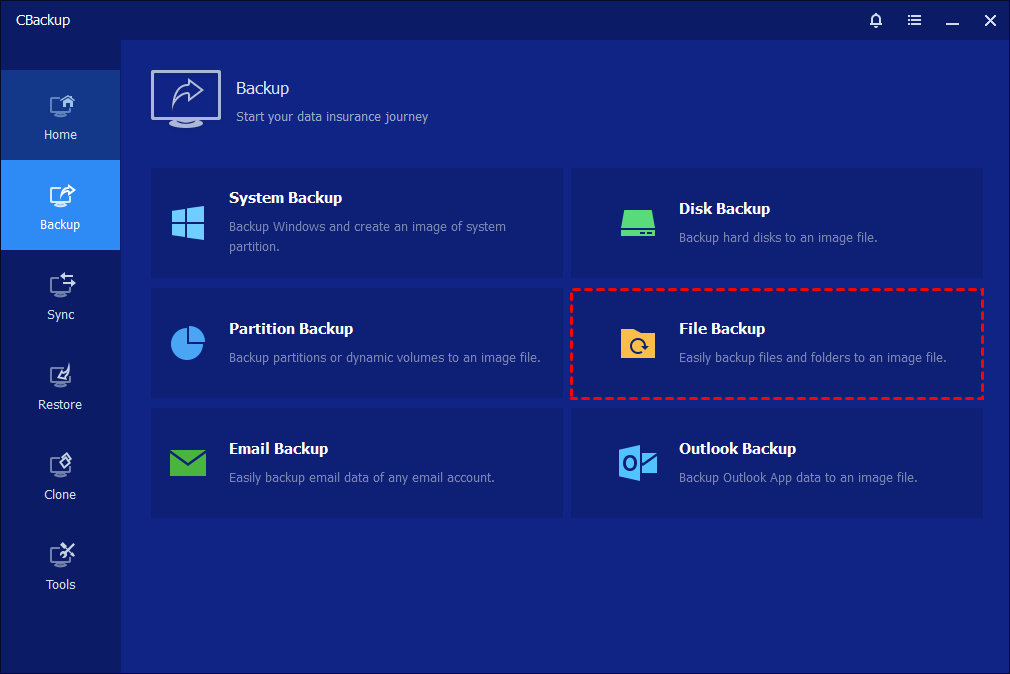
Step 1. Launch CBackup on your computer. From the main interface, click the “Backup” option in the left-hand panel, then choose “File Backup.” The program will automatically identify and display all the files for you.
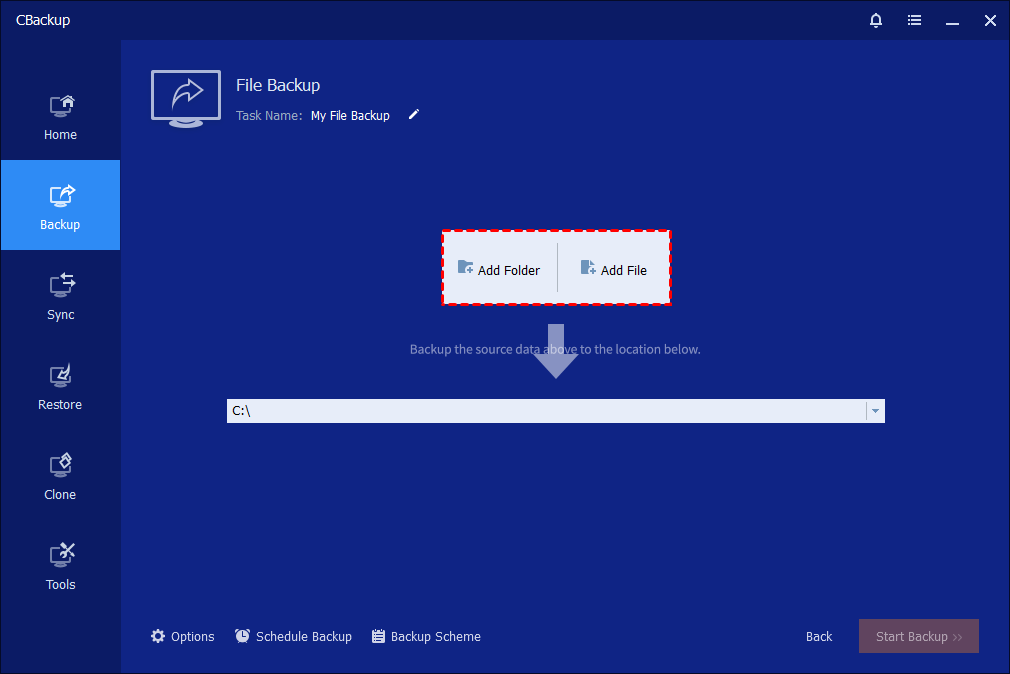
Step 2. Click “Add File" or “Add Folder" so you can select large files/folders you want to back up to DVD or CD. (You can add multiple folders and files as the source; You can also directly drag folders and files to the CBackup as the source.)
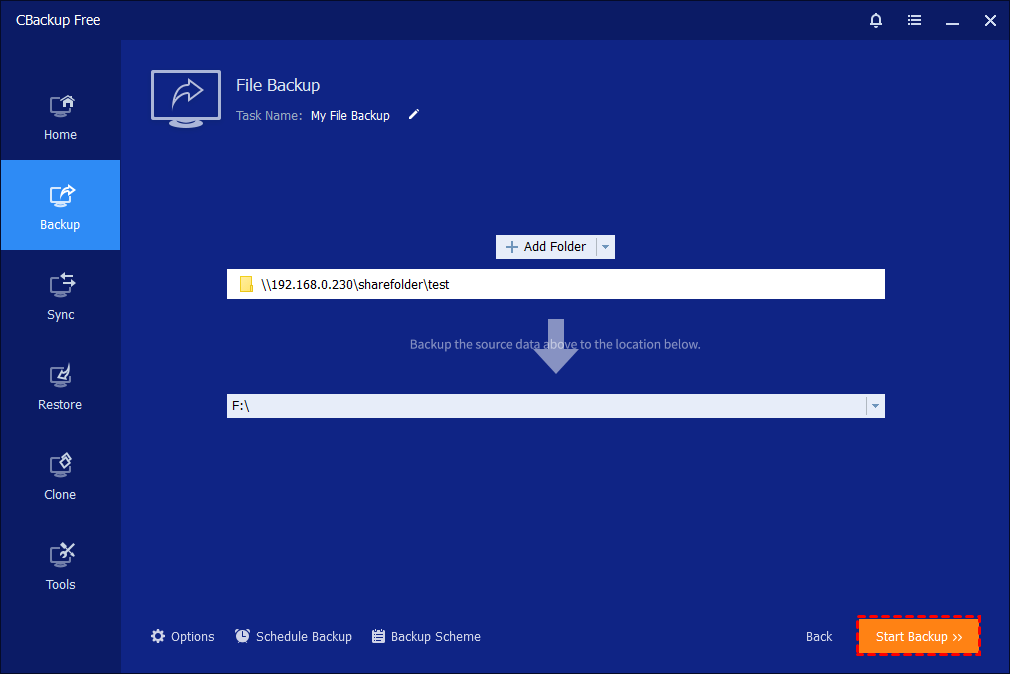
Step 3. Select the DVD as the destination path to store the large file. Then, you can click thew Start Backup button to begin the process.
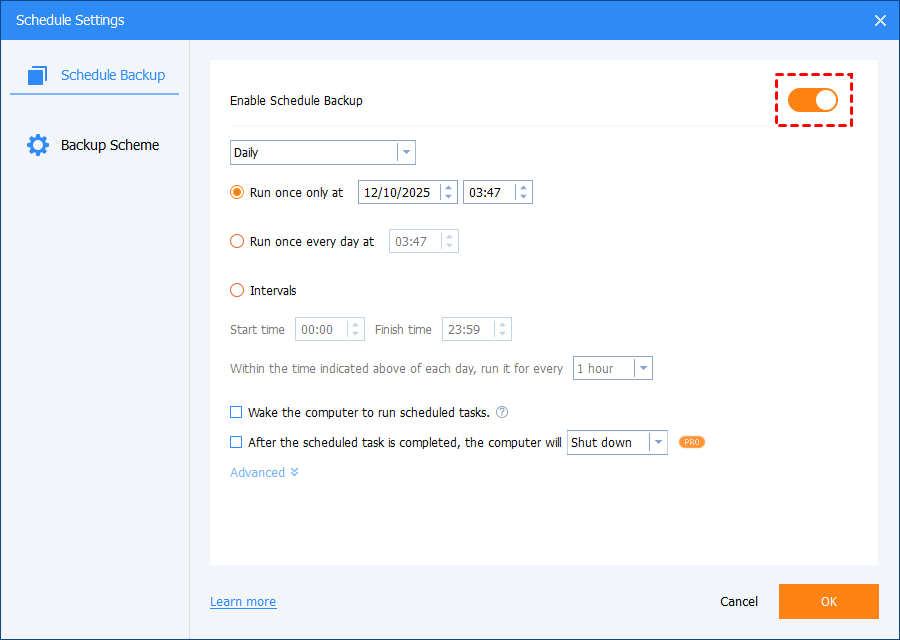
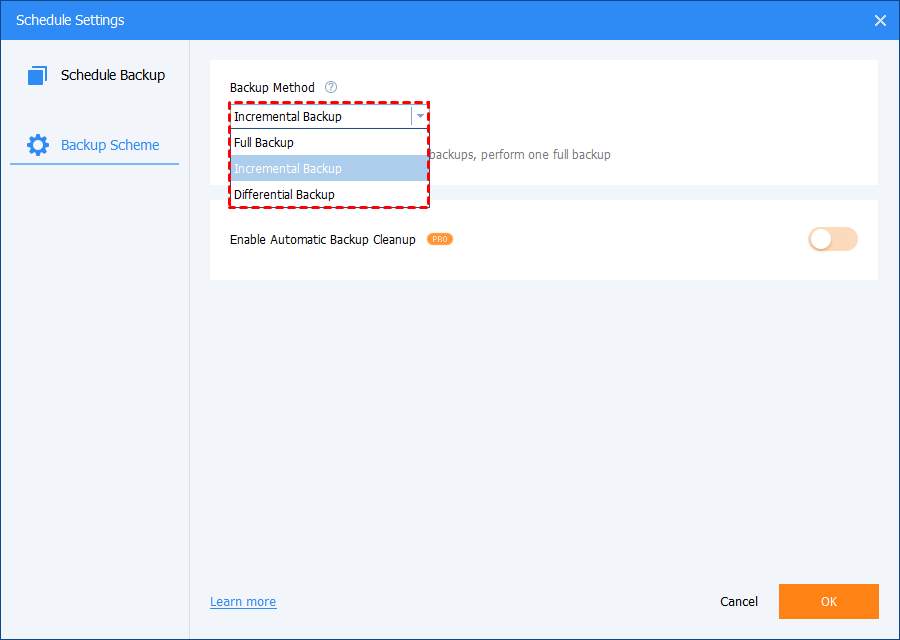
🌟Tip: To turn a scheduled backup on or off, go to the Schedule Backup settings at the bottom of the interface.
1. Click Enable Schedule Backup to turn it on. Once enabled, the backup task will run automatically based on your set schedule.
2. If you turn off Enable Schedule Backup, the task will stop running automatically and will no longer follow the schedule.
There are three backup methods: Full Backup, Incremental Backup, and Differential Backup. As for the differences between the three backup methods, please refer to Differences between Backup Methods.
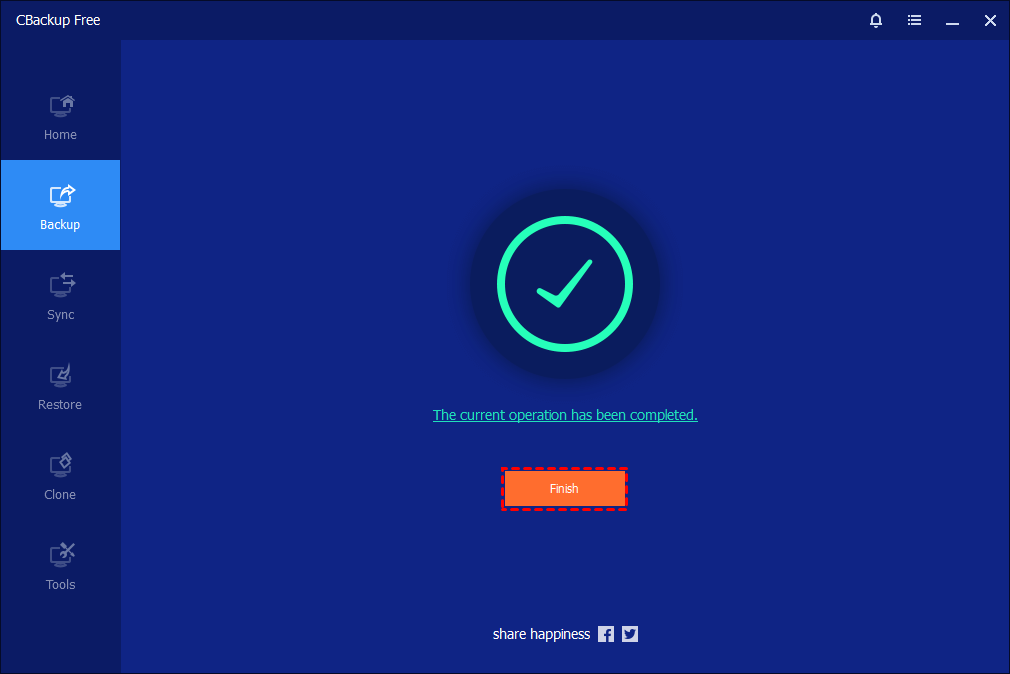
Step 4. Wait for the backup process to finish, then click Finish.
Method 2. Backup Windows files to DVD with Backup and Restore
If you want to back up large files to a DVD using Backup and Restore, you need to ensure that the file size fits within the disc’s capacity. Otherwise, the standard Windows utility may not be sufficient. This guide will show you how to burn large files to DVD, ensuring all your important data is stored securely and completely.
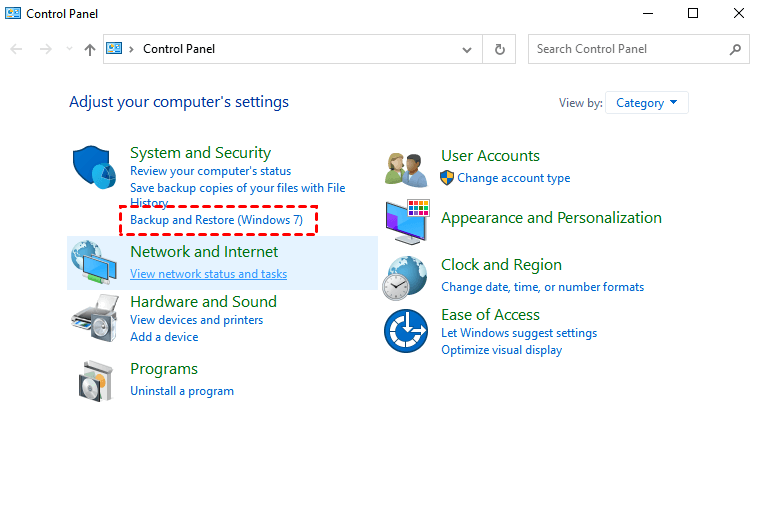
Step 1. Go to "Control Panel" and select "Backup and Restore (Windows 7)" under System and Security.
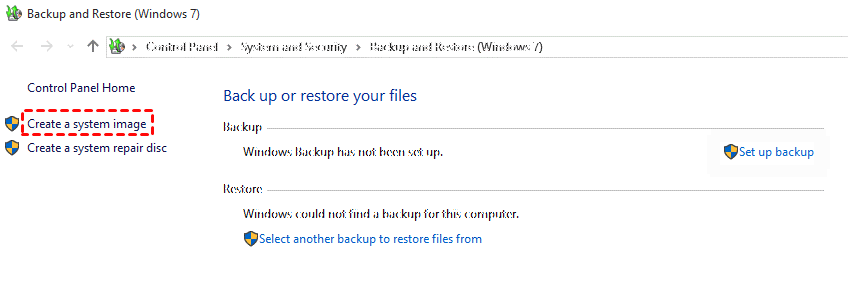
Step 2. Click on "Create a system image" on the left panel.
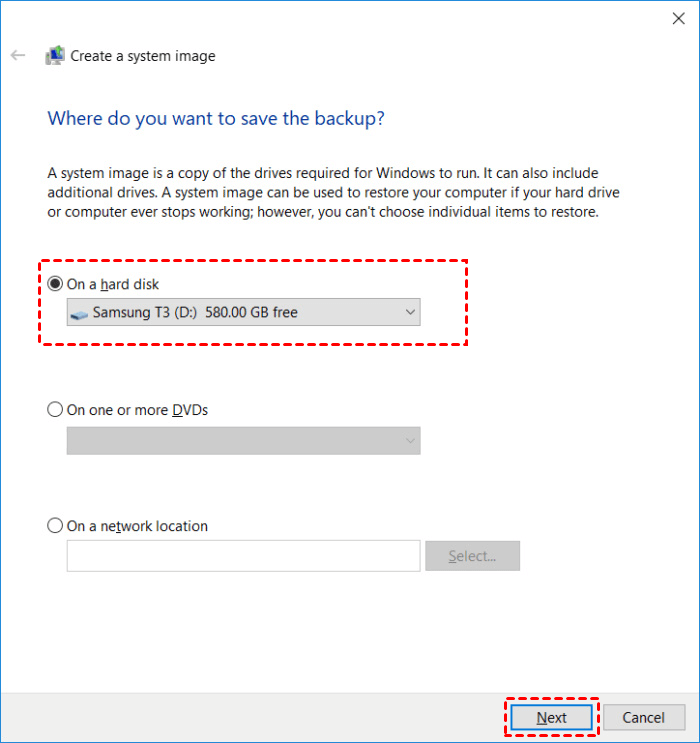
Step 3. Tick "On a hard disk", “On one or more DVDs”, or “On a network location” and select the target location. Then, click "Next". If you want to backup Windows to USB drive, connect it to the computer beforehand.
Step 4. Confirm the backup settings and click "Start Backup" to do a system image backup on Windows.
How to restore Windows system images
The system image recovery process is complicated. Please follow the guide below carefully to complete your Windows system recovery.
Step 1. Head toward Update & recovery under Windows 10 Settings, click Recovery > Advanced startup > Restart now in turn. Then, your computer will reboot to the Windows recovery environment.
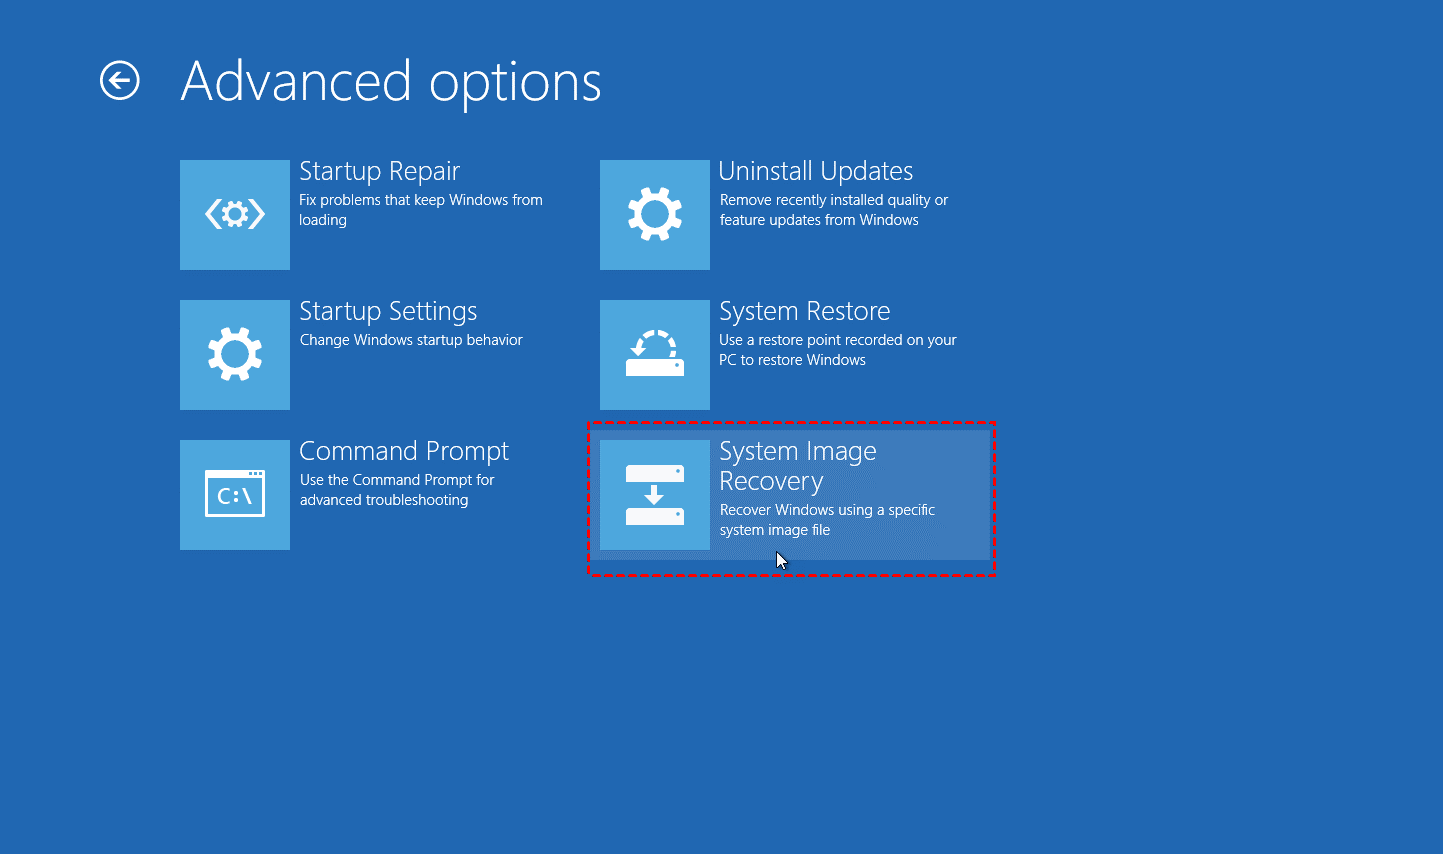
Step 2. Click Troubleshoot > Advanced Options > System Image Recovery in order, and then choose System image recovery and select a system image backup to perform a system restore.
Why You Need to Backup to DVD/CD
Despite the rise of modern digital storage mediums, optical discs like DVDs and CDs remain highly relevant for specific security strategies.
| Primary Reason | Detailed Explanation | Key Benefit |
|---|---|---|
| Protection Against Ransomware | Burning to non-rewritable formats (CD-R/DVD-R) creates a Write-Once-Read-Many (WORM) environment. Once written, the data becomes permanently read-only and air-gapped. | 100% immune to aggressive malware and ransomware encrypting, altering, or deleting your files. |
| Physical Ownership & Privacy | Your data remains completely offline in a physical location you control (e.g., a safe or drawer). There is no reliance on cloud infrastructure or internet connectivity. | Eliminates the risk of third-party server breaches, unauthorized account access, and data leaks. |
| Immunity to Magnetic Interference | Unlike Hard Disk Drives (HDDs) or magnetic backup tapes, optical discs rely on physical pits read by lasers, not magnetic charges. | Completely safe from electromagnetic pulses (EMP), magnets, and localized magnetic degradation. |
| Long-Term Archival Durability | Standard optical media resists normal wear and tear well, while specialized archival discs (like M-DISC) are made of inorganic materials that resist degradation. | Can securely preserve critical data, family archives, or essential business records for decades. |
| Universal Compatibility | Optical discs utilize highly standardized file systems (such as ISO 9660 and UDF) that have been industry norms for decades. | Easily readable across nearly all operating systems (Windows, Mac, Linux) without requiring specialized software. |
| Cost-Effective Cold Storage | Blank CDs and DVDs are highly inexpensive to purchase in bulk compared to investing in new external hard drives or recurring cloud subscriptions. | Extremely low cost for "write-once and store" archival of unchanging, critical documents. |
When you perform a largebackup to DVD, you retain total physical control over your data. There are no external servers, no third-party data breaches, and no reliance on an internet connection to access your files. Your data stays in your hands, safely stored in a drawer or safe.
Conclusion
Securing massive amounts of data onto optical discs doesn't have to be a frustrating puzzle. Whether you are dealing with massive video files or entire system images, knowing how to backup large files to DVD properly guarantees your data remains safe, offline, and entirely under your control. While native Windows tools offer a basic solution for smaller tasks, they fall short when dealing with files that exceed disc capacities.
For the most reliable and automated experience, CBackup is undeniably the best software to backup to DVD. Its ability to easily split files, combined with its powerful system recovery and cloning features, ensures your digital life is protected against any disaster.
FAQs
1. What is the best way to backup large project folders to DVD?
The best method is to split the project into disc-sized chunks (≤4.7GB or 8.5GB) and burn them sequentially. Organize folders into “volume sets” so each disc contains a logical portion of the project.
Use backup software like CBackup beforehand to create a structured backup (optionally compressed), then export and burn those files to DVDs. This ensures your data is organized, recoverable, and not dependent on a single disc.
2. How to securely archive huge video files on DVD?
For large video files:
- Compress or encode videos (e.g., MP4 with H.264) to reduce size
- Split files across multiple discs if needed
- Enable encryption or password-protected ZIP archives for sensitive footage
Also burn at a slow speed (4x–8x) and verify each disc to avoid corruption.
3. Is there any reliable solution for backing up massive data collections to DVD?
Is there any reliable solution for backing up massive data collections to DVD? Yes, but DVDs should be part of a multi-layered backup strategy:
- Follow the 3-2-1 rule (3 copies, 2 media types, 1 offsite)
- Use DVDs as read-only archival copies, not your only backup
For massive collections, combine DVDs with external drives for better scalability and speed.
4. How to backup entire photo library onto DVD discs?
- Sort photos into folders (by date or event)
- Keep each folder within DVD capacity limits
- Use standard formats (JPG, PNG) for long-term compatibility
- Burn multiple discs and label them clearly
Tip: Avoid mixing originals and edited versions unless clearly organized.
5. What is the safest method to store sensitive large documents on DVD?
For sensitive files:
- Encrypt files before burning (ZIP with password or encryption tools)
- Use write-once DVDs (DVD-R) to prevent tampering
- Store discs in cool, dark, dry environments
- Keep a duplicate copy offsite for disaster protection
This combination ensures both data security and long-term durability.

Free Get CBackup Now
Secure & Free
