
Full Tutorial: How to Get Dropbox Extended Version History
You will know something about Dropbox extended version history and how to restore your Dropbox files to previous version. We also provide a better way for you to manage your Dropbox version history.
by CBACKUP Lasted Updated April 6, 2023
What is extended version history of Dropbox?
Dropbox is widely used in your daily life and works as a convenient cloud storage service. You often choose to save your files and folders on Dropbox. For your user experience, Dropbox provides a core feature called Dropbox version history, which allows you to view and restore older versions of your files.
For different Dropbox accounts, Dropbox gives different lookback periods. In Dropbox Basic, Plus, and Family accounts, the period is 30 days. While in Dropbox Professional and Business accounts, the period can be 180 days.
However, the default version history can not meet your requirements sometimes. To restore your files to the older version history, you need to extend Dropbox version history. How to get Dropbox extended version history and what is the limitation in different accounts in the cloud backup and restore solution service? Please keep reading the following part.
How to get Dropbox extended version history add-on
For Dropbox accounts with different description plans, the detailed steps to get Dropbox extended version history are different. But you can find suitable guideline in the following content.
- For Dropbox Plus users
If you are using a Dropbox Plus account, you can get 1 year extended version history via Dropbox extended version history add-on. How to get extended version history in a Dropbox Plus account? Here is an overview of it for you to refer to.
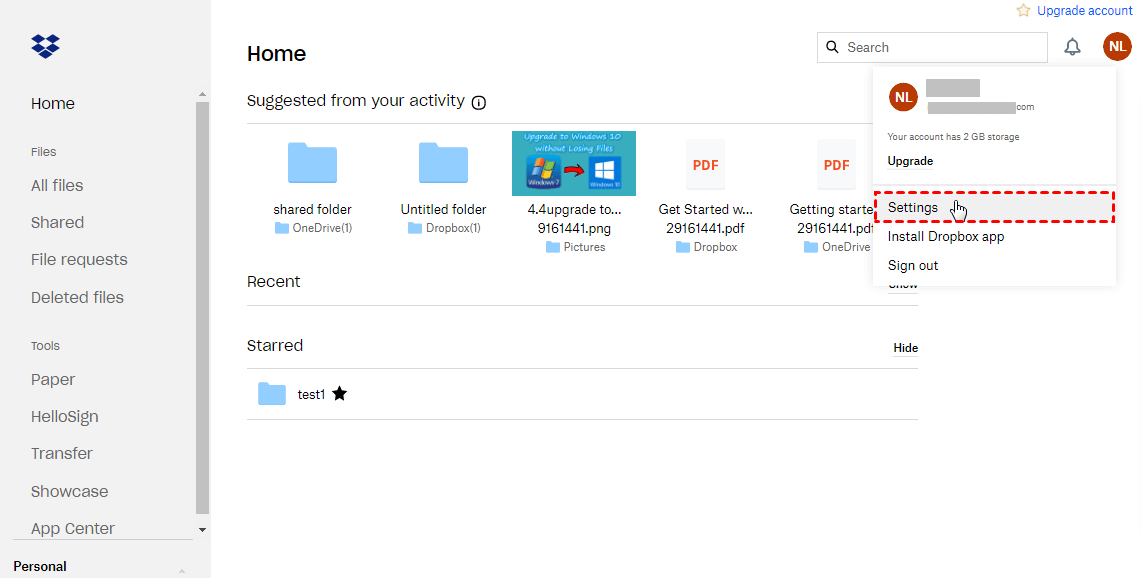
1. Go to the Dropbox official web page, and log into your Dropbox Plus account.
2. Hit your avatar icon in the right top corner. Then click on the Settings option on the pop-up menu.
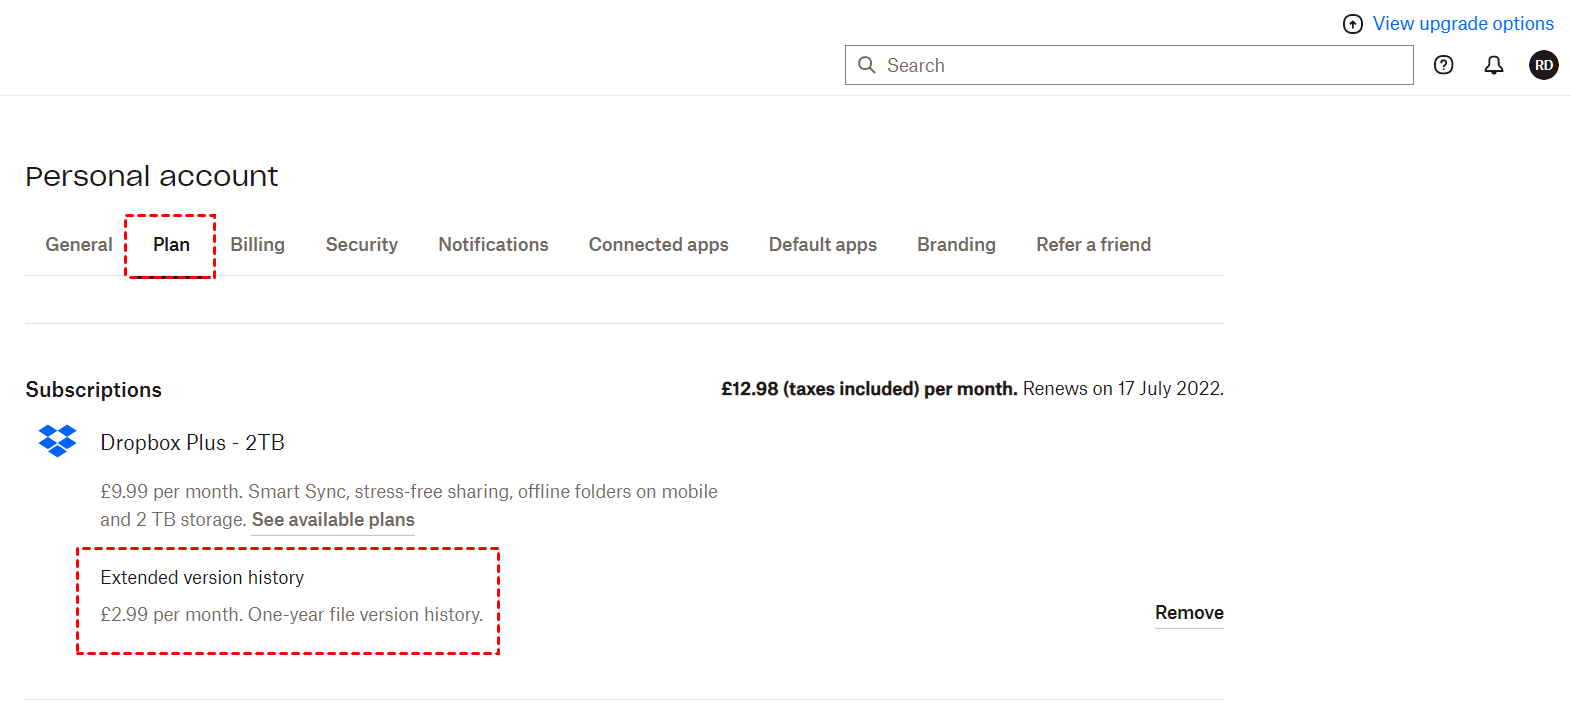
3. Choose the Plan tab here. Locate Extended version history and click on Add or Remove next to it according to your need. Then choose Confirm.
- For Dropbox Standard, Advanced, and Enterprise users
If you are using one of Dropbox Standard, Advanced, and Enterprise account, you can get 10-year Dropbox extended version history with the extended version history add-on. To add or remove any add-on, you need to let an admin contact your Dropbox sales executive and fill in the contact form, contact Dropbox support.
If you do not have a specialized sales executive, you can go to admin console of your account to add or remove the extended version history add-on.
1. On the Dropbox official website, log into your admin credentials properly.
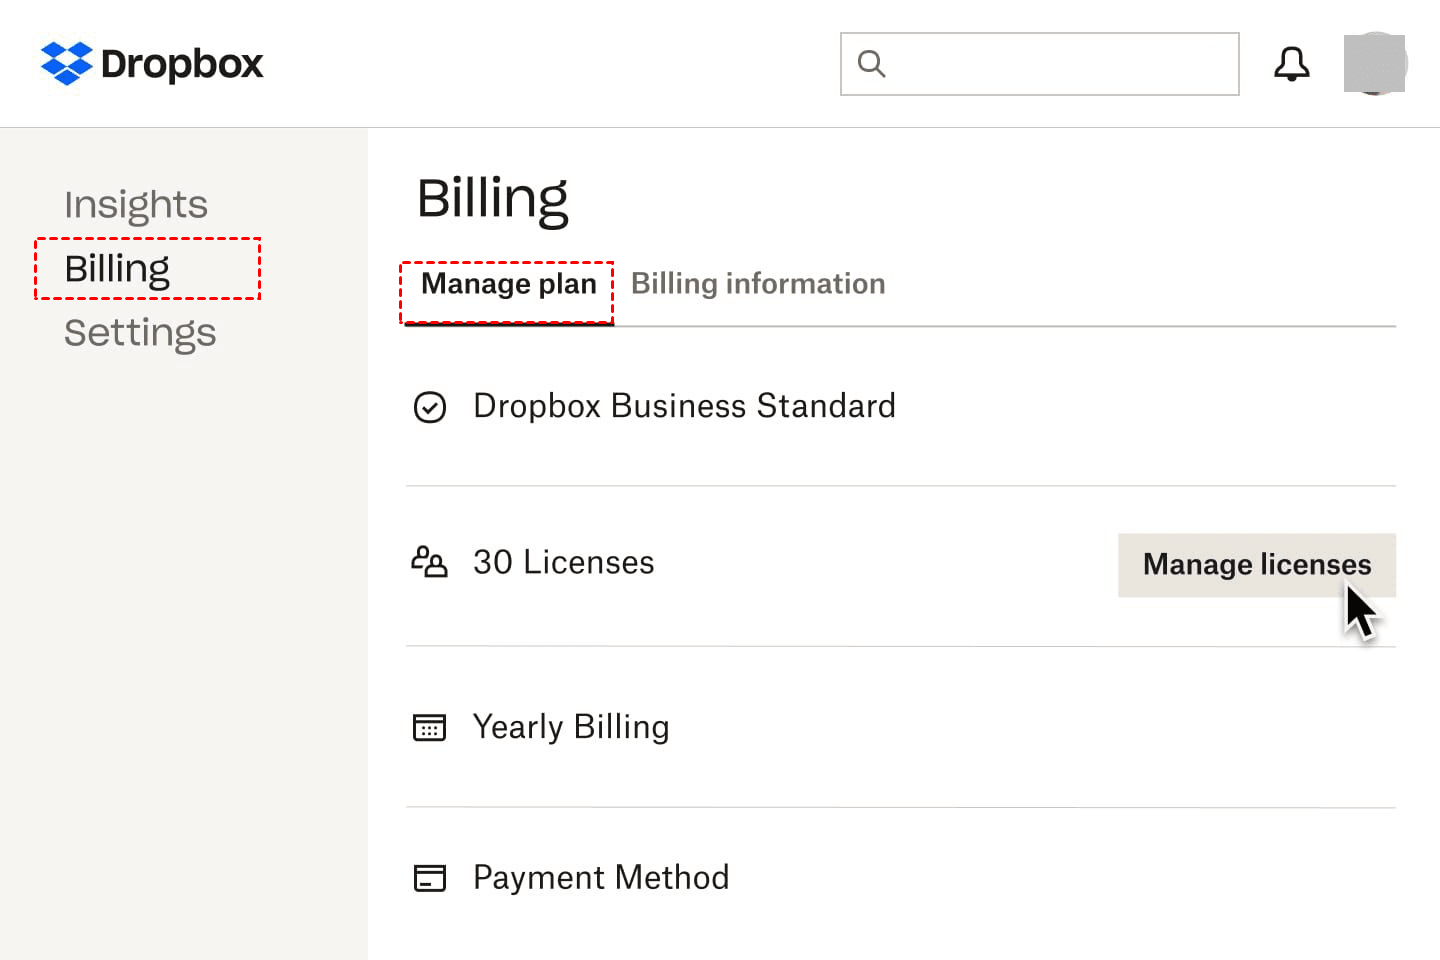
2. Go to Admin console, then choose Billing option here.
3. Hit the Manage plan tab on the top. You can choose Add or Remove next to 10-Year Extended Version History. Then click Confirm.
How to use Dropbox version history
Generally, you need versioning backup software because it saves the older version history of your files on the cloud and you can restore your files to the older version directly. How to use Dropbox version history and restore your file to any version easily? Follow the easy guideline here.
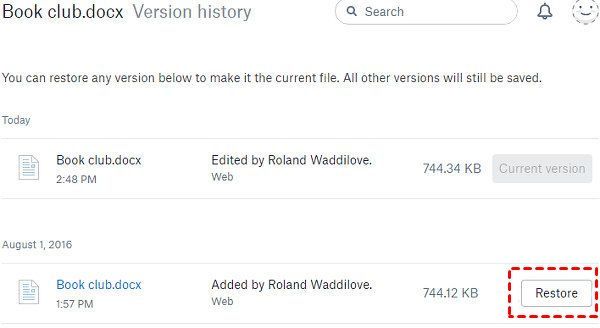
1. Navigate to the Dropbox official page. Log into your account.
2. On the All files page, locate the target file and click on the three-dot icon next to it. Hit the Activity option and then choose Version History.
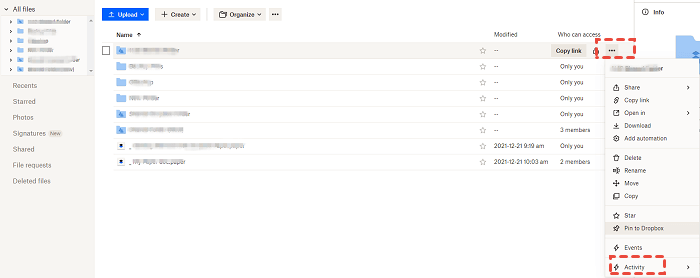
3. You can see all the version history of your files. Move your mouse icon over the version that you want your file restore to, then click on the Restore button.
Tip: Get unlimited Dropbox version history
When you need Dropbox extended version history, you need to pay for it in your Dropbox account. And there is still limitation on the version history. Here, we introduce a solution for you to get online backup unlimited versioning for free so that you can perform Dropbox version control better.
All you need to do is to get the free cloud backup service - CBackup. Once you use it to create backup for your files, you can get unlimited version history of them.
What’s more, there are 3 backup versioning options for you to choose from: Keep all versions, Keep only X Recent versions, Keep the version within the last X days. You can choose the most suitable one for your files.
Now, let’s see how to create a backup task to cloud drive with CBackup easily.
1. Download and install the CBackup desktop application. Sign up for a new CBackup account, then run the client to log into it.
2. Click on the Storage tab. Select Dropbox > Authorize Now. Please follow the step-by-step instructions to grant CBackup access to your Dropbox account.

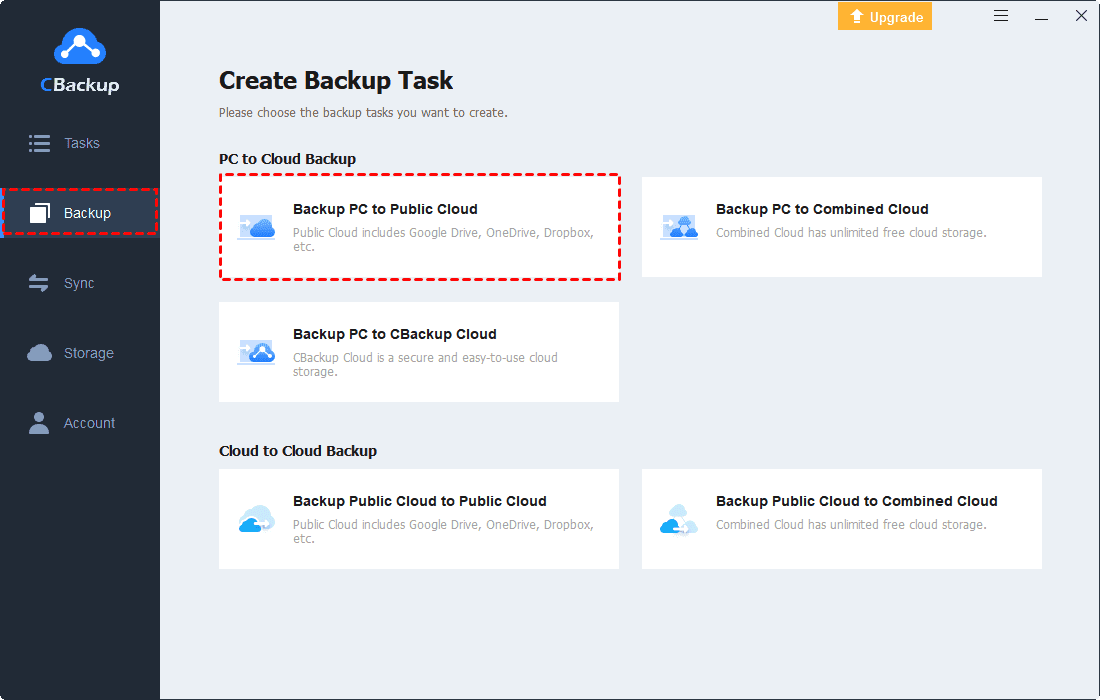
3. Click on the Backup tab and hit Backup PC to Public Cloud.
4. Choose any file on your computer as the backup source. Then, choose the Dropbox account you just added to CBackup as the backup destination.
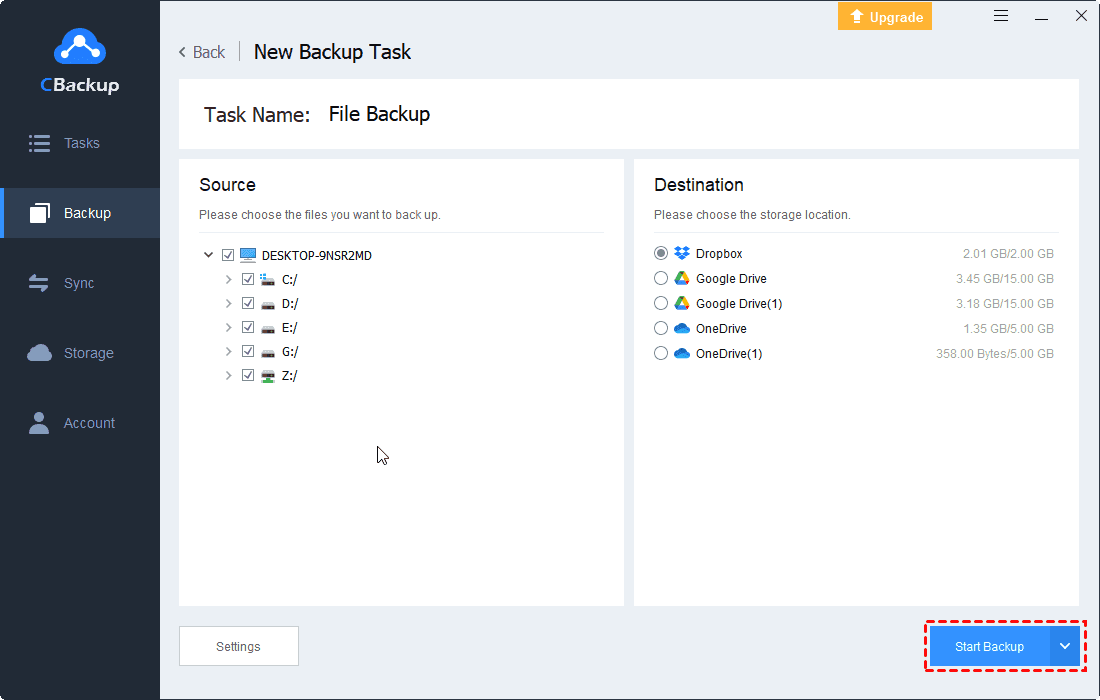
5. At last, press the Start Backup button to back up your files to Dropbox directly and quickly.

Then, how to restore your files to any version history of your file backup? Please refer to the following tutorial.
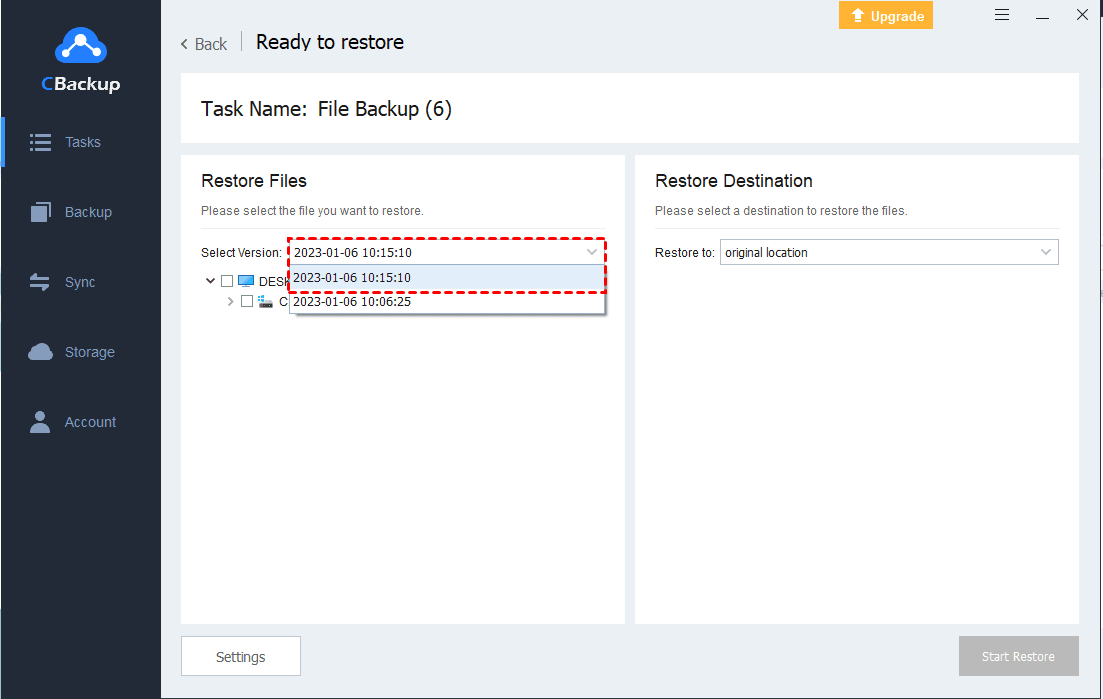
1. On the Task List page, hit the three-dot icon next to your Dropbox backup task. Click on the Restore option.
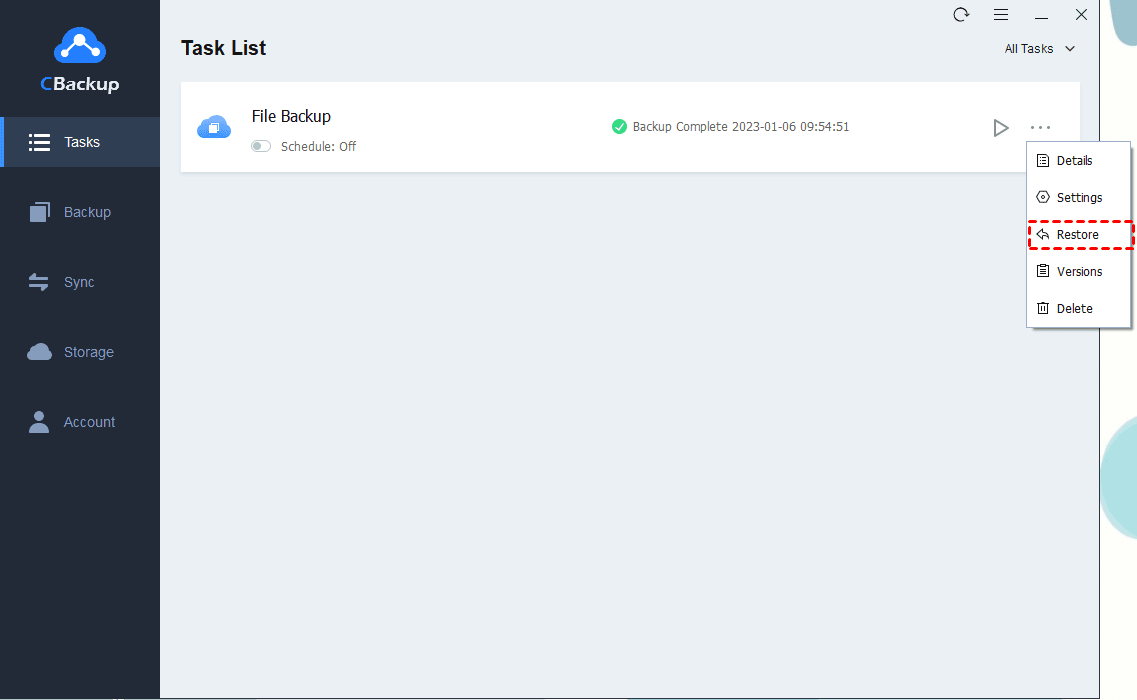
2. Hit the drop-down arrow icon next to Selected Version. You can see all your Dropbox version history. Select any version to restore.
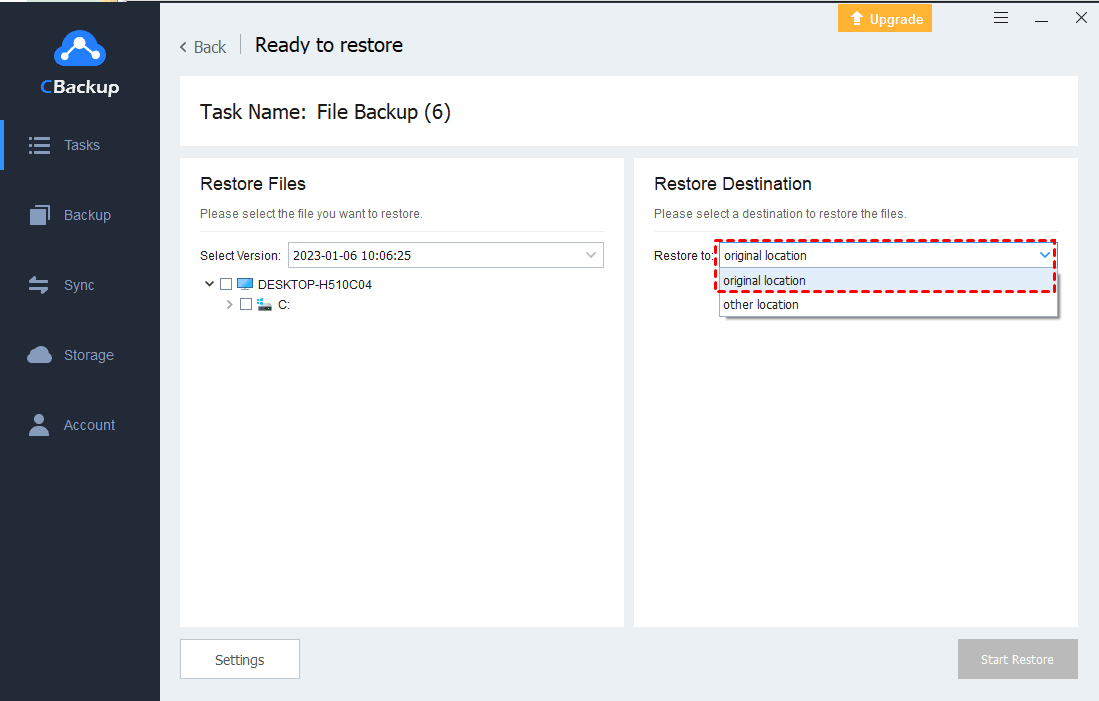
3. You can choose original location, then the version history will be restored to the original location in your Dropbox account. And you can choose other location to save your restored files as well. After configuration, click on Start Restore.
Written in the end
On this page, you can know something about Dropbox extended version history and how to get it. Besides, you can try to backup files to Dropbox with CBackup. You can get unlimited Dropbox version history for free.

Secure & Free
