
How to Manage your Cloud Drives in CBackup?
This article introduces how to add third-party clouds and the settings of clouds in CBackup web client.
by PublicOwin Lasted Updated February 2, 2023
Overview
This article introduces how to add public clouds and manage cloud drives in the CBackup web app. Meanwhile, the settings related to the cloud drive also will be introduced. Please read on.
Add Clouds
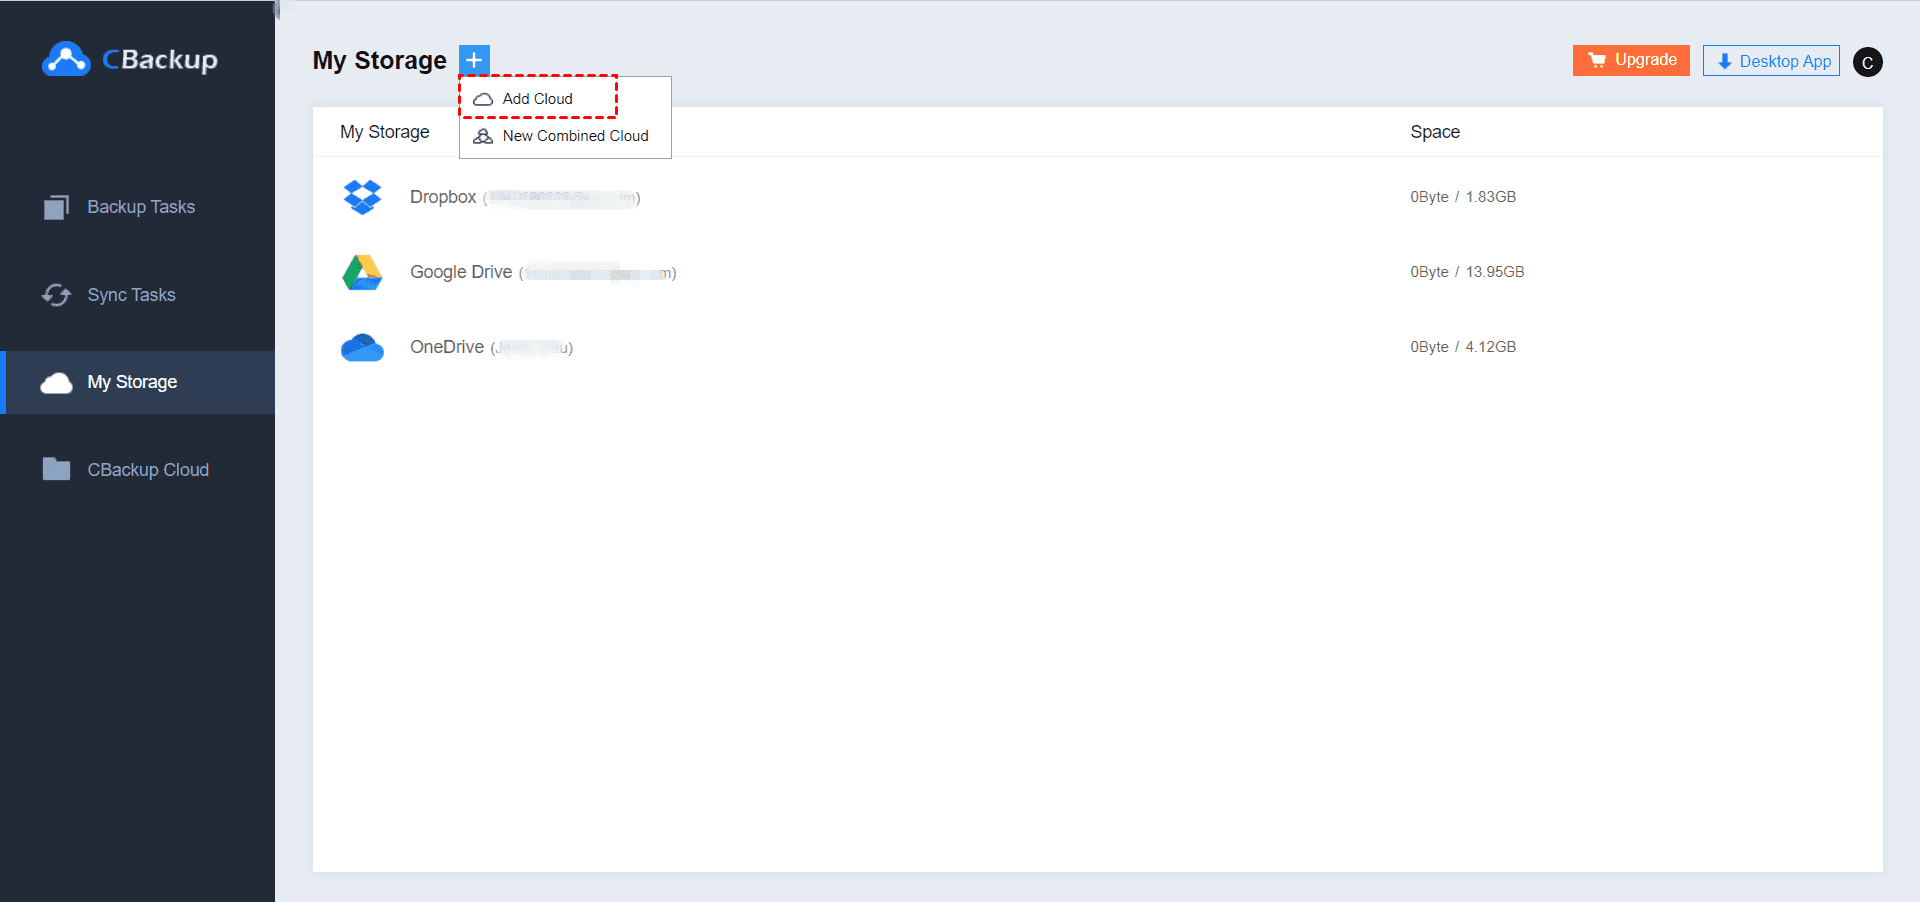
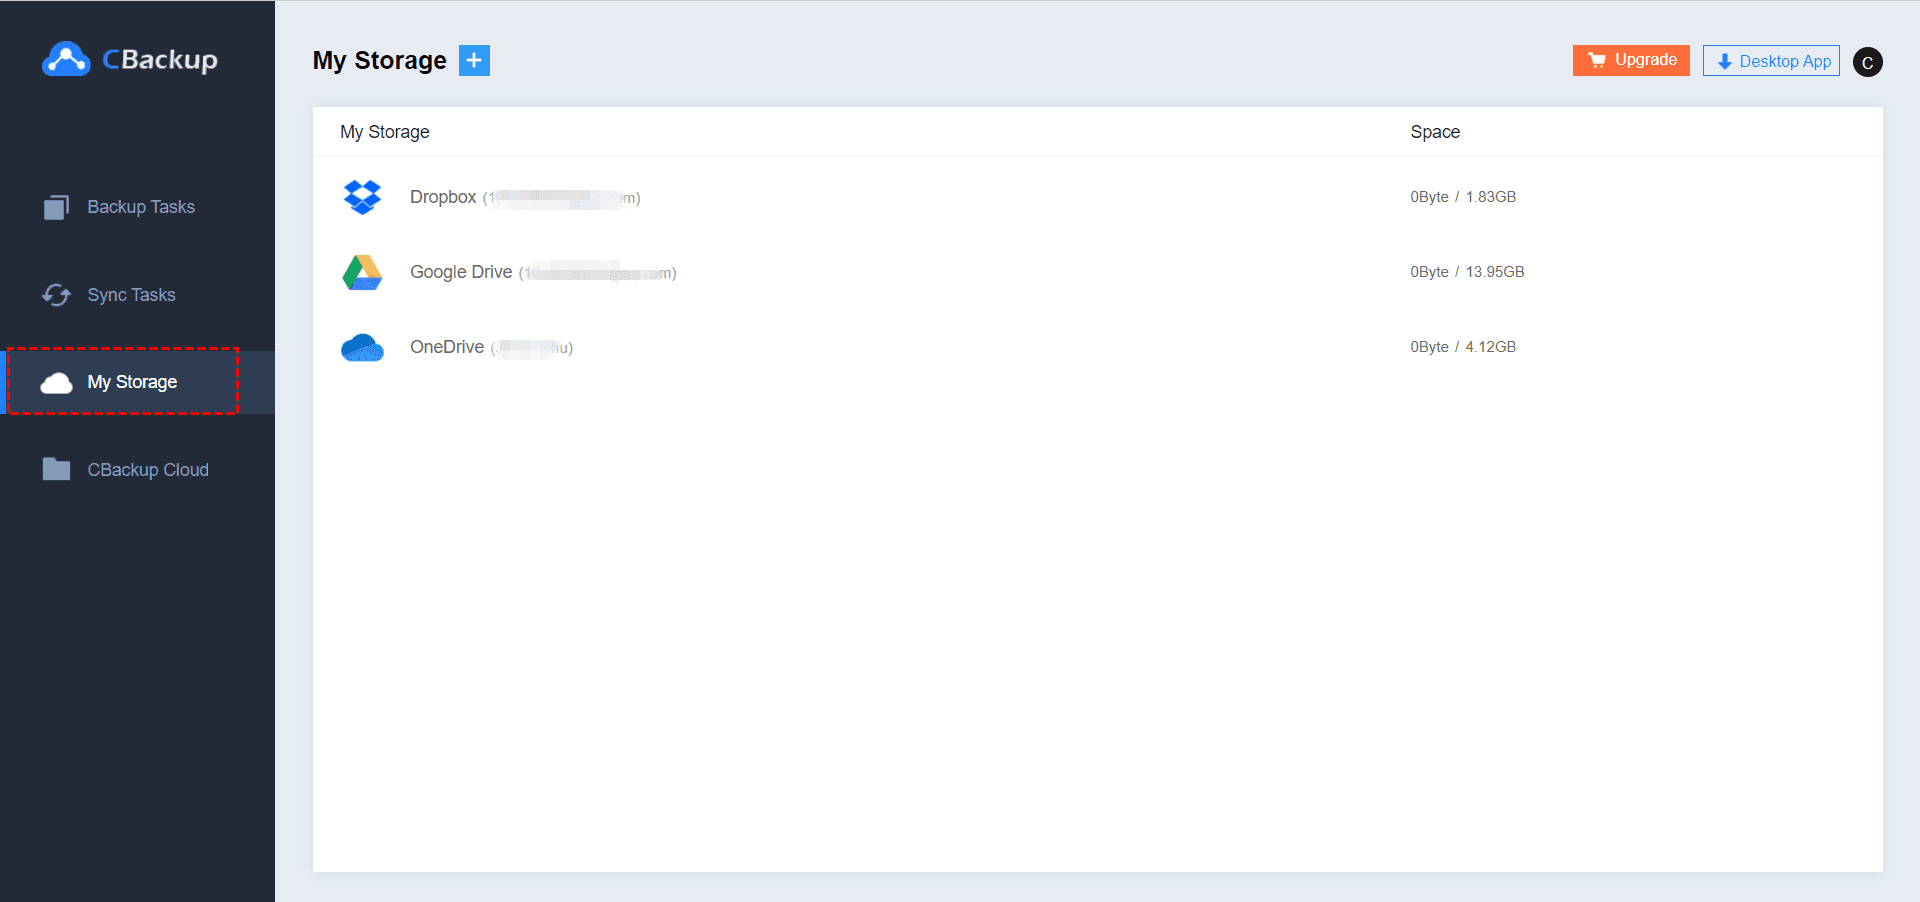
1. Click the My Storage in the navigation bar to switch to the Clouds management page.

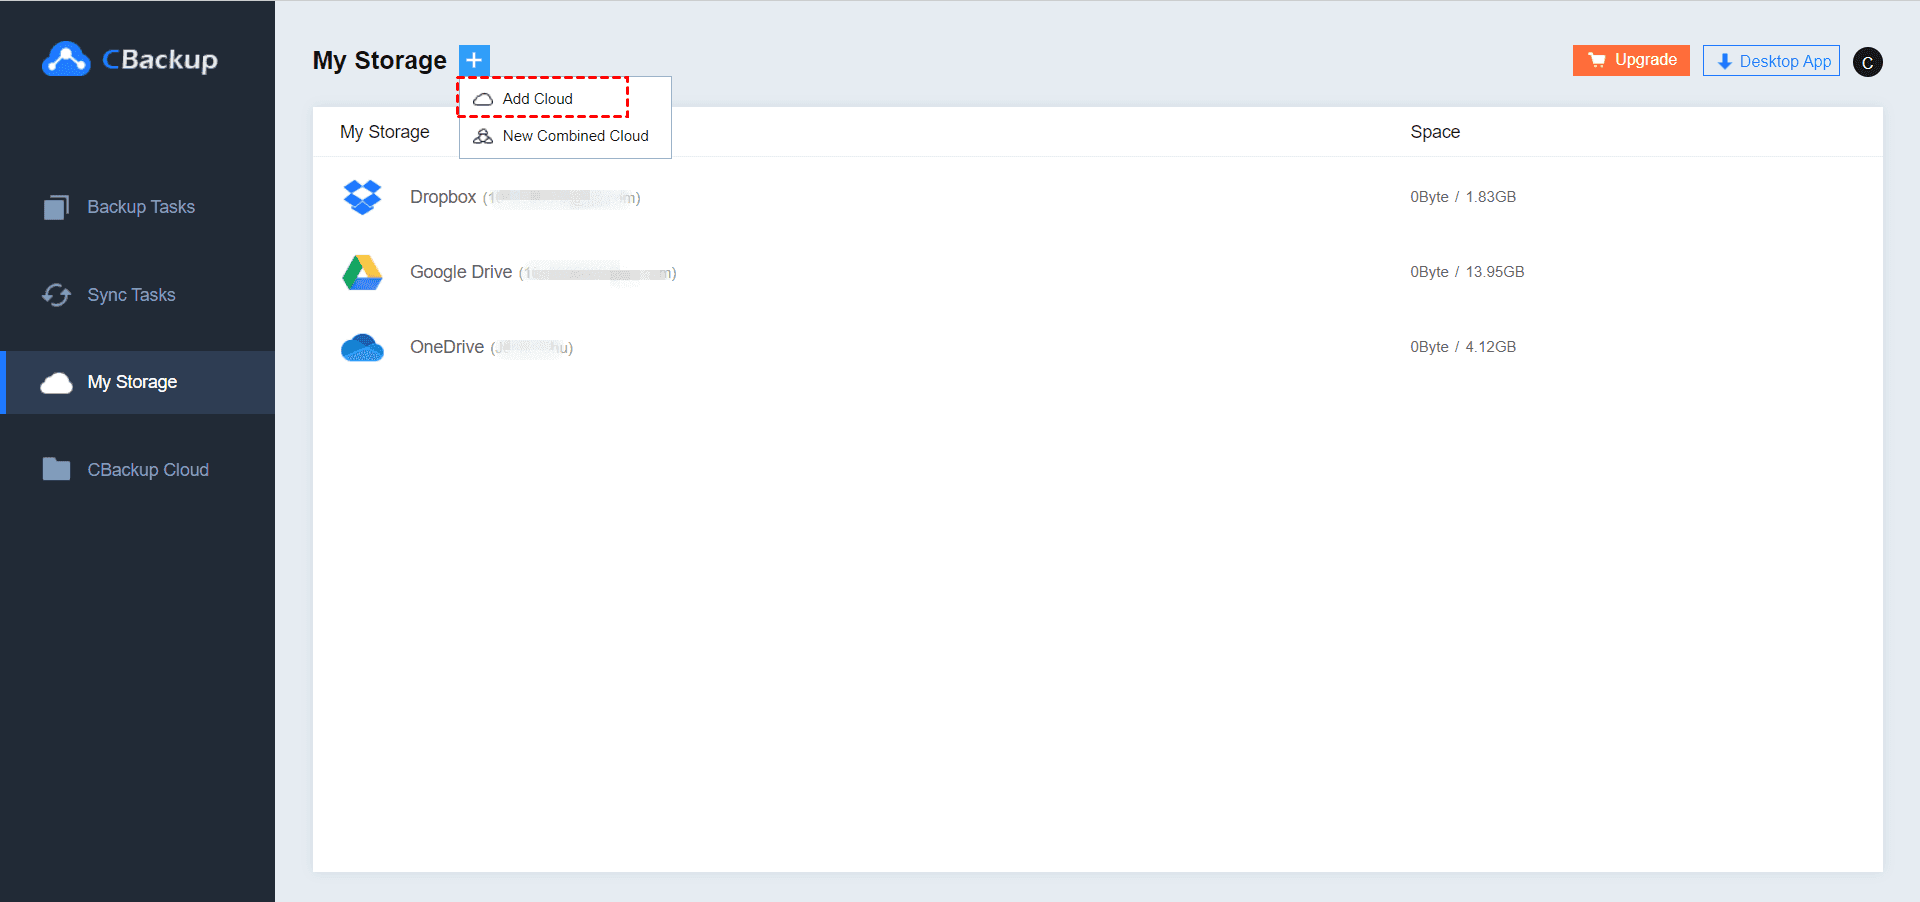
2. Click “+” then click Add Clouds.
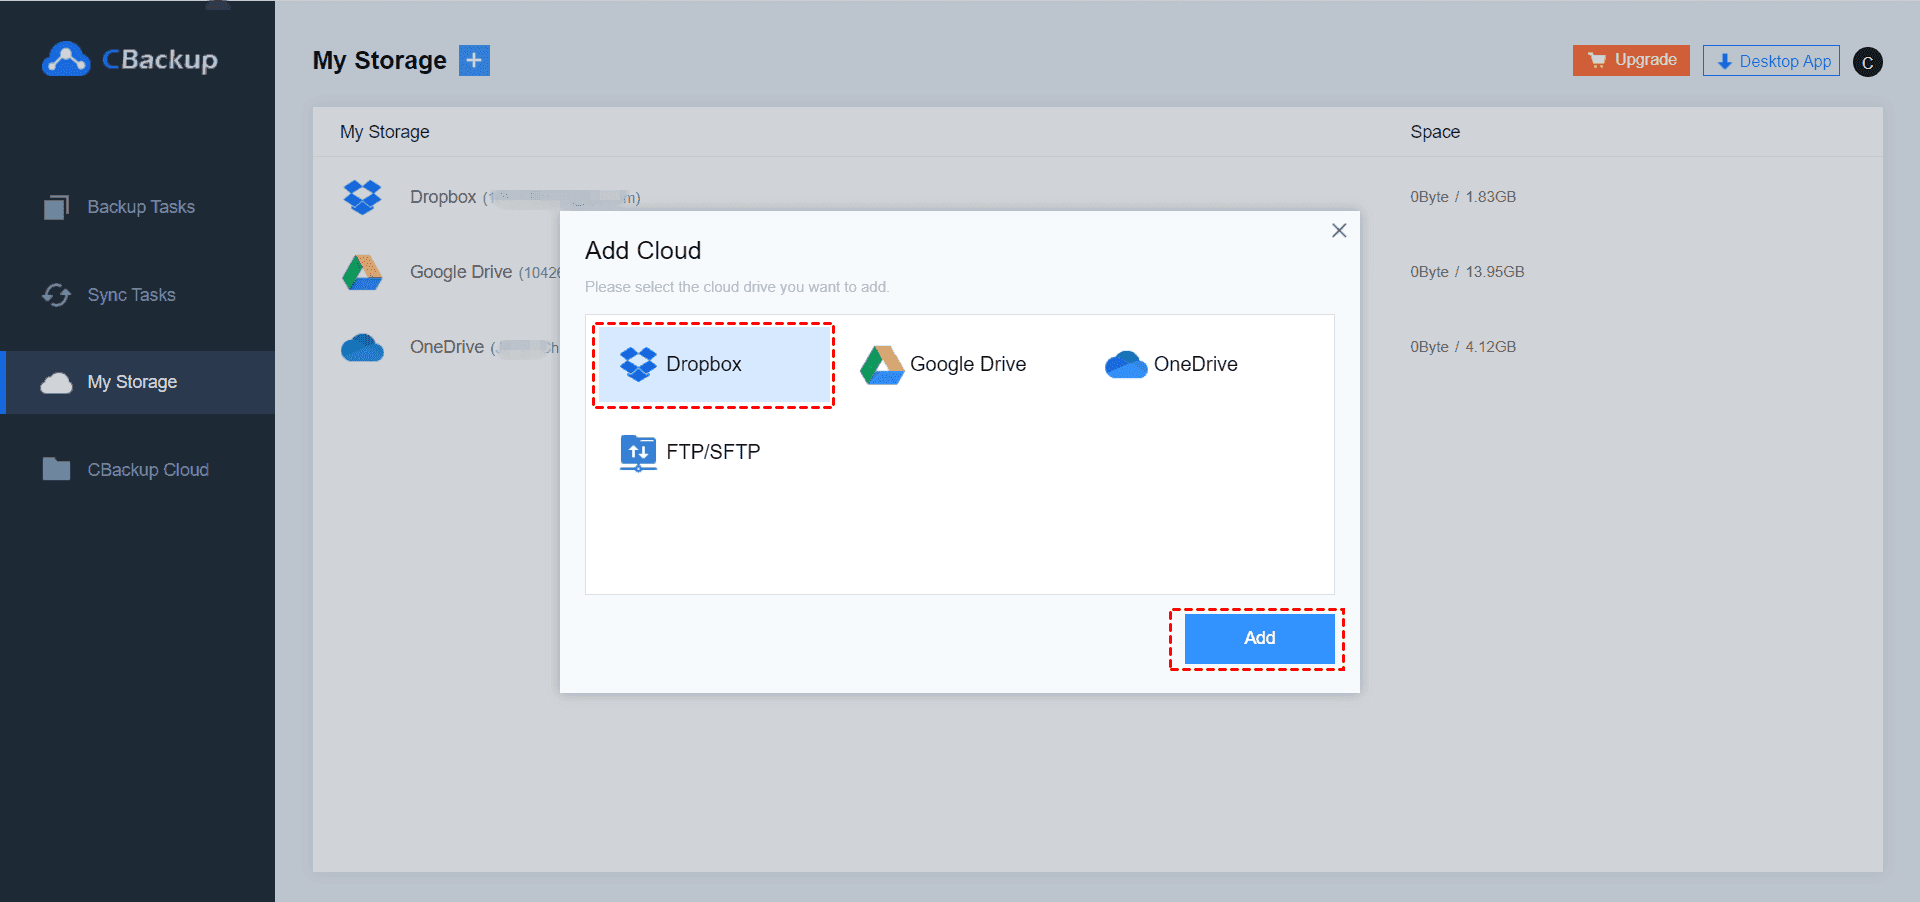
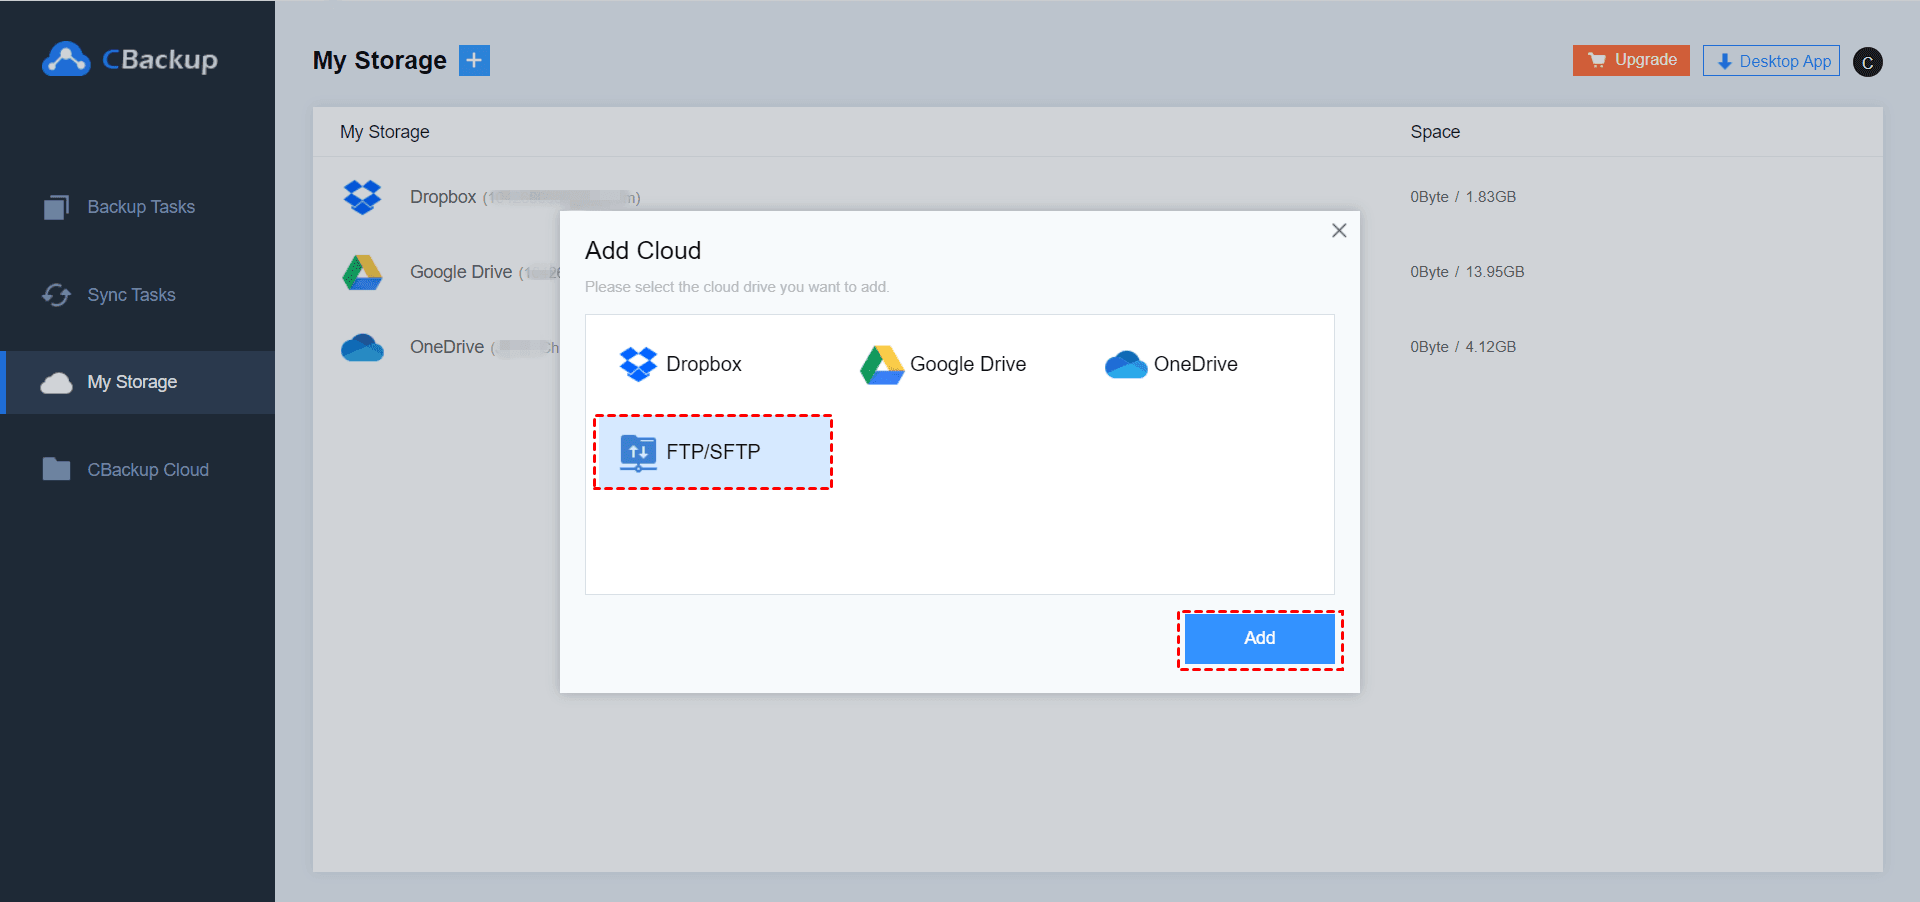
Next, select the cloud drive type you want to add (such as Dropbox ) and then click Add.
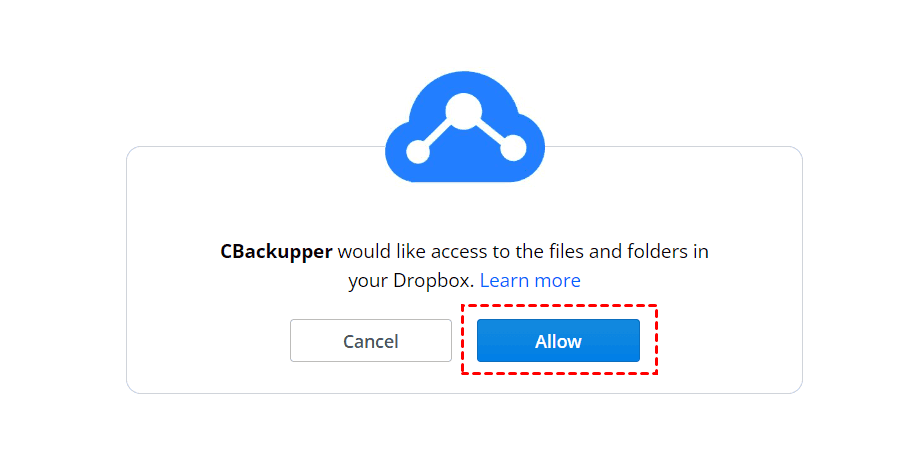
3. Log in to your cloud drive account on the redirect's page and agree to authorize CBackup. CBackup will not obtain or modify any other user information, so please feel free to add it. Please click Allow.
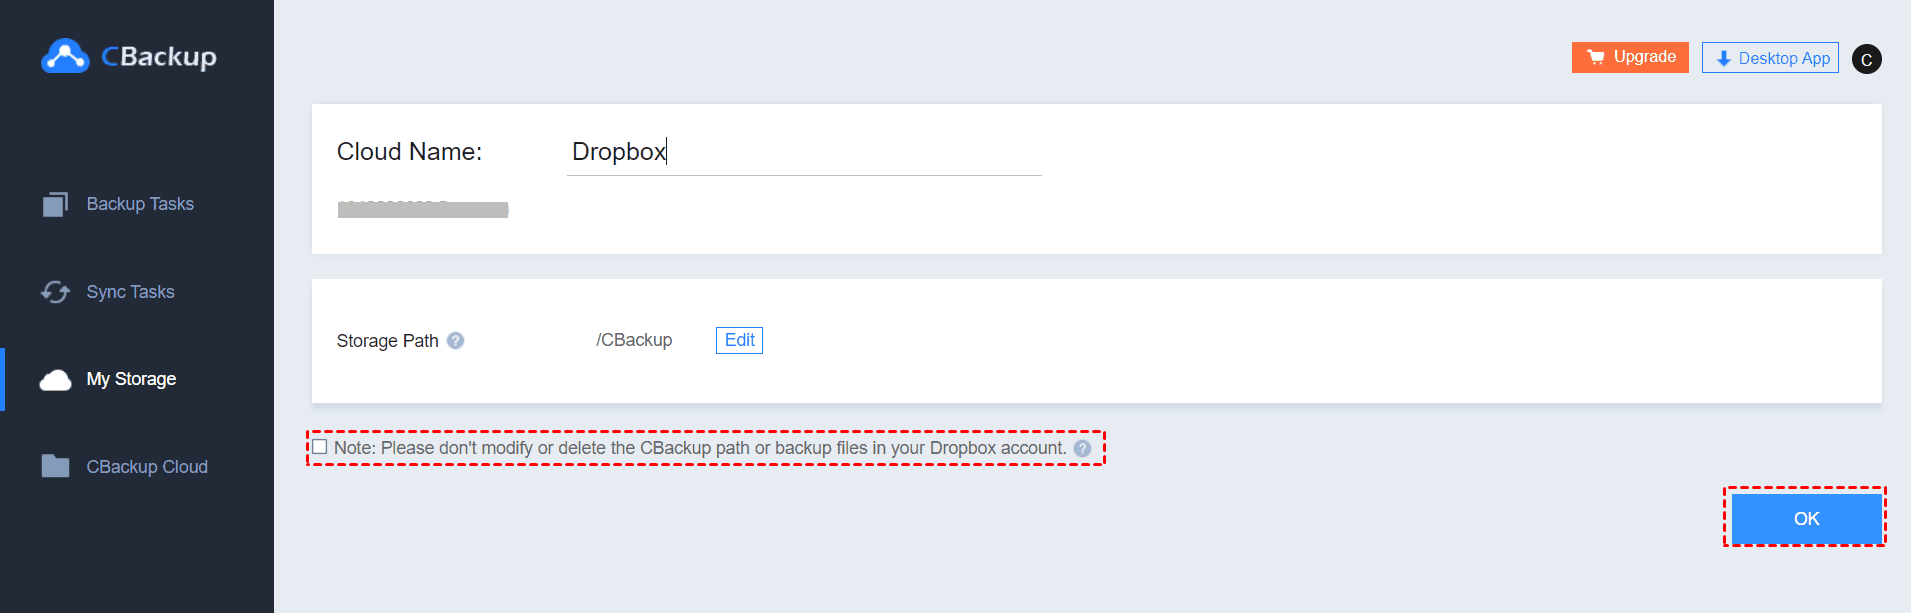
4. On the Add Clouds page, you can set up properties for cloud drives, please see as follow:
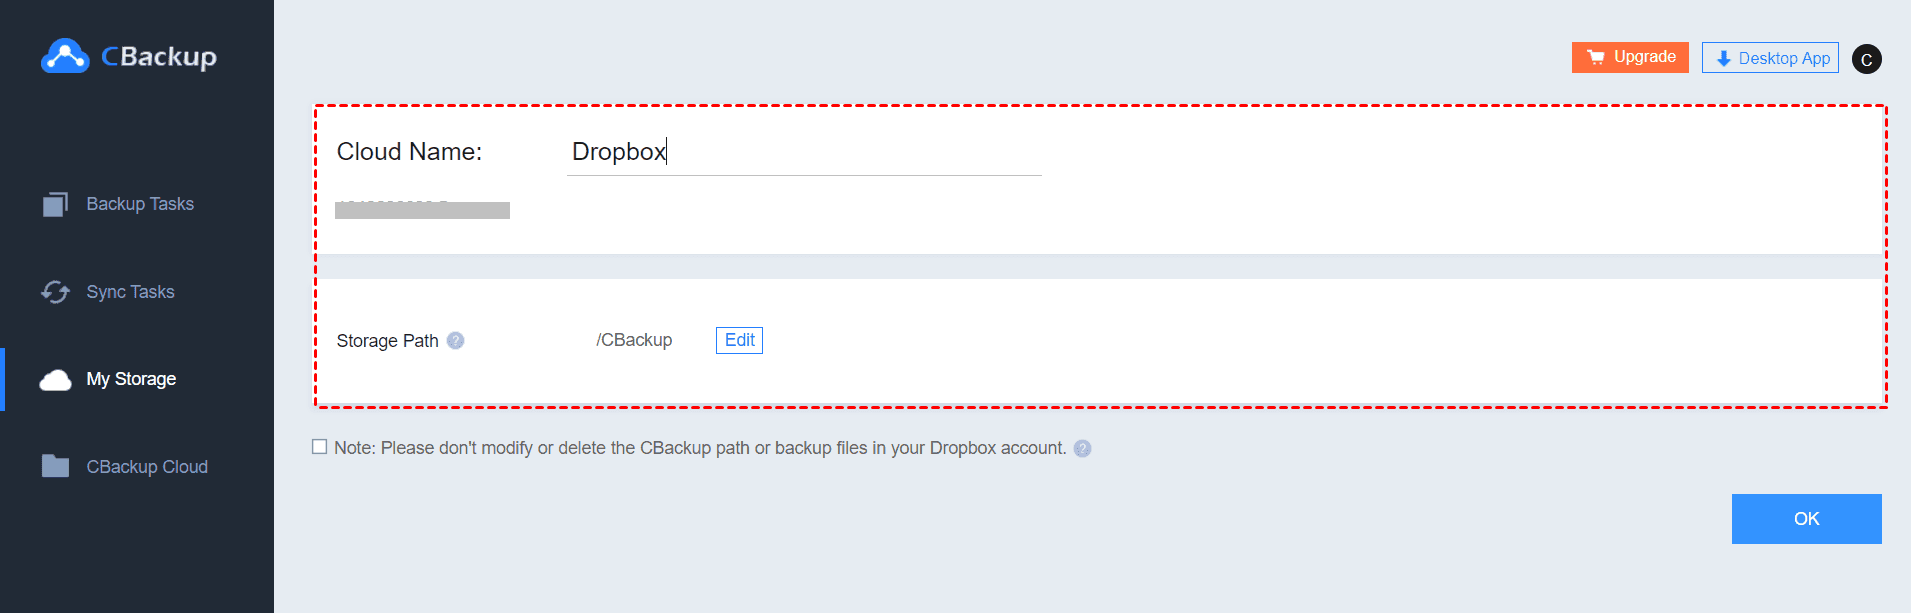
a) Cloud Name: You can modify the name of the cloud drive you added displayed in CBackup, and you can also click on its name, and then modify it.
b) Storage Path: It is the destination path for backups. By default, you can save backups to the CBackup folder of the cloud root directory, or you can click “Edit” to select the appropriate destination path on the cloud drive. The path cannot be modified for a second time.
5. Click OK, and then the cloud drive is added.
Add FTP/SFTP
There are some differences when adding FTP/SFTP.
This section will introduce how to add FTP/SFTP into CBackup, please follow the steps below to add it.
1. Click My Storage in the navigation bar to switch to the My Storage page.
2. Click “+”, then click Add Cloud.
select FTP/SFTP, and then click Add.
3. Fill in the required information in the Add FTP/SFTP window. We will not obtain or modify any other user information, so please feel free to fill in, and then click OK.

4. On the Add Clouds page, you can configure the FTP/SFTP properties as follow,
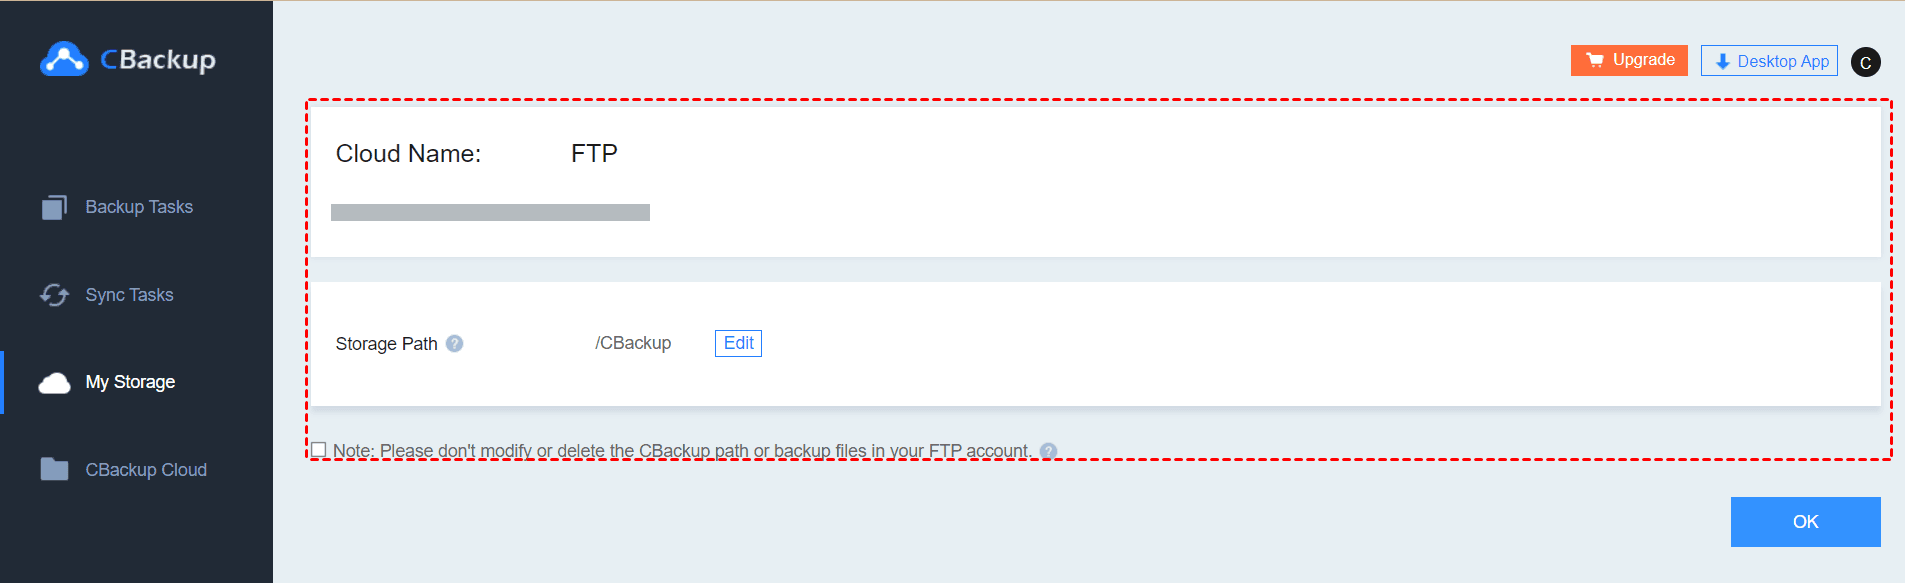
a) Cloud Name: You can modify the Display Name of the FTP/SFTP you added, you can click on its name, and then modify it.
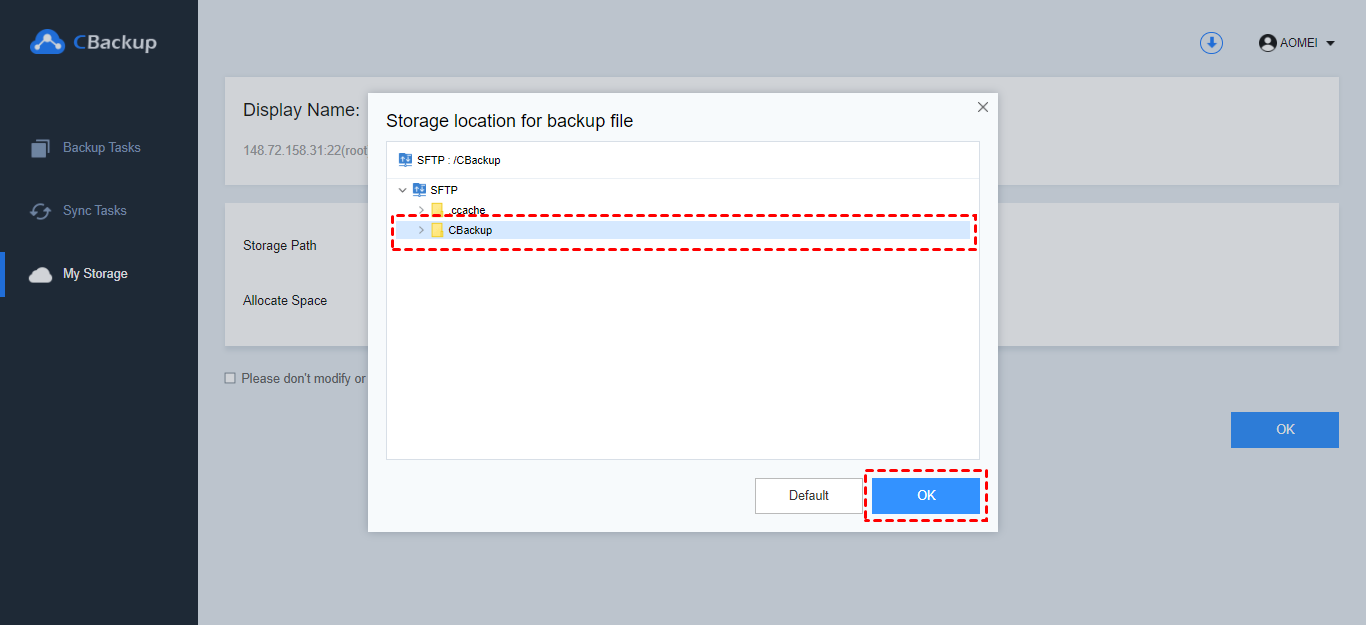
b) Storage Path: It is the destination path for backups. By default, you can save backups to the CBackup folder of the FTP/SFTP root directory, or you can click Edit to select the appropriate destination path on the FTP/SFTP you added then click OK. The path cannot be modified for a second time.
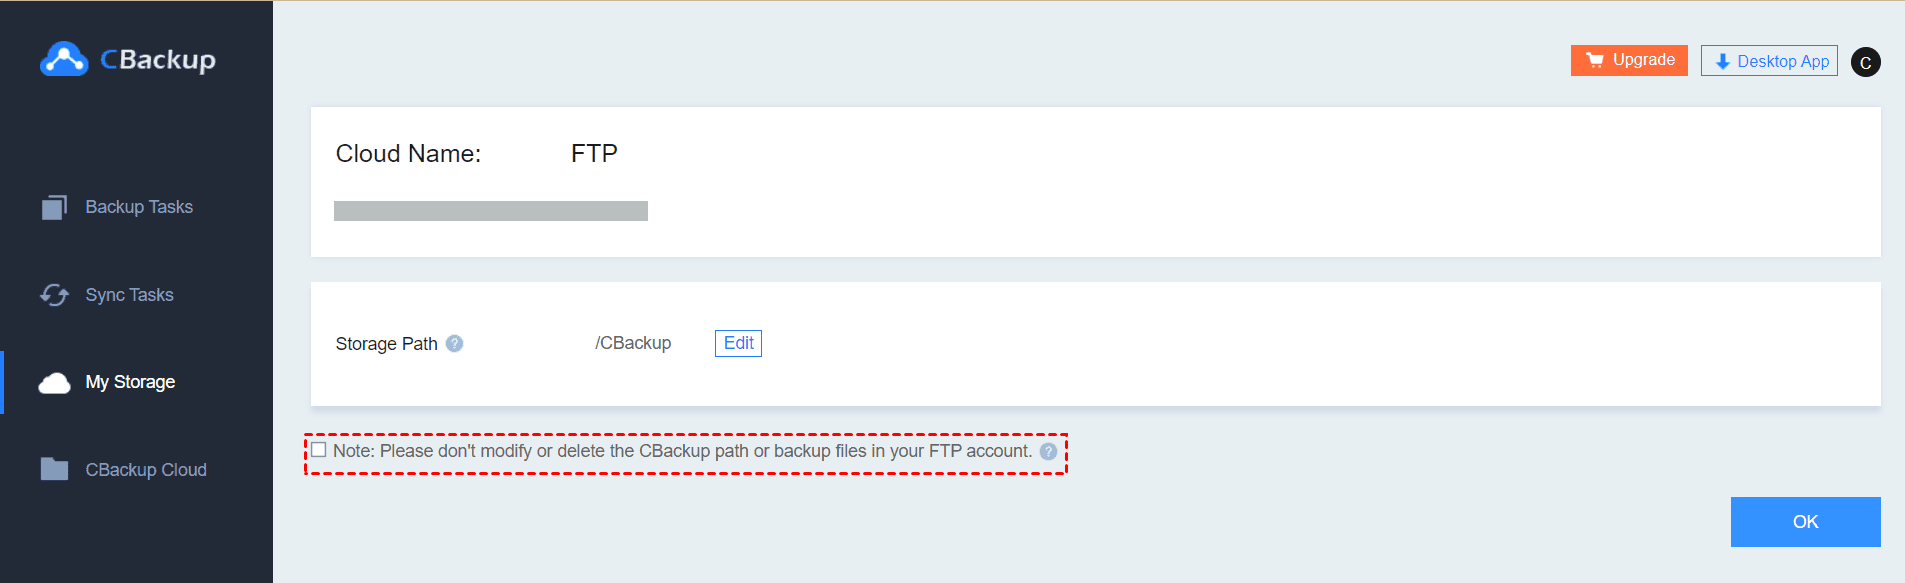
5. Click OK, and then the FTP/SFTP is added.
Edit Clouds
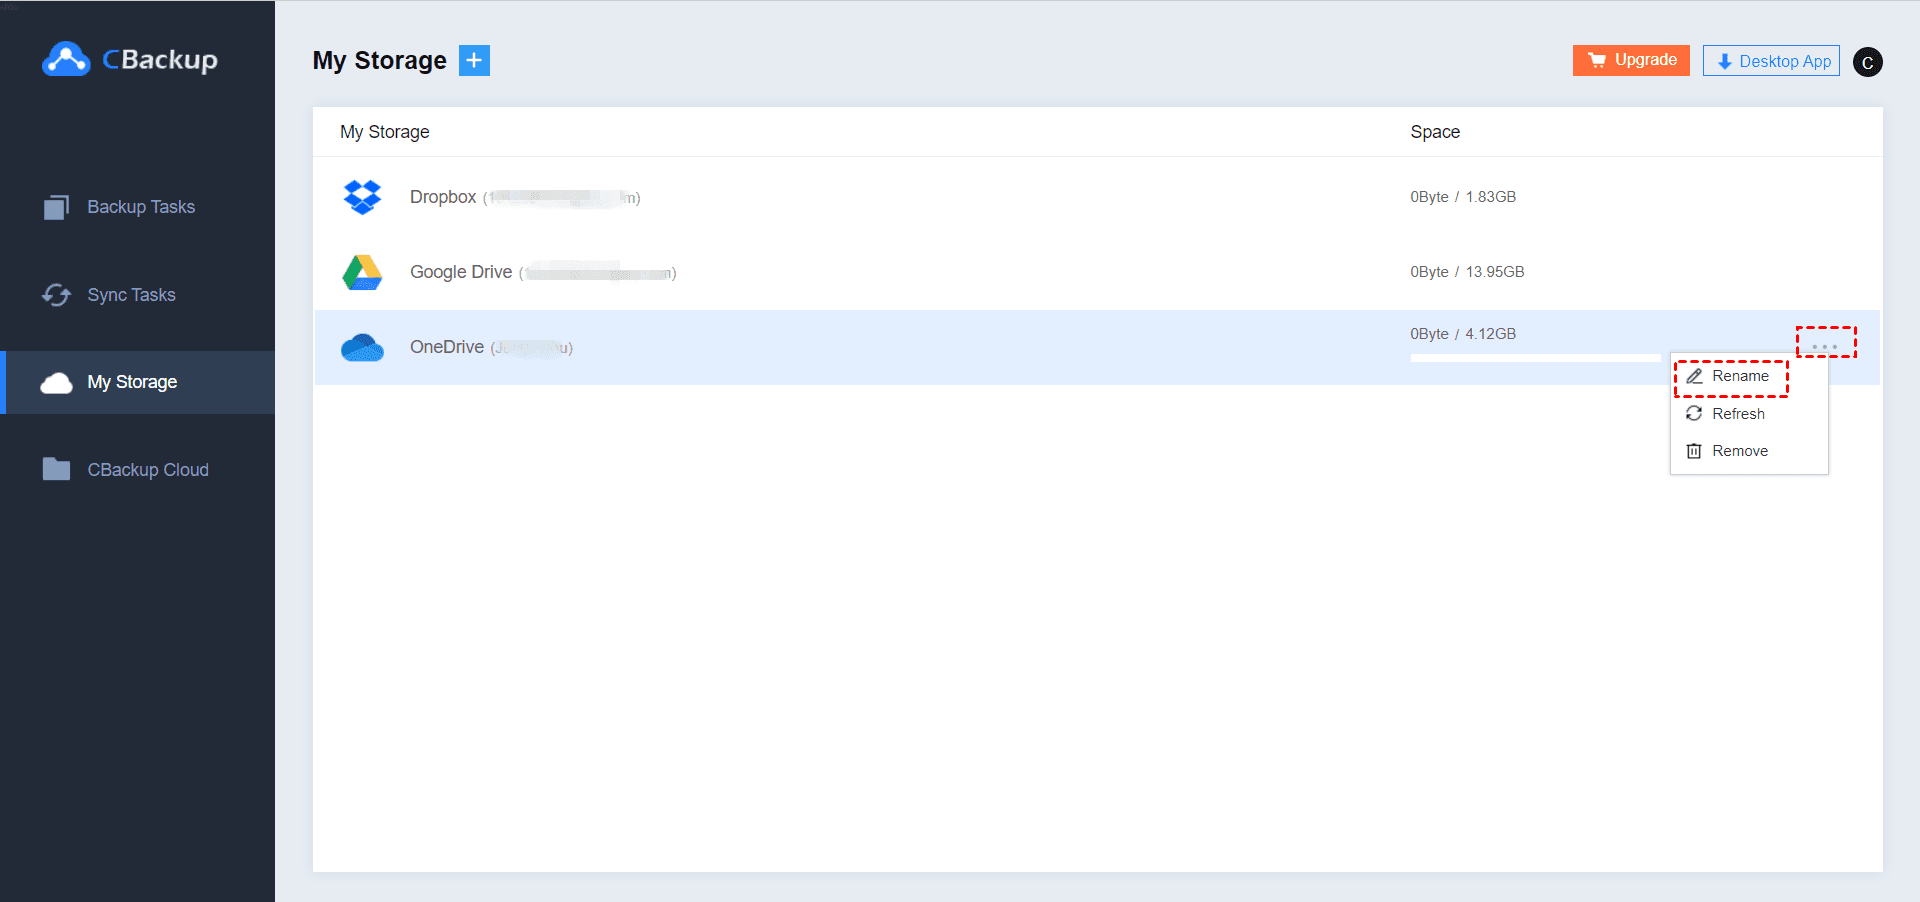
After adding it, we can also edit the added cloud drive, Please move the cursor on the added Cloud drive then click the three-dot button then you’ll see there are three options, they are Rename, Refresh and Remove.
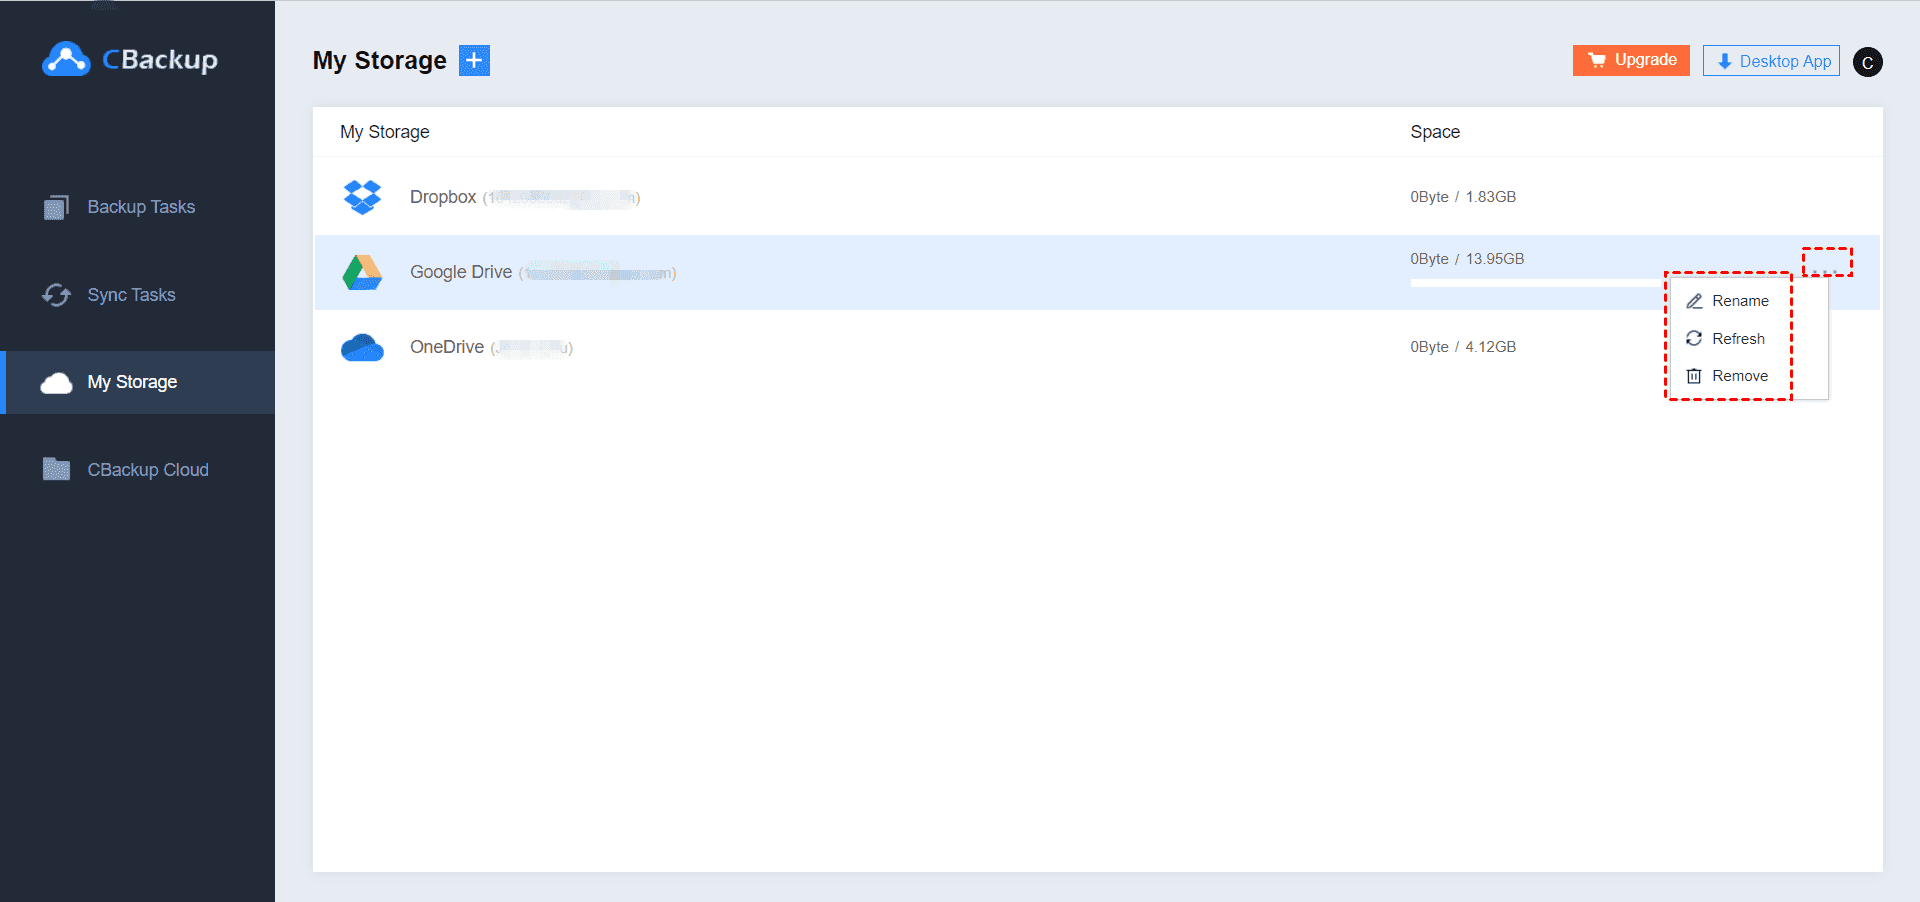
Rename: You can modify the name of cloud drive you added displayed in CBackup, please click rename option then type the new name for the added cloud drive then click OK.

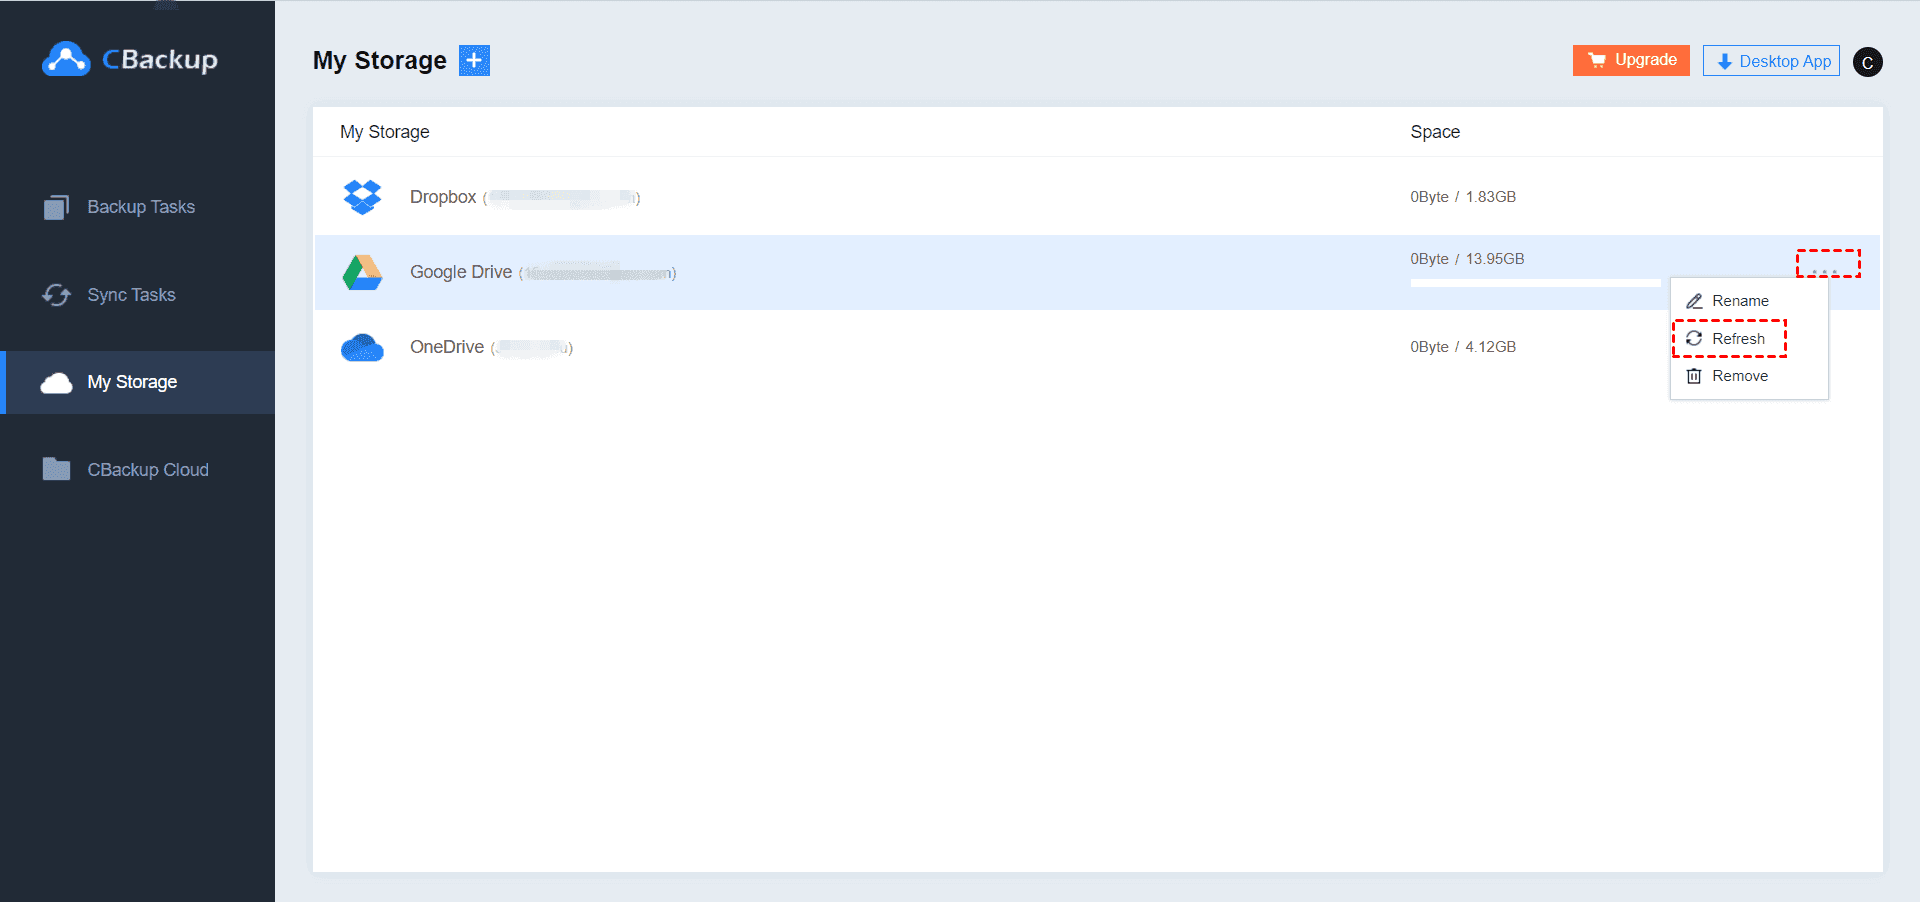
Refresh: You can click this option to reload the added Cloud drive.
On the Clouds page, select the cloud drive that you want to refresh, expand its menu, and select Refresh.
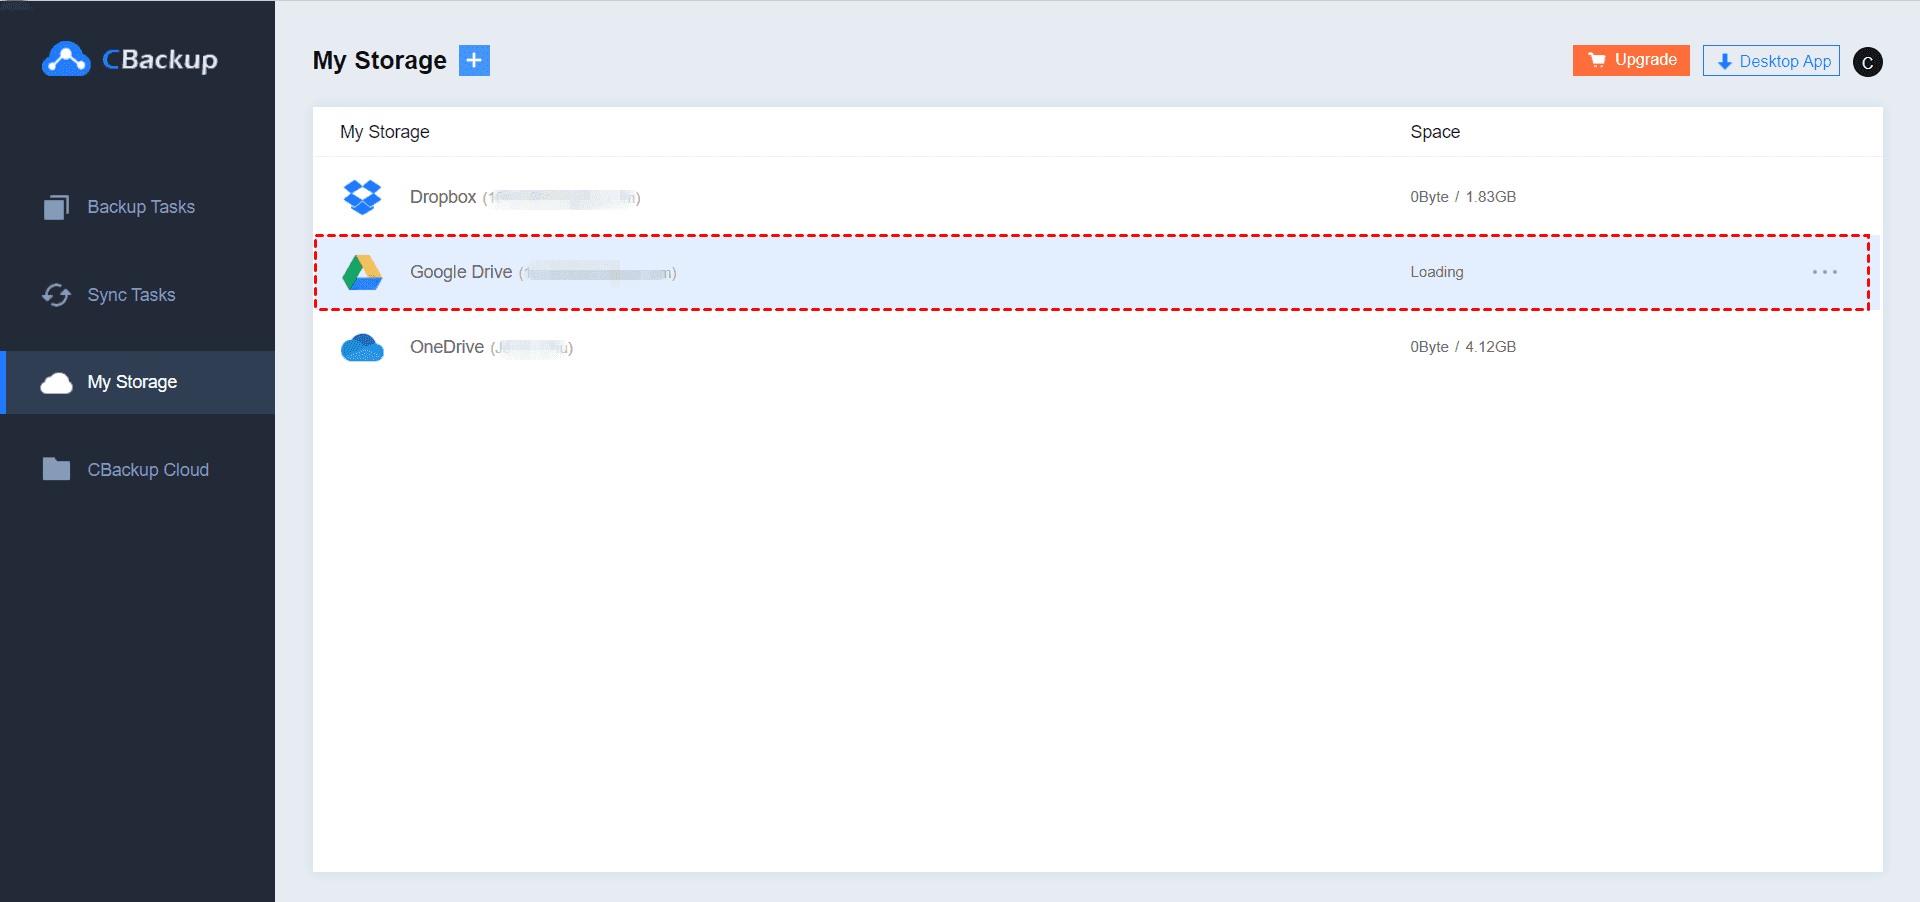
CBackup will re-acquire the cloud drive space usage. Please wait patiently.
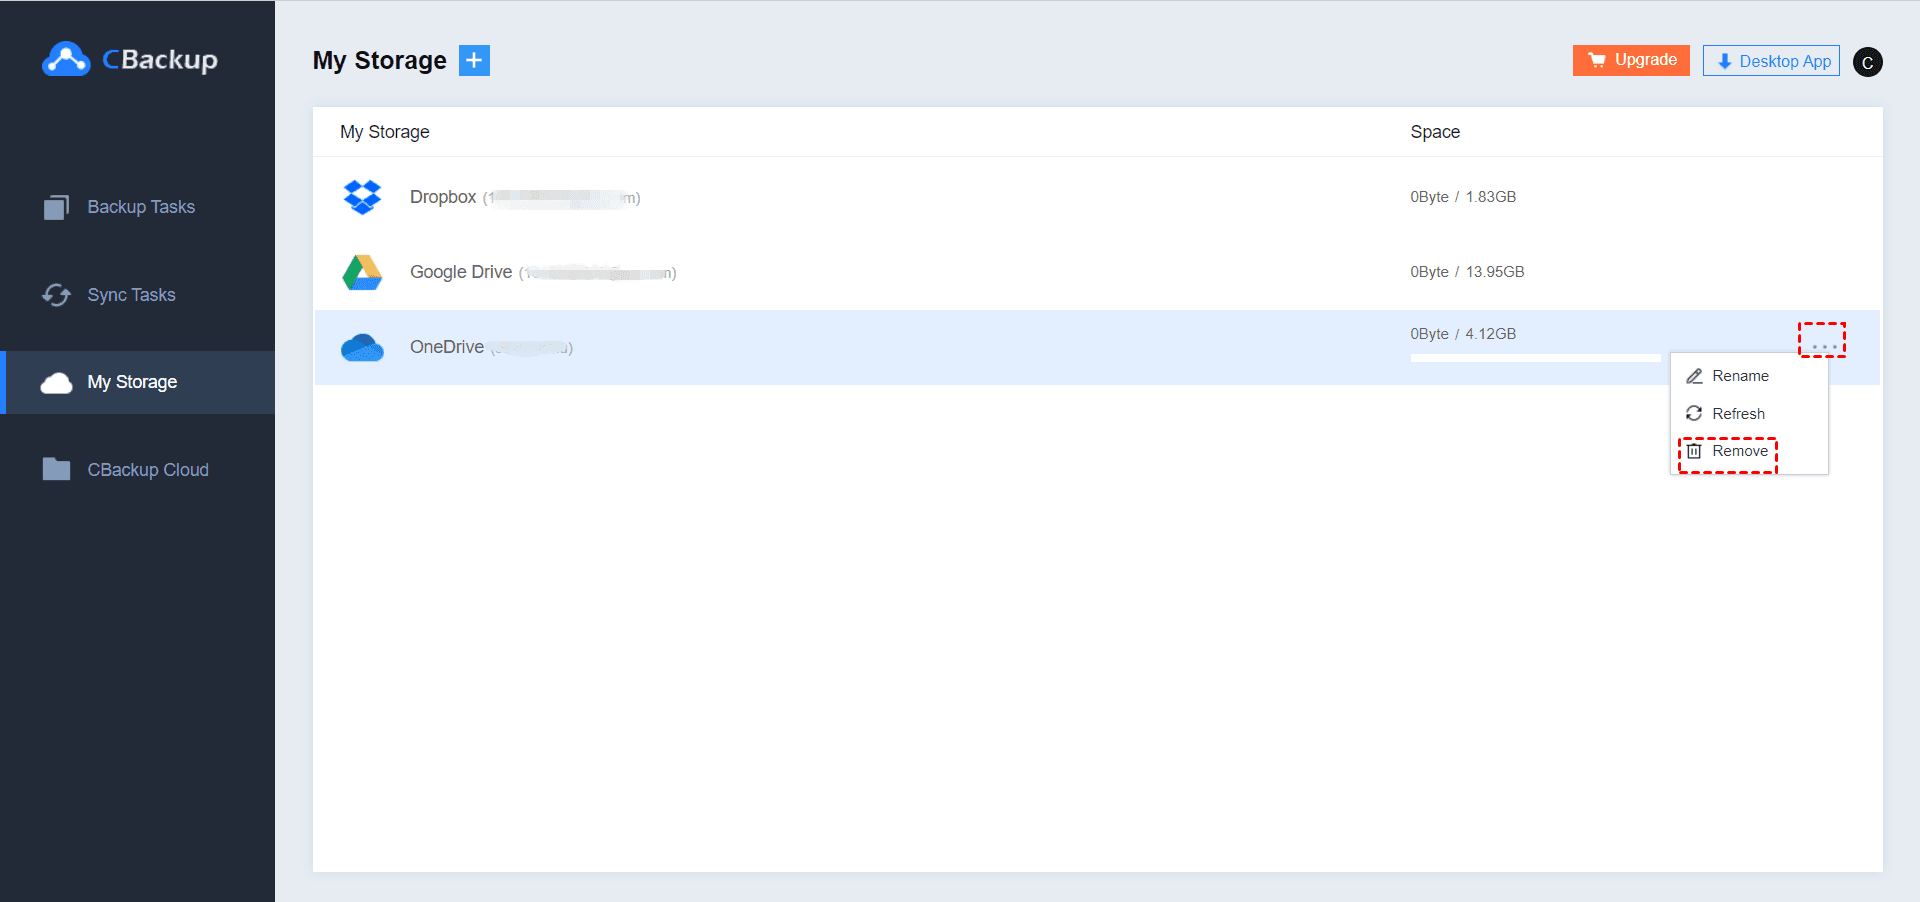
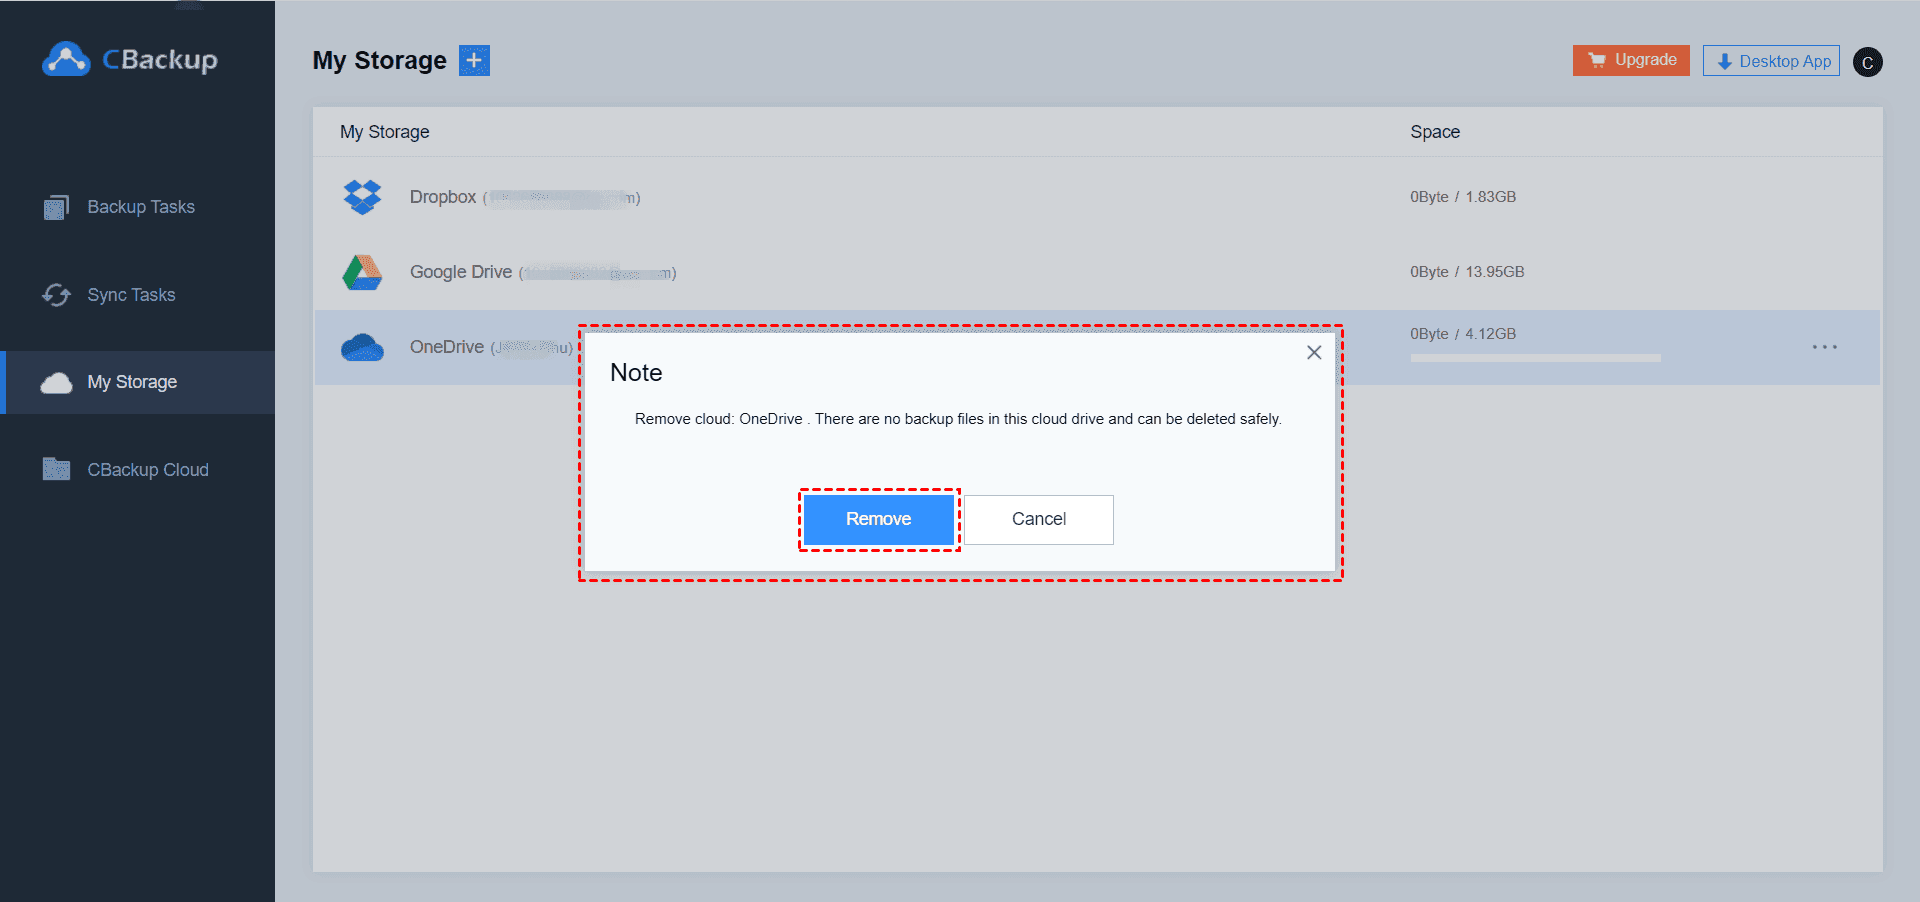
Remove: If you want to remove Cloud Drive from your CBackup account, you can click this option to remove the cloud drive from CBackup.
On the My Stoage page, select the cloud drive that needs to be deleted, expand its menu, and select Remove.
After selecting the Remove option, on the pop-up. Please click the Remove button to remove the cloud disk. (You can also click cancel to cancel the deletion)
Note:
The public cloud can be added both to the CBackup web app and the CBackup desktop app. We have no way of knowing what changes you've made to the backup files on public cloud drives, which may cause CBackup to fail to identify the backup files properly or make other errors. Therefore, please do not directly change the path, or modify, delete the backup files in the public cloud drive. You can use this software to manage the backup versions and files.
Secure & Free
