
How to Set Up QNAP NAS and Dropbox Sync for Data Protection
This article will provide two efficient ways to help you set up QNAP and Dropbox sync. If you happen to need this, please read on to learn the detailed steps.
by Jonna Lasted Updated February 1, 2023
About QNAP NAS and Dropbox
NAS (Network Attached Storage) is a data storage device where you can keep all your important files and media photos, videos, music and so on. QNAP Systems Inc. is a prominent manufacturer of NAS devices that are designed to store data and provide various services on a local network.
Dropbox is one of the most popular cloud storage around the world, which offers file storage, file sharing and works as a centralized service that keeps all of your files organized and up to date. Meanwhile, it provides apps that let you sync the files to its Cloud storage servers. Therefore, Dropbox is a great option that can be used to keep your data safe and secure online.
Advantages of Setting Up QNAP NAS and Dropbox Sync
Both QNAP NAS and Dropbox are good remote storage solutions for data. But sometimes, some users of QNAP NAS may want to sync QNAP NAS to Dropbox for the advantages below:
☛Provide additional protection for data
Although storing data in NAS is safer than storing data locally, data in NAS is also facing the risk of loss due to theft, fire, hard drive error, or human accidental deletion. Therefore, syncing QNAP NAS to Dropbox can make a copy of your data. In this way, once you lose data in NAS, you still have a backup version in Dropbox. Avoid losing all data at once.
☛Break access restrictions on data
Although NAS devices have become more user-friendly, they still cannot match the convenience of cloud services. Public cloud storage like Dropbox can not only help to strengthen your data security, but also let you access your files outside your home or office. Thus, after syncing QNAP NAS to Dropbox, you can access your data through the Dropbox website or application anywhere, at any time.
2 Easy Ways to Set Up QNAP and Dropbox Sync
If you are a QNAP NAS user and are looking for methods to set up QNAP and Dropbox sync, you can try the two easy ways listed in the following contents.
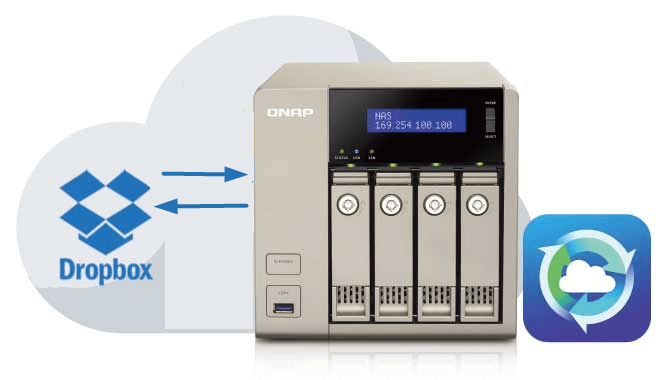
Method 1. Sync QNAP to Dropbox Via QNAP Cloud Drive Sync
QNAP offers a sync tool called Cloud Drive Sync. You can download this application to sync QNAP NAS with many cloud storage services such as Google Drive, Dropbox, OneDrive, etc. Below we will show you how to sync to Dropbox via QNAP Cloud Drive Sync.
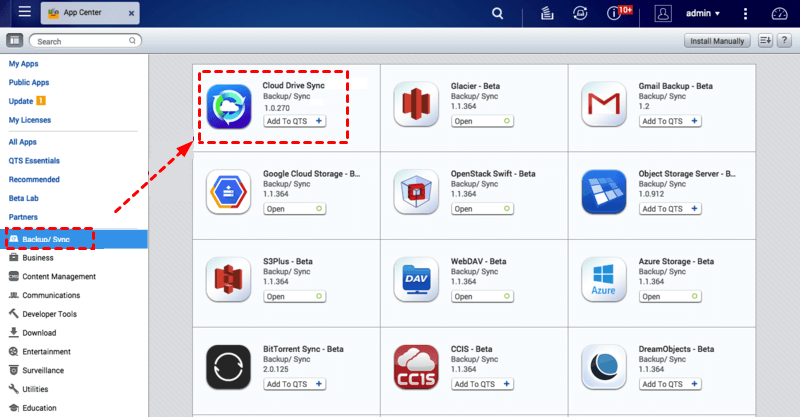
1. Download Cloud Drive Sync from the App center and install it.
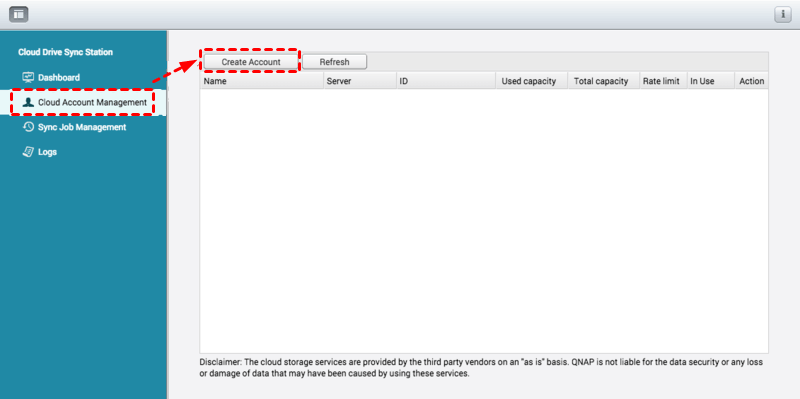
2. Open Cloud Drive Sync. Click Cloud Account Management > Create Account to create a Dropbox account in Cloud Drive Sync.
3. Go to the Sync Job Management > Create Job. Then, click Next.
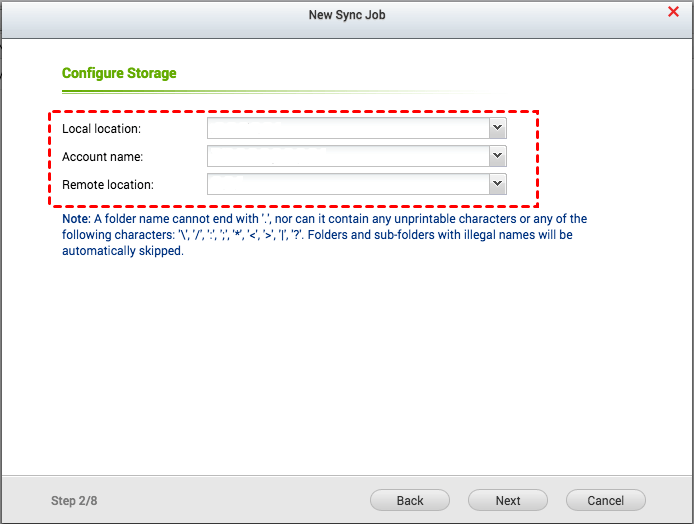
4. On the next page, select a folder on your QNAP NAS in Local location, choose your Dropbox account in Account name, and select a Dropbox folder in Remote location successively. Then, click Next.
5. Here you can set the schedule preferences and set what to do when a conflict is generated due to the name of the files. Once you have chosen the parameters, click on Next.
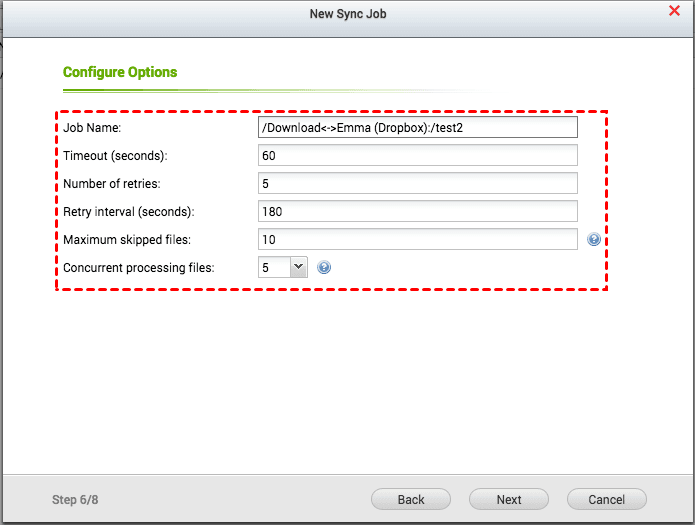
6. After selecting the synchronization preferences, you will see a summary of the settings you have configured for this process. If everything is ok, click on “Finish”
✎Note: Cloud Drive Sync performs two-way sync. That is to say, if you set up QNAP to Dropbox sync via Cloud Drive Sync, it can also be regarded as Dropbox to QNAP sync.
Method 2. Sync QNAP to Dropbox Via Third-Party tool
Alternatively, you can use a free sync tool that supports syncing QNAP NAS to Dropbox. If you don’t know how to choose such a tool, maybe you can try AOMEI Backupper Standard, which is a simpler and more efficient sync tool to carry out the synchronization process.
AOMEI Backupper Standard is a free backup and sync software that supports multiple backup sources and backup destinations. It supports NAS, cloud drive, local hard drive, external hard drive, and so on. You can set up a sync task to move files between any two of these locations with ease.
Learn how to achieve Dropbox and QNAP sync via AOMEI Backupper Standard:
1. Download, install AOMEI Backupper Standard and Dropbox desktop app on your computer.
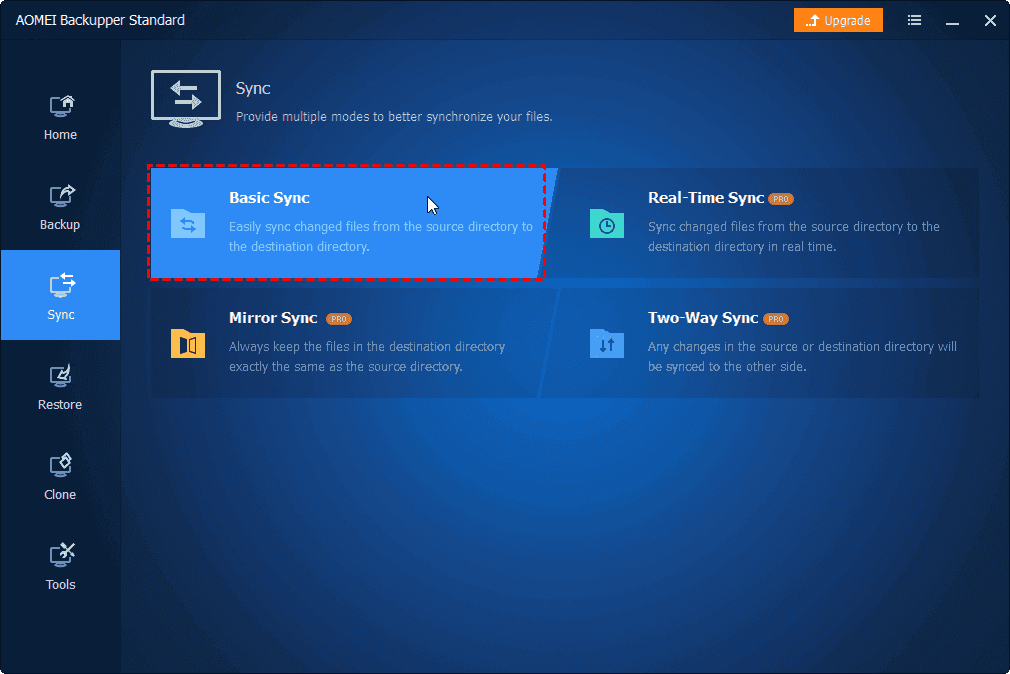
2. Run AOMEI Backupper Standard and click Sync > Basic Sync.
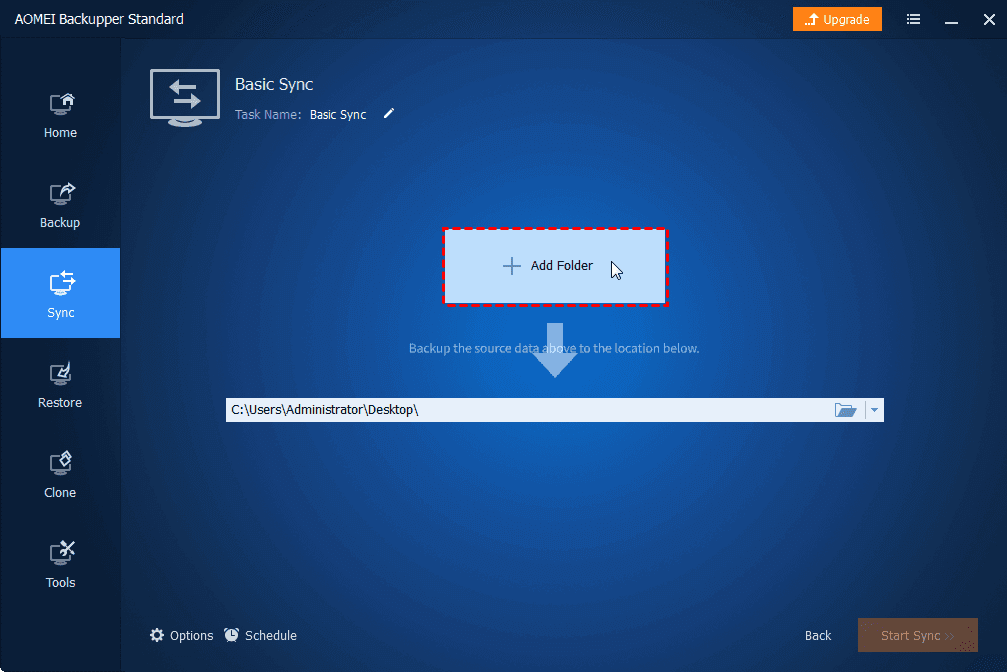
3. Name this sync task so that you can tell it from others. Then, click Add Folder > Share/NAS > Add Network Location to add the QNAP NAS path.
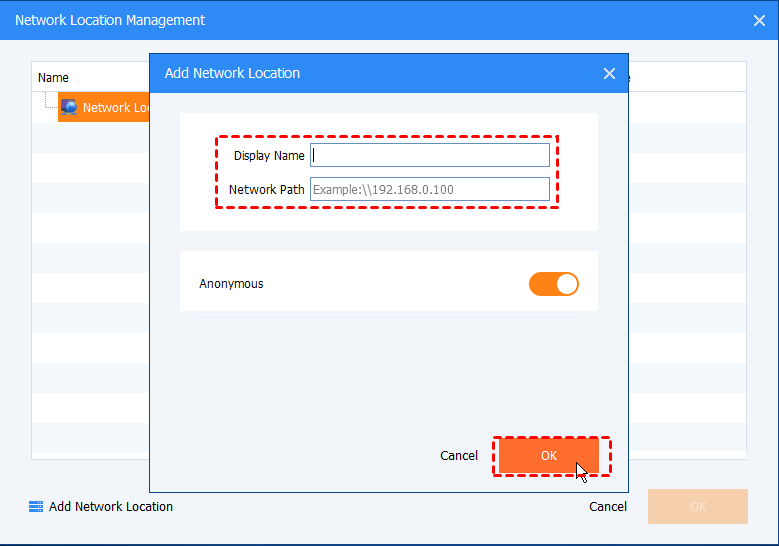
4. In the Add Network Location window, type the IP address of QNAP NAS and click OK. Type username and password if you are asked to.
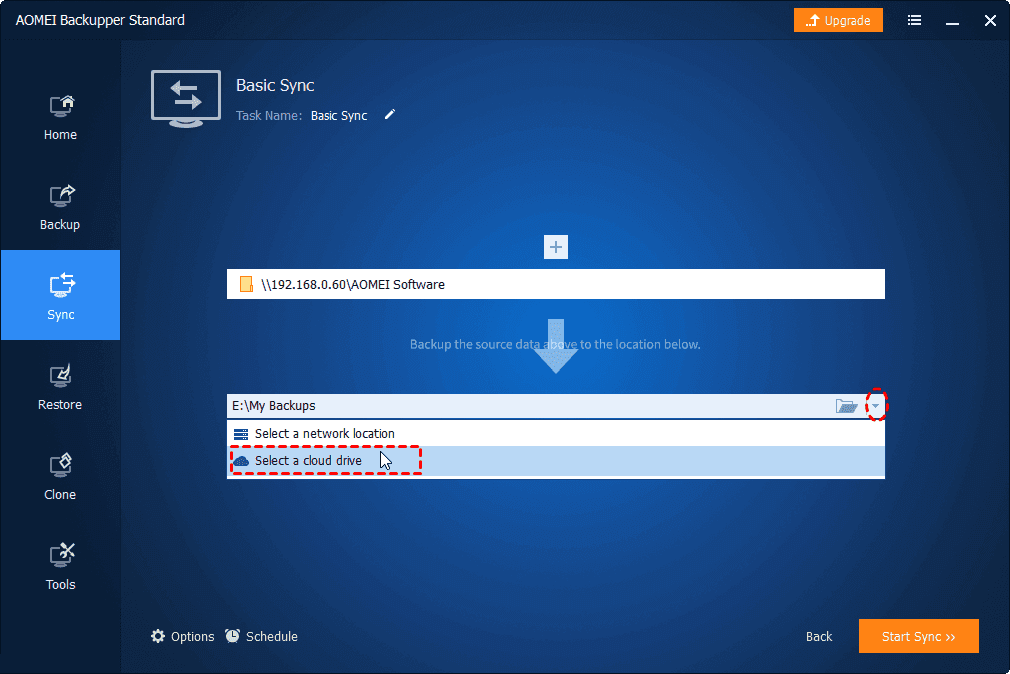
5. Expand the drop-down menu of the second bar and choose Select a cloud drive. Select Dropbox and click OK. Confirm the source and destination directory and click Start Sync.
Bonus Tip: How to Expand Dropbox Backup Space for Free
If you decide to sync data from QNAP NAS to Dropbox constantly, you must need much storage space in Dropbox to store and protect all your data. Normally, users only get 2 GB of Dropbox free storage space. Of course, you can upgrade your account to get more storage space, but if you can’t afford the costs of advanced plans, you can try to expand your Dropbox backup in a freeway.
To increase Dropbox cloud storage, you can obtain help from a cloud backup service called CBackup, which offers a cloud storage combination service for free. With this feature, you can add multiple Dropbox accounts and merge the countless 2GB Dropbox free storage space into a huge, even unlimited cloud storage space.
After merging, you will have a combined cloud on CBackup. Then, you can use this combined cloud to protect as much computer data as you have. And when you backup files to this combined cloud, you can enjoy many useful backup settings like scheduled backup, file filter, and so on that offered by CBackup.
Follow the steps below to expand Dropbox backup space for free with CBackup:
1. Download CBackup, install, and run it on your computer.
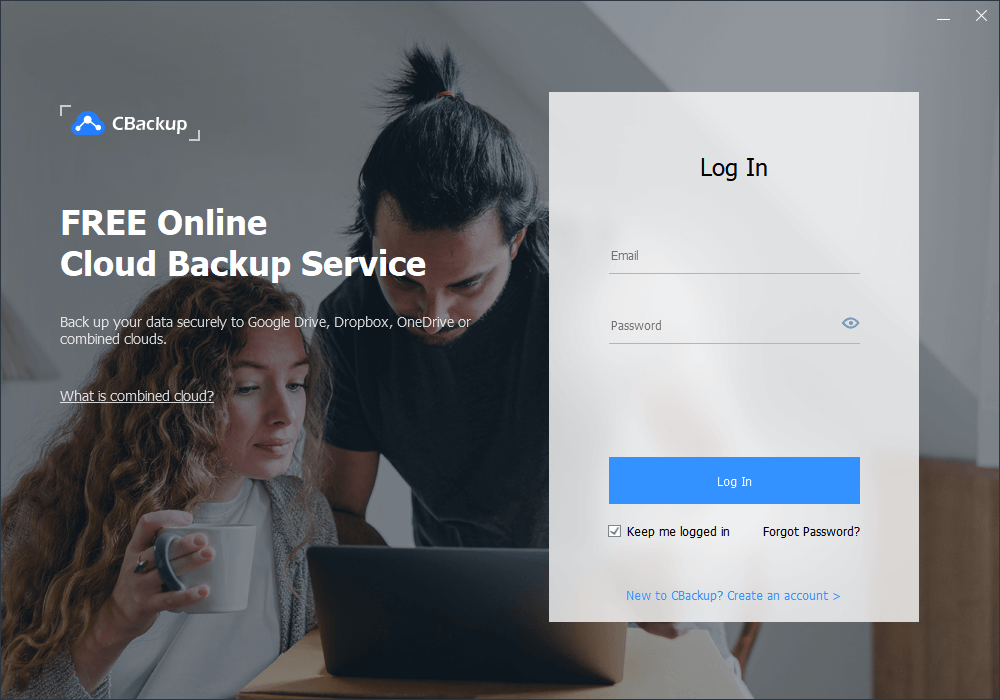
2. Please create a new account of CBackup: type your email, password, and name. After that, sign in to your CBackup desktop app.
3. Click Storage, then select Dropbox and click Authorize Now. Then sign in to your Dropbox account and authorize CBackup to access your Dropbox files. Repeat the step to add other Dropbox accounts or Google Drive, OneDrive accounts.

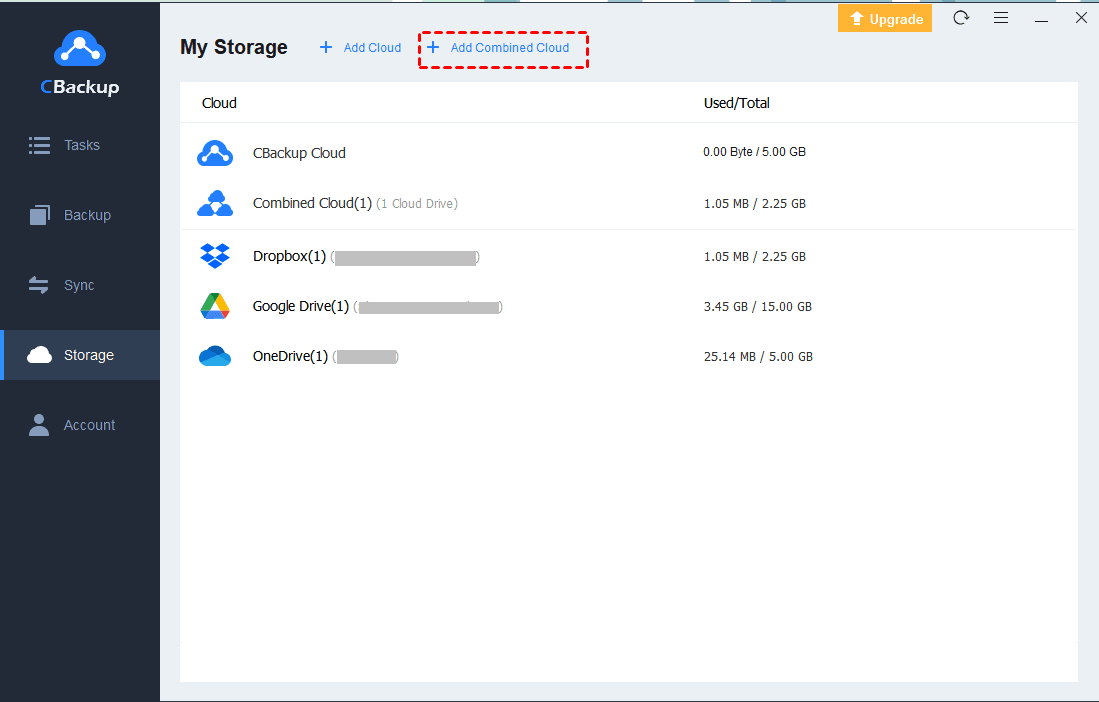
4. Then click Storage > + Add Combined Cloud, then check all the Dropbox accounts, and click Next.
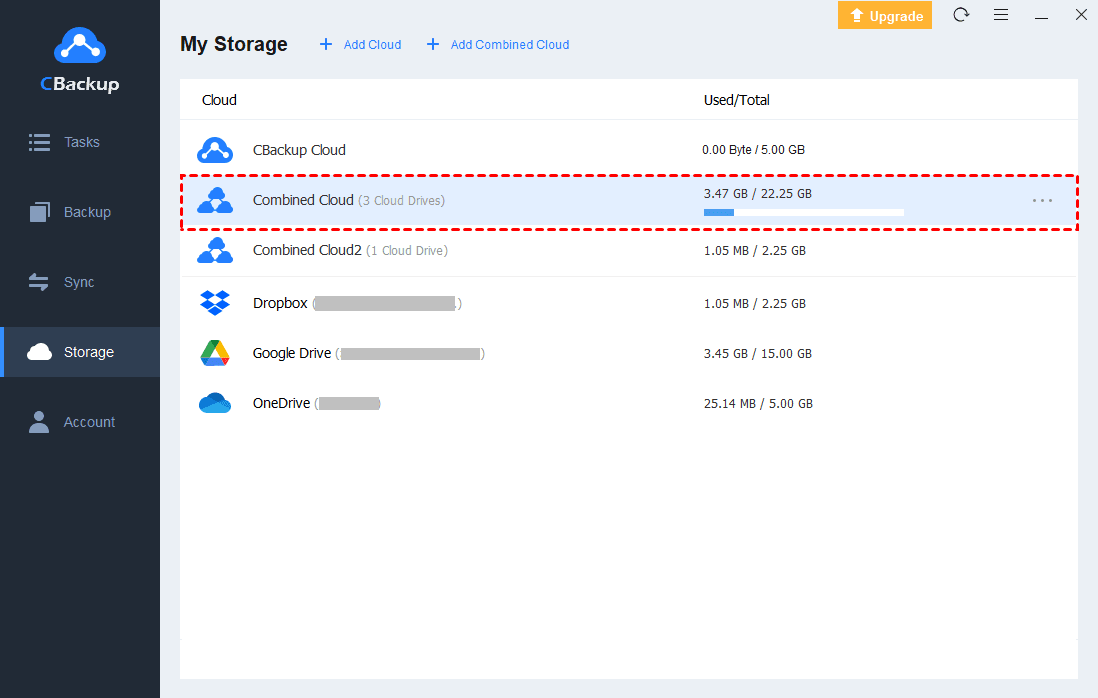
5. Then, you will see a new Combined Cloud in the list under the Storage tab. When you create a backup task, you can choose Backup PC to Combined Cloud to select it as the backup destination.
Final Words
By following the two ways above, you can easily sync QNAP to Dropbox to protect your data. No matter what reason you sync QNAP and Dropbox for, don’t forget to expand your Dropbox backup space for free with CBackup. Only when you have a huge backup space in Dropbox, you can protect more data.

Secure & Free
