
Ultimate Guide to Dropbox Differential Sync
This page is the ultimate guide to Dropbox differential sync. You will find the most comprehensive information about Dropbox differential sync here. Please read on.
by Jonna Lasted Updated February 2, 2023
What is differential sync?
Differential sync is one type of sync mode and has been adopted by many cloud storage providers. When you make changes to a file, the differential sync feature brings the ability to sync only the parts of large files that have changed, not the entire file.
This makes the file synchronization process faster for these files. It also reduces the time taken to upload and download a file as well as consumed bandwidth. Meanwhile, I also save the storage space in your Dropbox account.
Does Dropbox support differential sync?
Since differential sync can bring many advantages to users, many cloud storage providers have adopted this technology. For example, OneDrive announced that it will add differential sync feature to clients and will supports differential sync for all personal and business users.
Some Dropbox users may wonder if Dropbox can set up differential sync to save both time and storage space. Actually, to sync files between your device and the cloud, Dropbox uses the so-called block-level copying, sometimes also referred to as delta sync or differential sync. When you sync a file, you only send and receive the differences, the delta, between files.
In other words, in Dropbox, you don't need to change any Dropbox sync settings, whenever you make a change to a file, only the changes will be synced back into the Dropbox Cloud, rather than having to sync the entire file all over again.
How to set up Dropbox differential sync in Windows?
As mentioned above, Dropbox uses a differential sync feature to sync your files between local devices and Dropbox Cloud. Therefore, Dropbox sync is also dropbox differential sync. If you want to set up Dropbox differential sync, you just need to use the official Dropbox sync tool to sync your files. Let’s see how to set up the Dropbox sync in Windows or Mac:
Step 1. Download and install the Dropbox desktop application on your computer, log in to your Dropbox account.
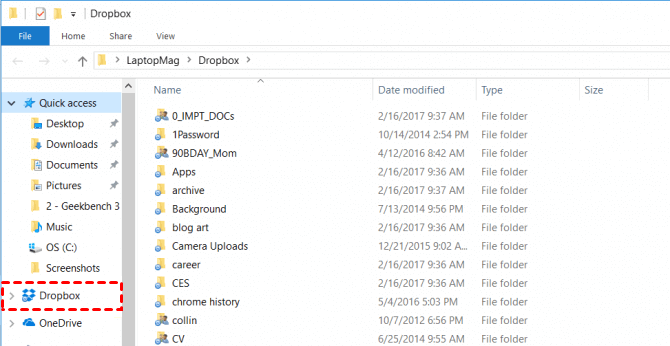
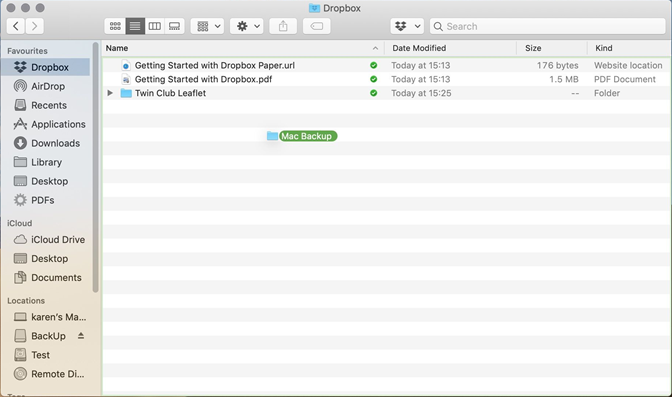
Step 2. Once you've installed the Dropbox sync app you'll be able to access your folders from File Explorer (Windows) or Finder (Mac), then open the Dropbox folder.
☛On Windows
☛On Mac
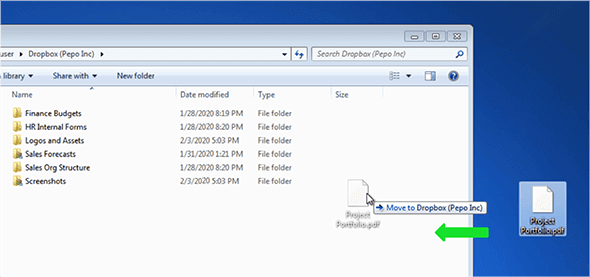
Step 3. If you want to sync any file to Dropbox Cloud, just drag and drop files to this folder. All the files in this folder will be synced to Dropbox automatically.
Step 4. Right-click the file or folder to enable Smart Sync. Then hover over Smart Sync in the menu. Click the Online Only option.
Enable Smart Sync or Selective Sync
Smart Sync is a Dropbox feature on the desktop application that lets users review new files without taking up any hard drive space. Users can access and edit all files on their computer. Once the files have been opened, Dropbox will automatically download and synchronize these files.
However, Selective Sync is another feature that allows users to select only the files and folders that need to be synced. With this feature, users can exclude unimportant files so that they can save hard disk space, but this part of the files will still occupy the same amount of space.
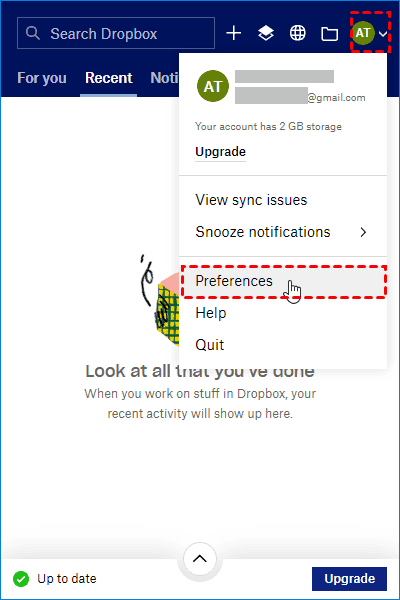
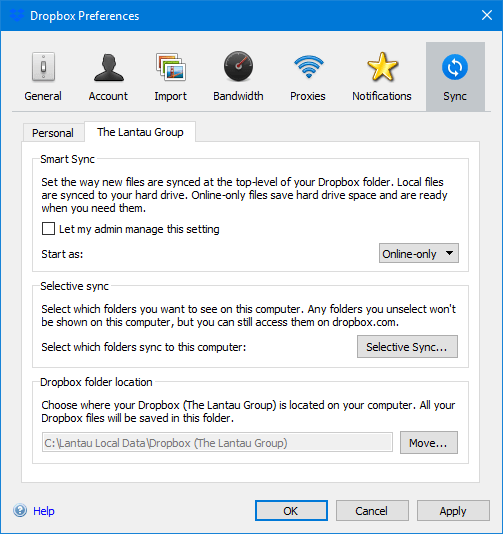
Step 1. Tap the Dropbox icon in the system tray and click your Dropbox account icon at the top right corner, then select Preferences.
Step 2. Under the Sync tab, find the Smart Sync section and Selective sync section, enable them as you like.
Set up Dropbox schedule backup to backup files regularly
Actually, although differential sync can help you ensure that you can synchronize the latest files to the cloud, it is not conducive to file protection, because any changes to the file will be synced between local and cloud. If your local file is lost or you accidentally delete the file in the cloud, you will lose the file both in local and cloud.
Therefore, to protect your files, you are suggested to backup your local files to Dropbox cloud regularly. Thus, even if you lose your files in local or cloud, you will have a backup version. And regular backup can make sure the backup version contains all of your latest files.
To achieve this goal easily and safely, you are suggested to rely on a professional cloud backup service like CBackup. With CBackup, you can backup your local files from Windows PCs to Dropbox Cloud in specific time, daily, weekly, monthly mode. Let’s try it now.
Step 1. Download, install and run CBackup. Create a CBackup account and sign in.
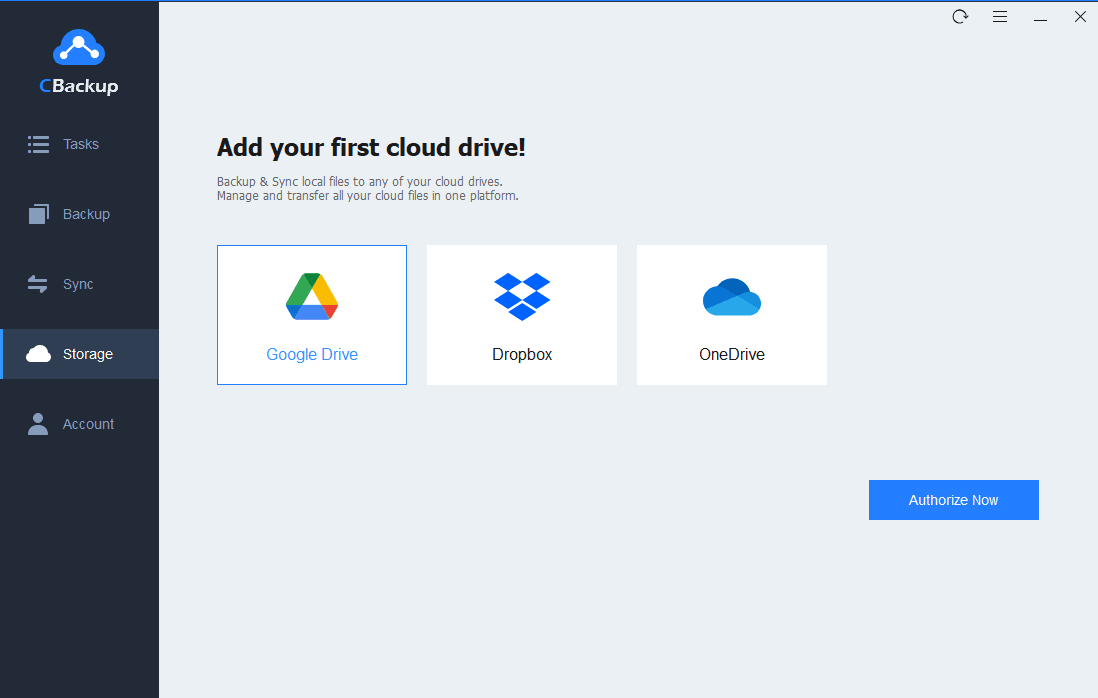
Step 2. Click Storage on the left side, choose Dropbox and hit Authorize Now. Then follow the on-screen guide to allow CBackup to access your Dropbox files.
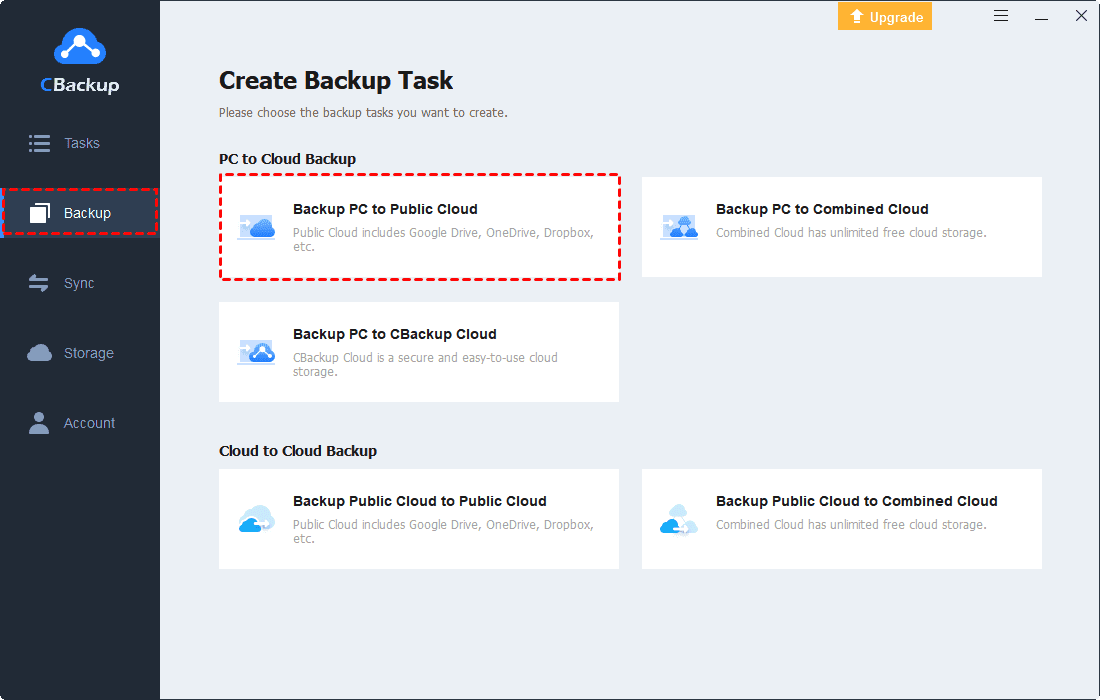
Step 3. Select the Backup tab, and then press Backup PC to Public Cloud button to backup files to Dropbox.
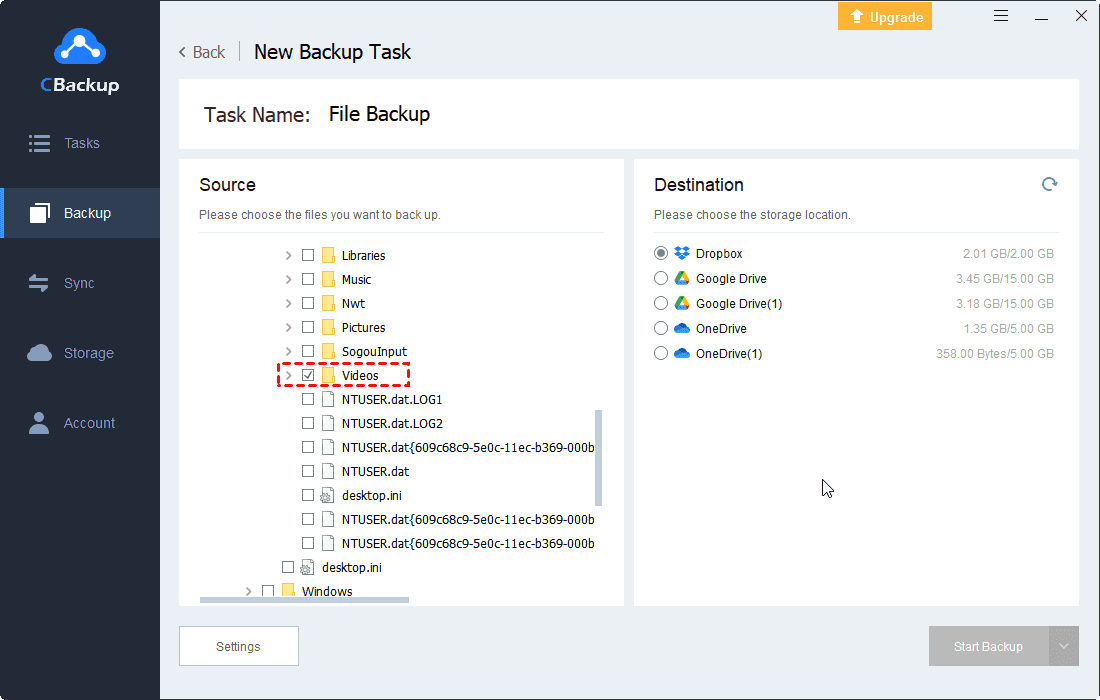
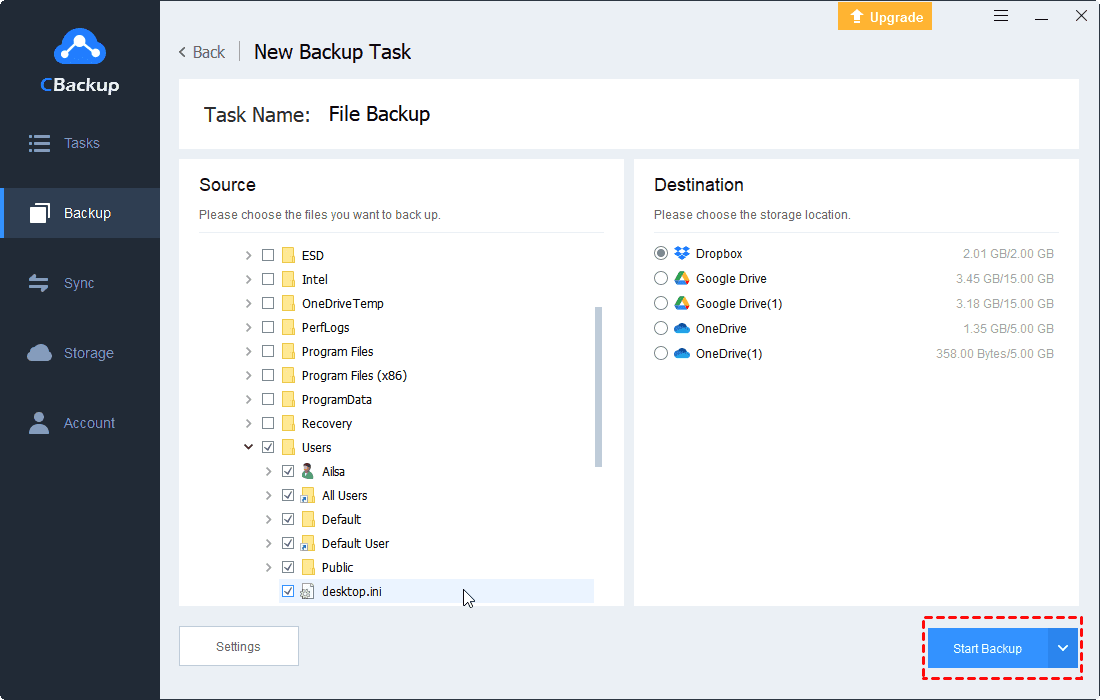
Step 4. Specify the Task Name, and choose folders you want to backup to Dropbox. Then, select Dropbox as the target location.
Step 5. Tap Settings at the bottom of the window, tick Set a backup schedule for automated backup option, specify the time you want to backup folders to Dropbox, and click OK.

Step 6. Press the Start Backup button to start your scheduled backup task.
Conclusion
That’s all about Dropbox differential sync. After reading the contents above, you must know that Dropbox adopts differential sync to improve sync efficiency and save backup space. You just need to set up the Dropbox sync desktop application to enjoy it. In addition, you are suggested to do Dropbox schedule backup to protect your files regularly.

Secure & Free
