
How to Schedule Synology Cloud Station Backup in Windows?
This article will show you how to schedule Cloud Station Backup so that you can backup files from local to Synology NAS regularly. Please read on to learn more detailed information.
by Jonna Lasted Updated February 2, 2023
User case
Hello, I would like to establish a Cloud Station Backup schedule for a remote Synology NAS. As this NAS is located on a remote network, I would like to use it for sync/backup only at certain times, so that it doesn't run all the time, just at night or during the weekends, and updates the backup periodically. Do you know how to achieve that? Looking forward to your suggestions. Thanks!”
What is Cloud Station Backup?
Synology Inc. is a corporation that specializes in Network-attached storage (NAS) appliances. Synology has a variety of NAS products that can be used in home, office, and even corporate applications. Actually, all their Disk Station NAS units are supported by Synology Disk Station Manager (DSM) operating system. Meanwhile, DSM provides users with many good free applications, such as Cloud Station Backup.
Synology Cloud Station Backup is a backup service that allows you to back up files from multiple clients to a centralized Synology product. Before backing up files on client computers, you need to install the Cloud Station Server software package on the host Synology product, and you must install Cloud Station Backup on each client computer you want to back up from.
Can I schedule Cloud Station Backup?
As mentioned above, Cloud Station Backup is a backup service that allows you to back up files to a Synology NAS. To save time and effort, some users wonder if they can schedule Synology Cloud Station Backup.
However, although Cloud Station Backup can help you back up files to Synology NAS, it doesn’t allow you to schedule a backup task that runs on a specified date, time, or interval. Actually, besides Cloud Station Backup, there are many other ways that can help you back up files from the local computer to Synology NAS.
If you need to backup files from a local computer to Synology NAS regularly and automatically, you can rely on other backup tools like Windows built-in tool – Backup and Restore and third-party tool - AOMEI Backupper Standard. Please read on to learn the detailed steps.
How to schedule backup to Synology NAS in Windows?
Backup and Restore is a Windows built-in backup tool that allows you to backup local files to NAS and supports scheduled backup. AOMEI Backupper Standard is a free third-party tool that also allows you backup files to NAS regularly and easily. In the following contents, we will show you how to schedule backup to Synology NAS via these tools.
Way 1. Schedule backup to Synology NAS via Backup and Restore
Since Backup and Restore is a Windows built-in tool, you can search it in the Windows system to use it directly. Here are the steps:
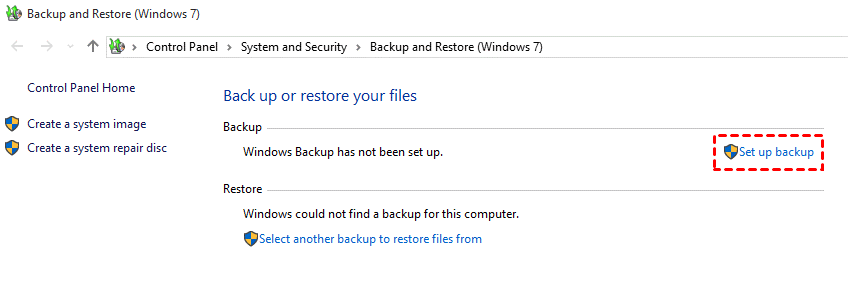
Step 1. Go to Control Panel > System and Security > Backup and Restore (Windows 7).
Step 2. Click Set up backup on the right side.
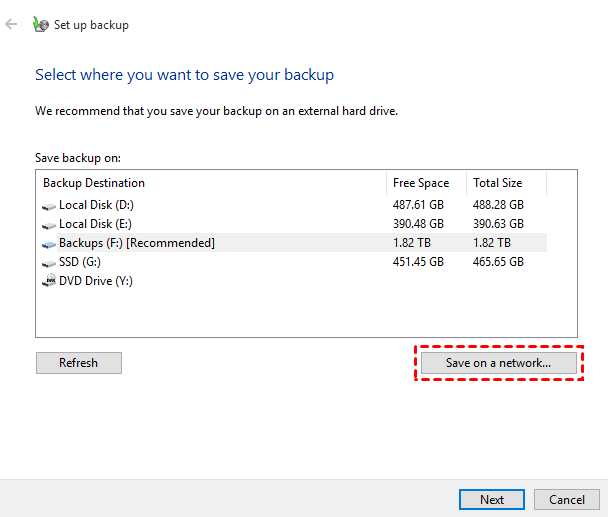
Step 3. Choose Save on network... to choose NAS as the backup destination.
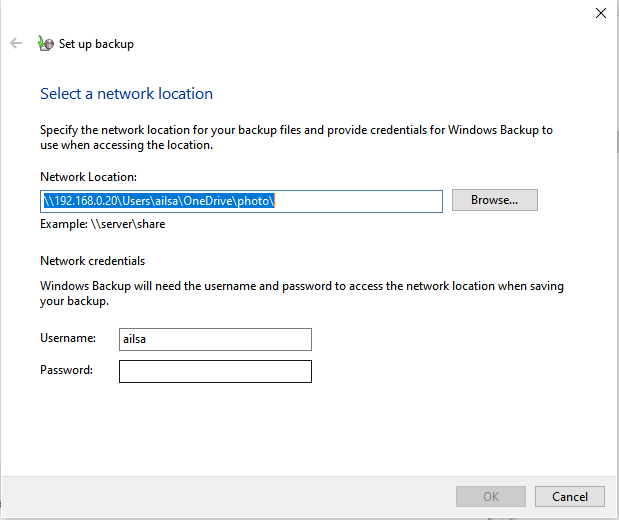
Step 4. Click the Browse and choose the network path. Then enter your username and password. Click OK.
Step 5. Choose whether or not you want Windows to handle everything. If you choose Let me choose, you can select the specific files or folders that you want to backup.
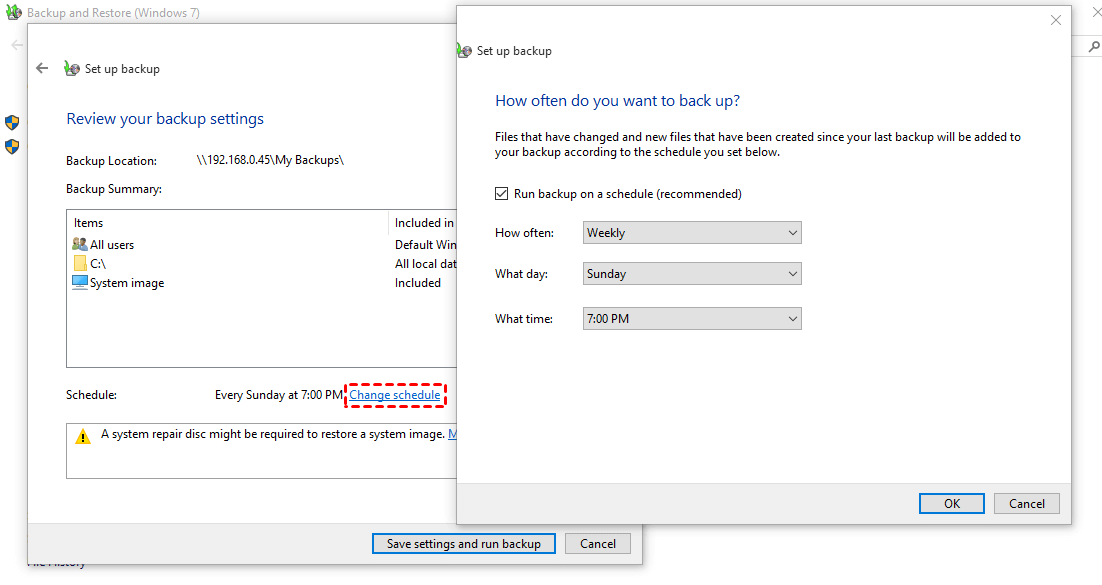
Step 6. At Review your backup settings window, you can click Change schedule to let Windows 10 automatic backup to NAS daily, weekly or monthly. Then click Save settings and run the backup.
Way 2. Schedule backup to Synology NAS via AOMEI Backupper Standard
Follow the step-by-step guide to Schedule backup to Synology NAS with AOMEI Backupper Standard:
Step 1. Download and install the AOMEI Backupper Standard on your computer and launch it.
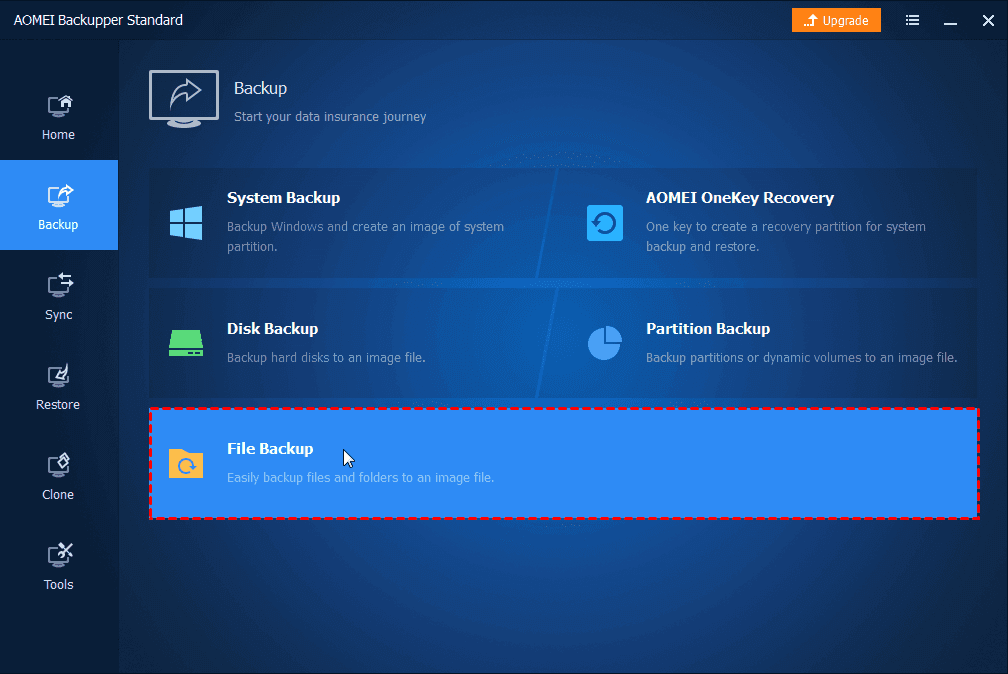
Step 2. After launching it, select File Backup under the Backup tab.
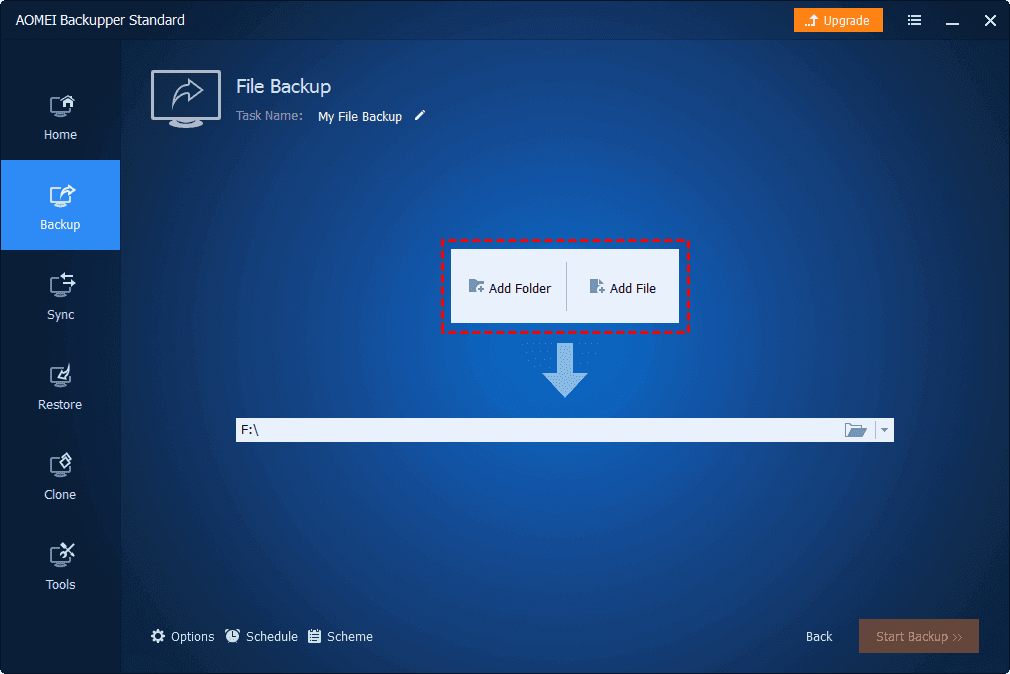
Step 3. In the next window, you can set the Task Name to easily distinguish this backup from other tasks. Click Add Folder or Add File to select the file/folder from your computer.
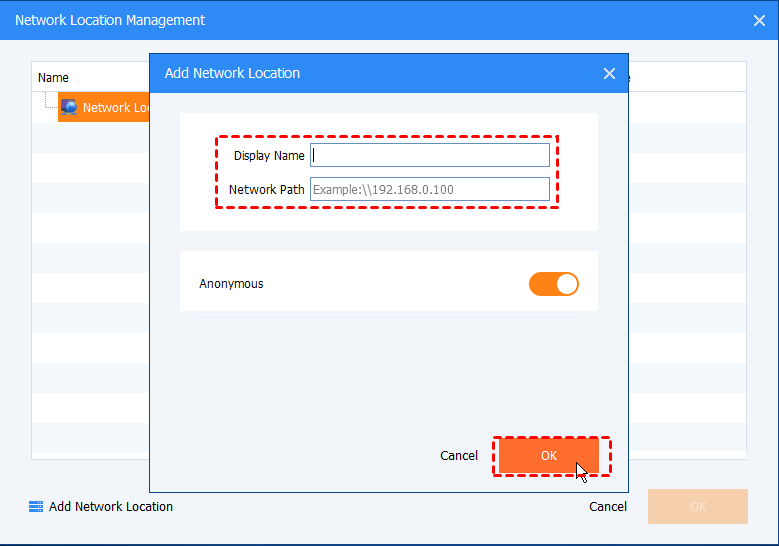
Step 4. Click the inverted triangle to select the network drive as the destination location. You need to click Add Share or NAS Devices in the popping out the window and enter the required information.
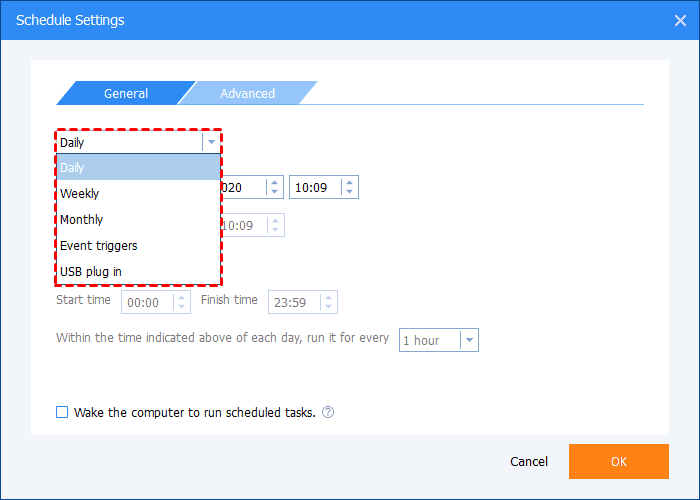
Step 5. Click Schedule in the lower-left corner to set up automatic backup. You can choose the backup frequency of Daily/Weekly/Monthly.
Step 6. Then, the program will backup your files to specified network drive after clicking Start Backup.
Bonus tip: a better way to protect your computer regularly
Nowadays, there are many kinds of offsite backup solutions for data protection. NAS is one of the popular backup solutions that can keep your data safely and remotely. However, compared with NAS, cloud backup service is more popular among users recently.
As we all know, most cloud backup service offers huge backup space and useful backup features. And some of the cloud backup services support scheduled backup that can help you backup files from a local computer to a stable cloud server regularly and automatically.
If you need to protect your computer regularly, you can rely on a cloud backup service instead of a NAS. CBackup is a professional cloud backup service that offers PC cloud backup service and provides users with a scheduled backup feature. You can try it now!
Step 1. Download and install the CBackup app to your computer, it is suitable for Win 11/10/8.1/8/7/XP. Create an account and log in with it.
Step 2. Then click Backup PC to cloud under the Backup tab to create a PC to cloud backup task.

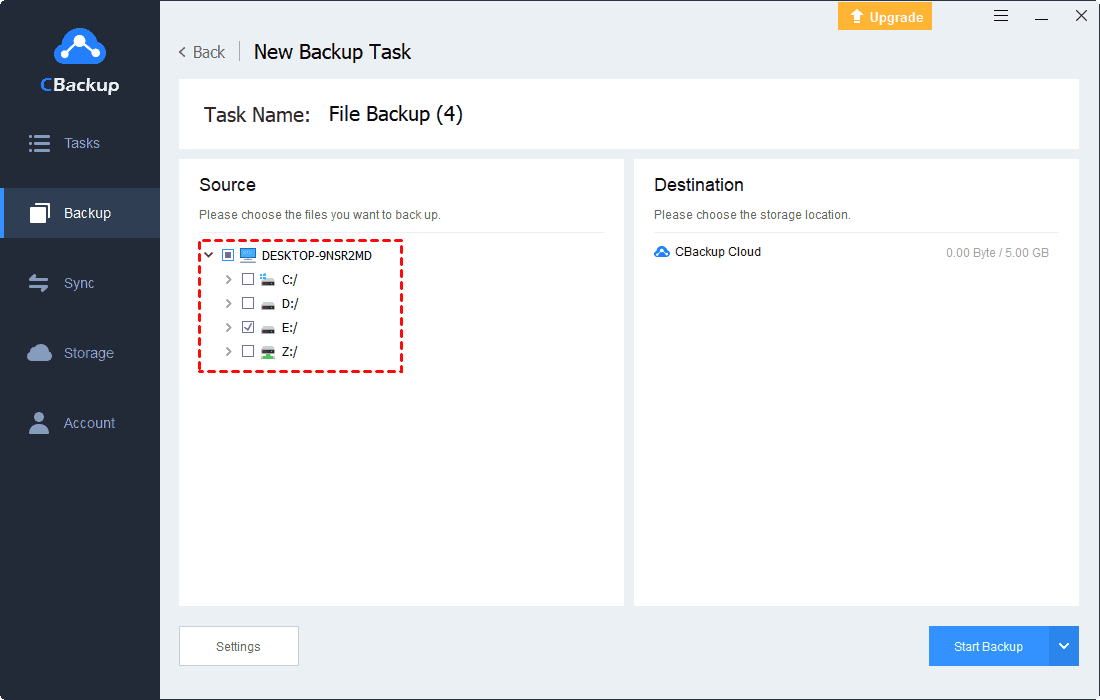
Step 3. Select the files you need to back up to the cloud under the Source tab. There is plenty of space in cloud, and you can even back up your entire computer.
Step 4. Finally, click Start Backup.
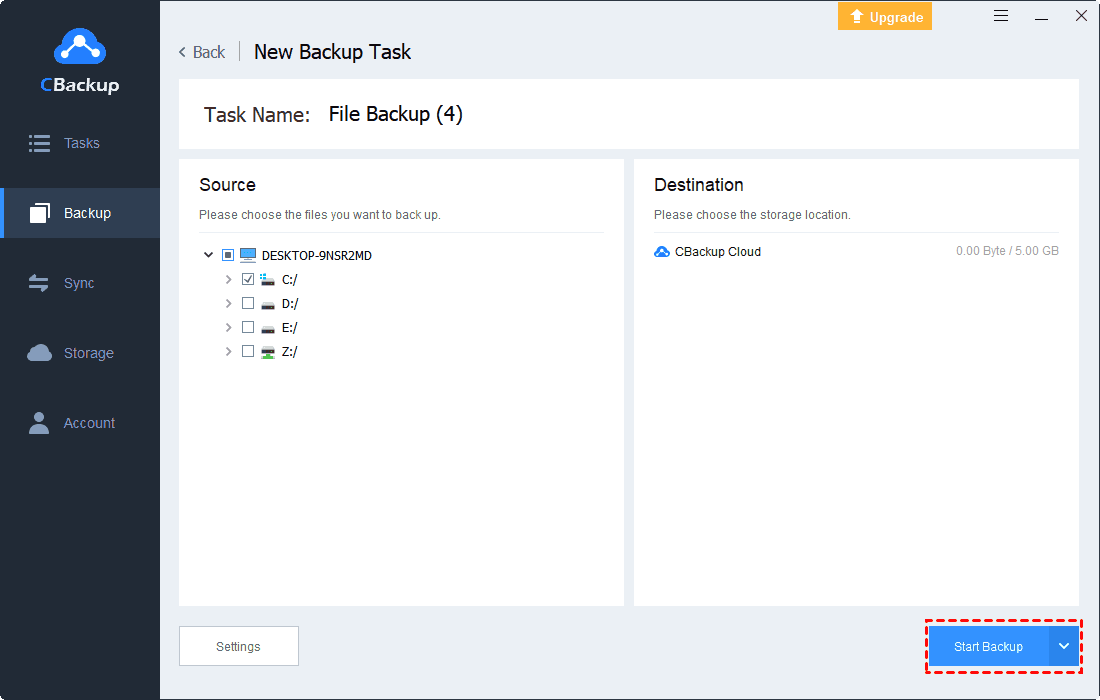
✎Note: You can click the Settings button in the lower-left corner before executing the backup task, and then select the time you need to automatically backup under Scheduler tab, or you can choose to automatically back up PC files to the cloud one time only/daily/weekly/monthly.

Final words
Although there is no direct way to schedule Cloud Station Backup, you can also find two ways to backup files to Synology NAS with two free tools. And if you think the ways to protect your data are too complicated, you can also rely on one of the best cloud backup for Windows - CBackup to protect your data regularly and easily.

Secure & Free
